
红帽博客
By Marko Karg and Annette Clewett
At the end of the first post in this blog series, we deployed a MySQL instance using StatefulSets (STS). Today, we want to use that same deployment method and connect a WordPress instance to the MySQL database and see what happens if the database fails. Remember, we’re using a MySQL pod created from a StatefulSet.
OpenShift on AWS test environment
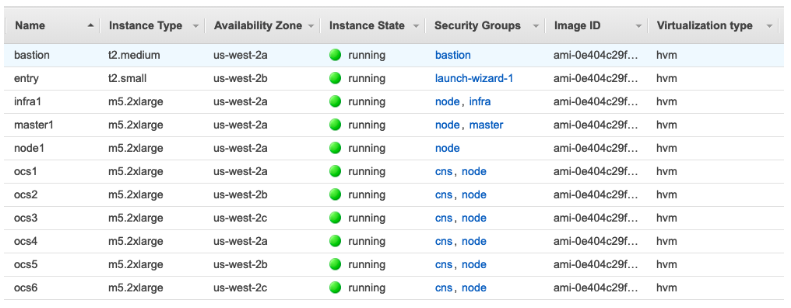
All the posts in this series use an OCP-on-AWS setup that includes 8 EC2 instances deployed as 1 master node, 1 infra node, and 6 worker nodes that also run OCS gluster and heketi pods. The 6 worker nodes are basically the storage provider (OpenShift Container Storage [OCS]) and persistent storage consumers (MySQL). As the following figure shows, the ocs worker nodes are of instance type m5.2xlarge with 8 vCPUs, 32 GB Mem, and 3x100GB gp2 volumes attached to each node for OCP and 1 1TB gp2 volume for OCS storage cluster. The AWS region us-west-2 has availability zones (AZs) us-west-2a, us-west-2b, us-west-2c, and the 6 worker nodes are spread across the 3 AZs, two nodes in each AZ. This mean the OCS storage cluster is "stretched" across these 3 AZs.
MySQL setup
We’ve created a headless MySQL service already, using an OCS-based persistent volume claim (PVC):
oc get services
NAME        TYPE CLUSTER-IP    EXTERNAL-IP   PORT(S)     AGE
mysql       ClusterIP             <none>     3306/TCP    16h
The STS we need is also created as described in the first post of this series. Once the STS has been created and the container has been started, we have a running MySQL instance running:
oc get pods
NAME                READY   STATUS    RESTARTS    AGE
mysql-ocs-0         1/1     Running   0           21h
With a service and a database up, we can move forward to get our application deployed.
Although there are templates available that would set up WordPress with a preconfigured database in one shot, we want to take the long way and start from scratch to illustrates the required steps.
WordPress setup
Let’s create a new php application to run WordPress:
# oc new-app php~https://github.com/wordpress/wordpress
After a few seconds, we have the required pods in our project:
# oc get pods
NAME                READY     STATUS      RESTARTS   AGE
mysql-ocs-0         1/1       Running     0          21h
wordpress-1-build   0/1       Completed   0          22h
wordpress-1-q5jts   1/1       Running     0          22h
To make our WordPress instance available to the world, we need to expose it:
# oc expose service wordpressNow two services are available, one for MySQL and one for WordPress:
# oc get service
NAME                                                     TYPE
CLUSTER-IP      EXTERNAL-IP  PORT(S)             AGE
glusterfs-dynamic-31a07eb1-3a72-11e9-96fc-02e7350e98d2   ClusterIP
172.30.165.245  <none>       1/TCP               1m
mysql-ocs                                                ClusterIP
172.30.210.183  <none>       3306/TCP            1m
wordpress                                                ClusterIP
172.30.1.139    <none>       8080/TCP,8443/TCP   28s
Let’s connect to the web interface of WordPress now. To do so, we take the HOST / PORT portion from the following command:
oc get route wordpress
NAME HOST/PORT PATH
SERVICES PORT TERMINATION WILDCARD
wordpress wordpress-marko.apps.ocpocs311.ocpgluster.com
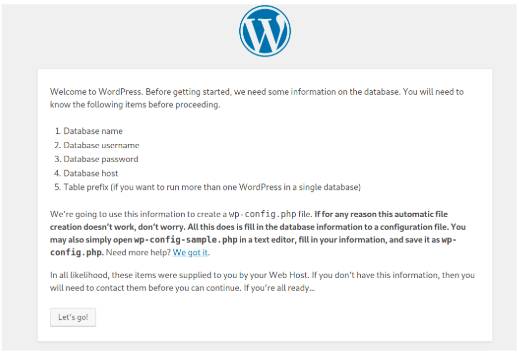
wordpress 8080-tcp None NoneIn our case, that’s wordpress-marko.apps.ocpocs311.ocpgluster.com. Take that string and put it into a browser to go to the WordPress interface. The WordPress web interface will guide us through setting up the database connection now.
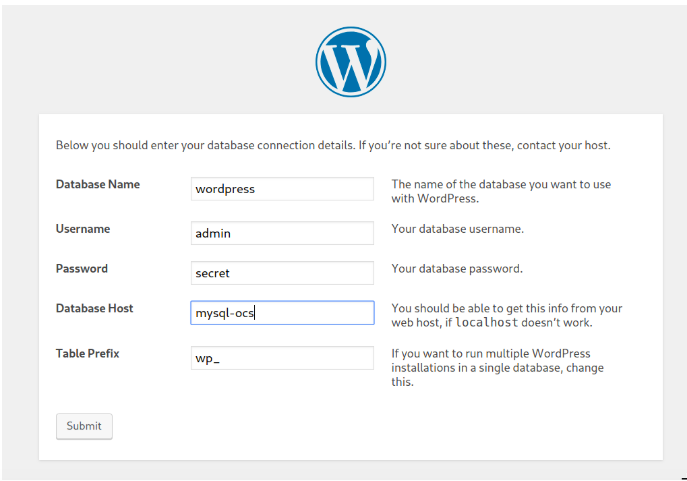
We have most of the above values pre-defined in our MySQL STS, so the database name is “wordpress”, the username is “admin”, and the password is “secret”.
cat mysql-sts.yaml
….omitted….
   spec:
      terminationGracePeriodSecods: 10
      containers:
      - name: mysql-ocs
        image: mysql:5.7
        env:
        - name: MYSQL_ROOT_PASSWORD
          value: password
        - name: MYSQL_DATABASE
          value: wordpress
        - name: MYSQL_USER
          value: admin
        - name: MYSQL_PASSWORD
          value: secret
….omitted….
Our database host can be found by running this command:
oc get services
NAME        TYPE CLUSTER-IP       EXTERNAL-IP     PORT(S)
AGE
NAME                                                     TYPE
CLUSTER-IP     EXTERNAL-IP      PORT(S)             AGE
glusterfs-dynamic-31a07eb1-3a72-11e9-96fc-02e7350e98d2   ClusterIP
172.30.165.245 <none>           1/TCP               1m
mysql-ocs                                                ClusterIP
               <none>           3306/TCP            1m
wordpress                                                ClusterIP
172.30.1.139   <none>           8080/TCP,8443/TCP   28s
So we will use mysql-ocs for the database host.
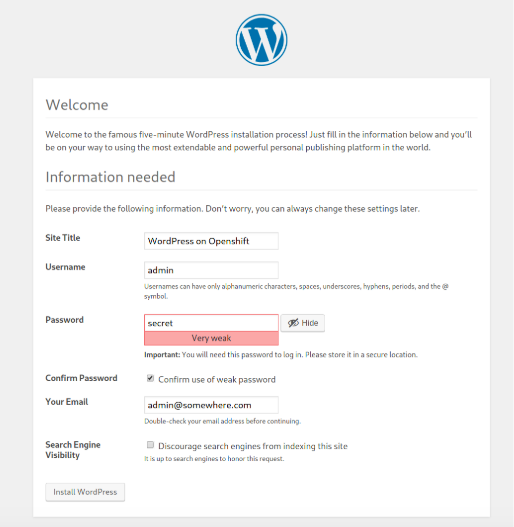
If information is entered is correct, WordPress will guide us through the rest of the installation process:

We now need to enter some information for the web front end:
The installation takes some time and finally presents this screen:
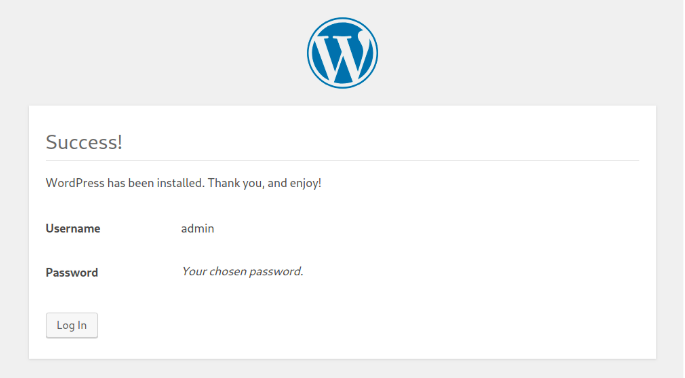
So now our deployment is done. Next, we'll log into WordPress and create some test content:
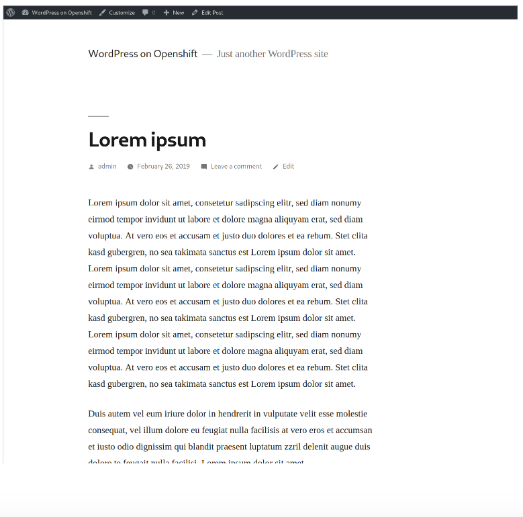
Failure scenario
So now that we have everything in place, we want to see what happens when our MySQL container fails. To simulate that, we’ve set up a client that checks the website using the "curl" command.
Because we're only interested in the HTTP response over a longer time, we run it in a loop, trimming the output to what we're interested in:
while true; do date; curl -I
http://wordpress-marko.apps.ocpocs311.ocpgluster.com/2019/02/26/lorem-ipsum/
2>&1 | grep HTTP; sleep 1; done
As a first test we simply kill the MySQL container, watching the preceding loop closely:
# oc get pods
NAME                READY STATUS     RESTARTS  AGE
mysql-ocs-0         1/1   Running    0         21h
wordpress-1-build   0/1   Completed  0         22h
wordpress-1-q5jts   1/1   Running    0         22h
Delete the MySQL pod:
oc delete pod mysql-ocs-0
Here’s the output from the preceding curl loop:
Mi 27. Feb 09:40:44 UTC 2019
HTTP/1.1 200 OK
Mi 27. Feb 09:40:45 UTC 2019
HTTP/1.1 500 Internal Server Error
…
Mi 27. Feb 09:40:59 UTC 2019
HTTP/1.1 500 Internal Server Error
Mi 27. Feb 09:41:03 UTC 2019
HTTP/1.1 200 OK
So the pod failure effectively caused our WordPress instance to be unavailable for 18 seconds (09:40:45 to 09:41;)3), give or take a few seconds for the curl command. We’ve run a larger number of the same test and ended up with an average value of 12 seconds. This is the time that the WordPress application is unavailable due to the MySQL pod being deleted. Once the pod is re-created and the OCS storage is mounted in the pod, then WordPress is available again.
This test only deletes the pod that is running the database. What we cannot be sure of so far is that the MySQL pod actually moves from one node to another. To have that happen, we have to cordon the node on which the pod currently runs and then delete the pod. Cordoning the node means that it will take no new containers and, as a consequence, the new incarnation of our database pod will have to be started on a different node.
As a first step, we need to find the node on which mysql-ocs is currently running:
# ocs get pod mysql-ocs-0 -o wideocs get pod mysql-ocs-0 -o wide
NAME          READY   STATUS    RESTARTS      AGE      IP            NODE
NOMINATED NODE
mysql-ocs-0   1/1     Running   0             5m       10.129.2.44
ip-172-16-27-161.us-west-2.compute.internal   <none>
Now we cordon the node ip-172-16-27-161.us-west-2.compute.internal and then delete the mysql-ocs-0 pod:
# oc adm cordon ip-172-16-27-161.us-west-2.compute.internal
node/ip-172-16-27-161.us-west-2.compute.internal cordoned
# oc delete pod mysql-ocs-0
pod "mysql-ocs-0" deleted
Again, we’ve run a series of the same test and ended up with an average value of 12 seconds. Therefore, it does not matter if the pod must be relocated to another node or is re-created on the same node again.
Conclusion
The goal behind this post was to show how an application like WordPress in OCP can be connected to a database, as well as how fast a pod can fail-over to another node when it is using Red Hat OCS as a storage platform. An average time of 12 seconds is what we can reproduce persistently for one MySQL pod. The exact time is, of course, specific to every setup, as it depends on a lot of different factors, but the reproducibility and the deterministic time is something that's common to OpenShift deployments.