红帽博客
Customers need small modular tools to work with containers, and Red Hat Enterprise Linux 8 has a number of features to address this. Today, we are going to discuss how to set up RHEL 8 to run containers with Podman, including:
-
Using Image Builder to create an OS image to use as a template for a container host.
-
Deploying container hosts with libvirt tools and running containers with Podman.
-
Examine hosts and containers performance with Web Console and PCP pmda-podman.
What is Podman?
Podman was released with Red Hat Enterprise Linux 7.6 and 8.0 as the next generation of Linux container tools, is designed to allow faster experimentation and development of features.
Podman features include rootless, kube generate, and kube play (see: "Podman can now ease the transition to Kubernetes and CRI-O"). Podman is also compatible with the Open Containers Initiative (OCI), Runtime, Image, and Distribution specifications, so customers can build container images that run on OpenShift (which uses CRI-O) or other 3rd-party OCI compliant container engines, and vice versa.
As can be seen in Figure 1, CRI-O, in Red Hat OpenShift, shares many of its underlying components with Podman. This allows Red Hat engineers to leverage knowledge gained in experiments conducted in Podman for new capabilities in OpenShift.

Podman is a tool which is integrated with RHEL, so with a RHEL subscription, you can get enterprise technical support for container issues and access to best practices and updates.
Having said that, let’s get started setting up a container running environment!
 想要利用红帽的通用基础镜像(UBI)做更多的事情吗?
 想要利用红帽的通用基础镜像(UBI)做更多的事情吗?
Create a template of container host
First, we need a golden OS image for container hosts, so when a container developer needs a new host, it can be quickly deployed. By following the steps below, we can build a template of a container host. To set up image builder, you can run the these commands:
# yum install -y lorax-composer composer-cli cockpit-composer
# systemctl enable lorax-composer.socket
# systemctl start lorax-composer
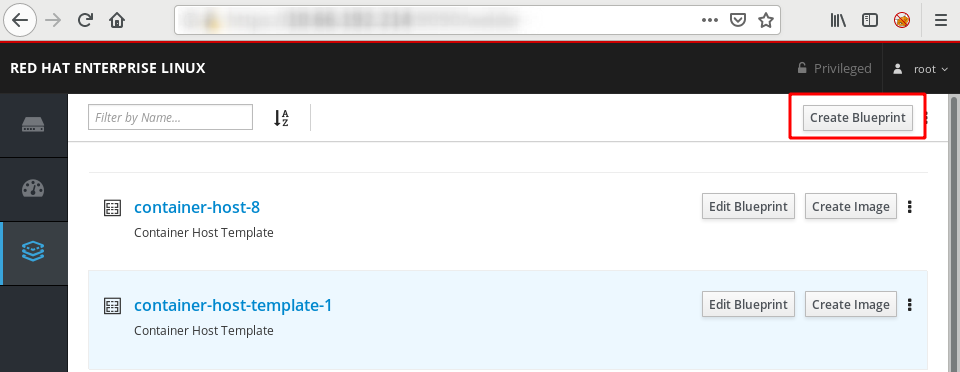
Create a new blueprint by clicking on the Create Blueprint button:
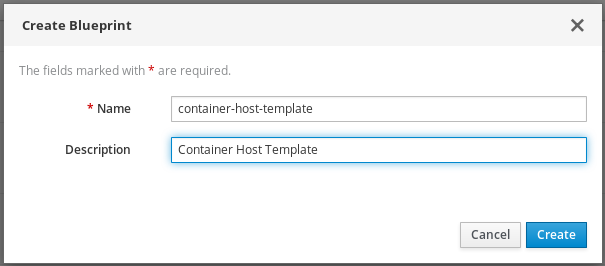
And specify Name and Description for the blueprint.
Name: container-host-template
Description: Container Host Template
On the next screen, select which packages you want to include in the image.
You can use the filter bar on the left to make it easier to find packages and add them.
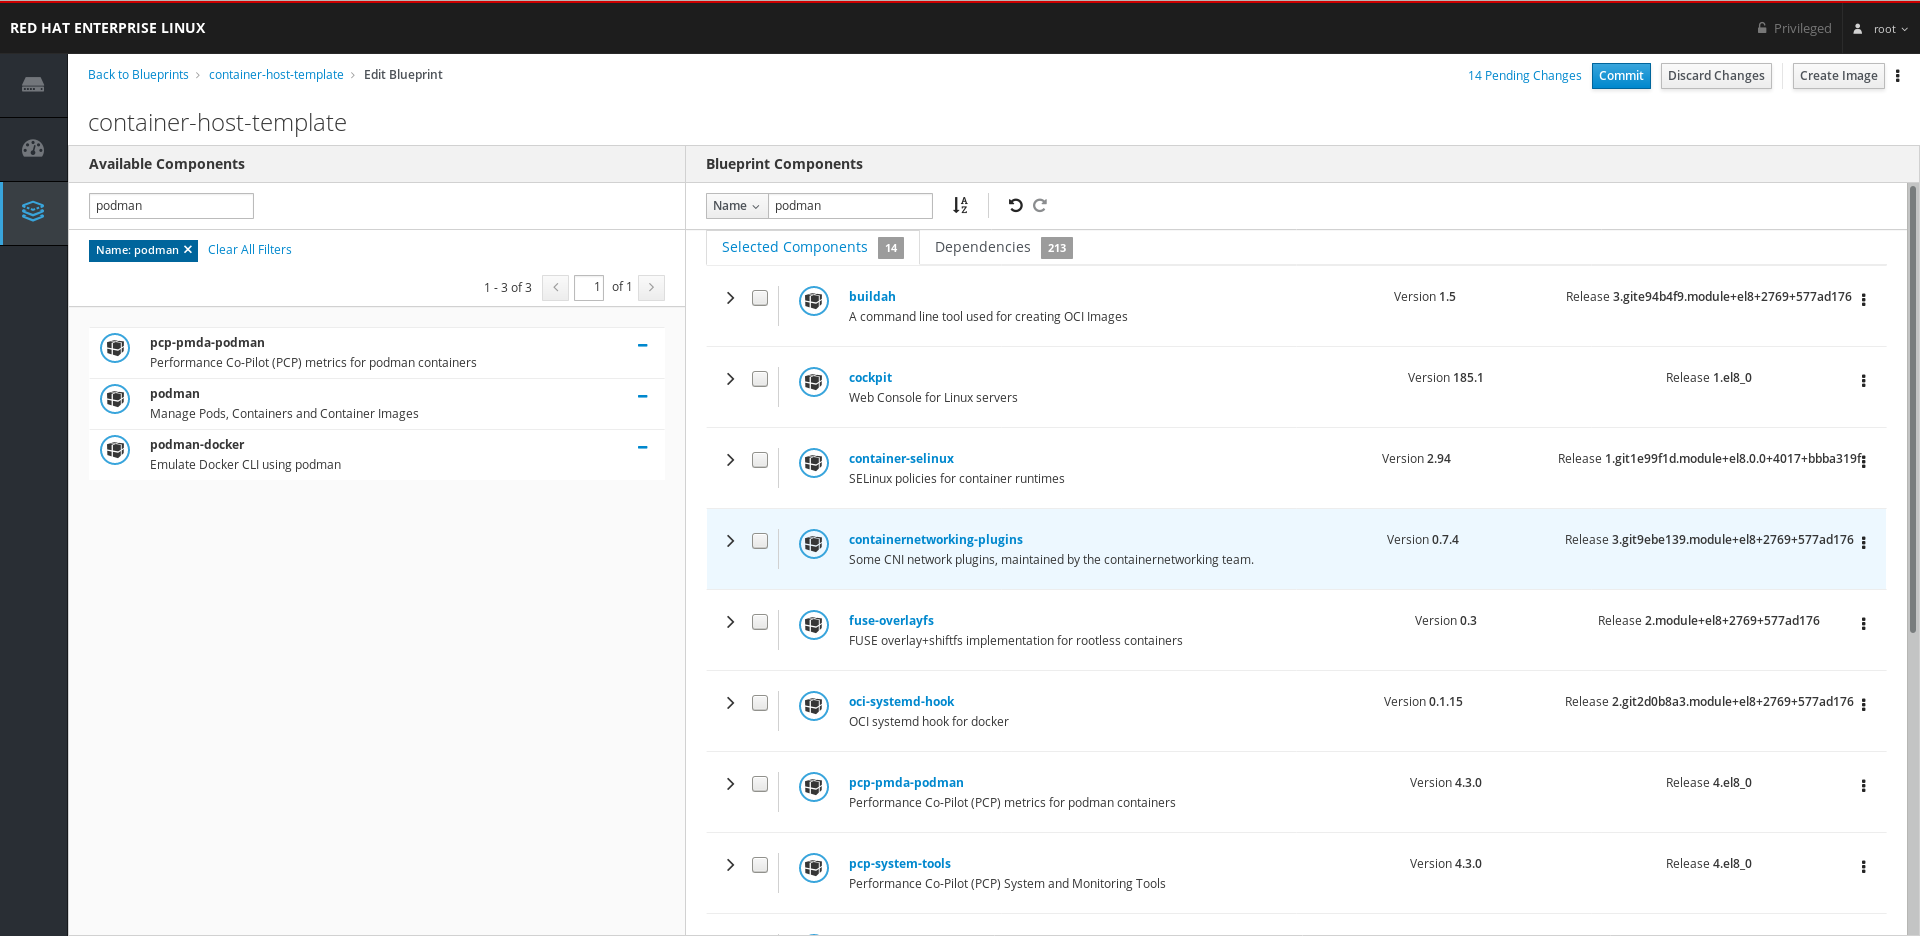
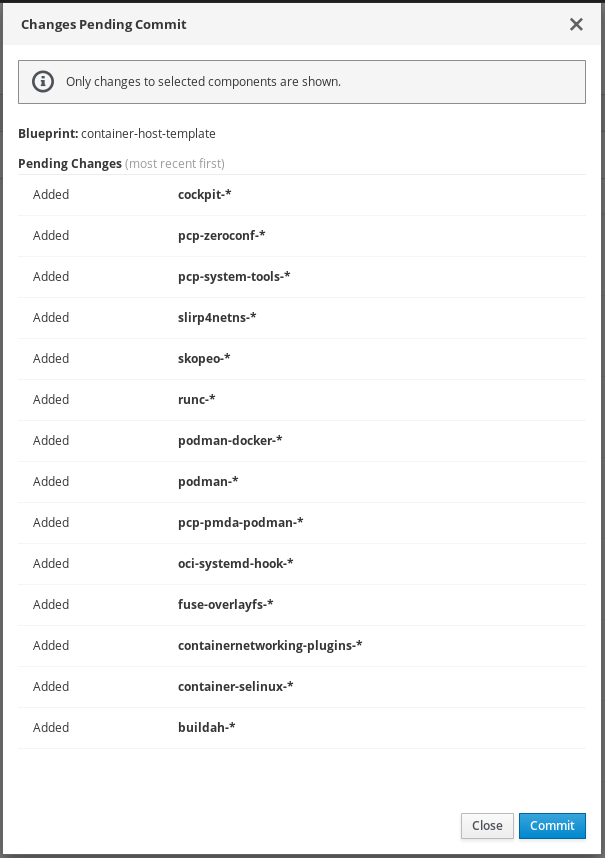
To build a container host image, you should add these packages to the blueprint:
|
Categories |
Components |
|---|---|
|
Container tools |
- buildah - container-selinux - containernetworking-plugins - fuse-overlayfs - oci-systemd-hook - oci-umount - podman - runc - skopeo - slirp4netns - podman-docker |
|
PCP |
- pcp-pmda-podman - pcp-system-tools - pcp-zeroconf |
|
Web Console |
- cockpit - cockpit-podman (RHEL 8.1 Beta) - cockpit-pcp |
After you include all required packages, commit your changes by clicking on the Commit button at the top of the screen. On the pop-up screen, confirm your changes and click on the Commit button to finalize.
After the blueprint is created, you can add a new user, password, and SSH keys:

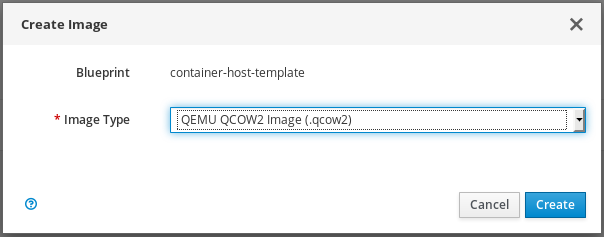
When the blueprint is in place, you can build an image with the updated blueprint file. You can start the image creation process by clicking on the “Create Image” button at the top right. On the pop-up screen, select the type of image. Image Builder can create a variety of images, including AWS, Azure, OpenStack, VMware, and more.
Image Type: QEMU QCOW2 Image (.qcow2)
It may take a few minutes to create the image. You can follow the progress on web console by navigating to the blueprint and clicking on the Images tab.
Deploying container hosts with libvirt tools
With the image created by Image Builder, you can customize a container host, in order to quickly deploy container hosts.
First, copy the image to save the time of downloading:
# cd /var/lib/libvirt/images
# composer-cli compose list
<UUID> FINISHED container-host-template-1 0.0.2 qcow2
# composer-cli compose image <UUID>
# mv <UUID>.qcow2 container-host-template.qcow2
# chown qemu:qemu container-host-template.qcow2
Now, you can duplicate the template to deploy a container host (The deployment can just take a few seconds!) :
# cd /var/lib/libvirt/images
# cp container-host-template.qcow2 container-host-1.qcow2
# chown qemu:qemu container-host-1.qcow2
# virt-install --name container-host-1 --memory 2048 --vcpus 2 \
  --os-variant rhel8.0 --import \
  --disk /var/lib/libvirt/images/container-host-1.qcow2 \
  --graphics vnc,listen=127.0.0.1 \
  --noautoconsole
To access the new container host, go to the web console of the virtual host, and go to Virtual Machines tab from the navigation bar. From there, we can see that the container host is booting.

When it is up and running, login to the console and check the IP address. With the above virt-install command, you can deploy multiple container hosts as needed.
Once the container host is ready, login and check if any containers are running:

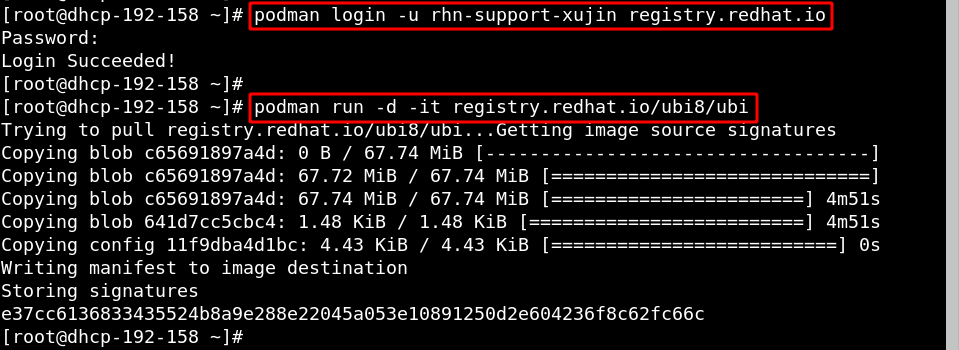
Now, it is time to run your first container with Podman on RHEL 8. Let’s start with the RHEL 8 Universal Base Image:
Examine hosts and containers performance
Now, the RHEL 8 UBI container is running and you can shell into the container:

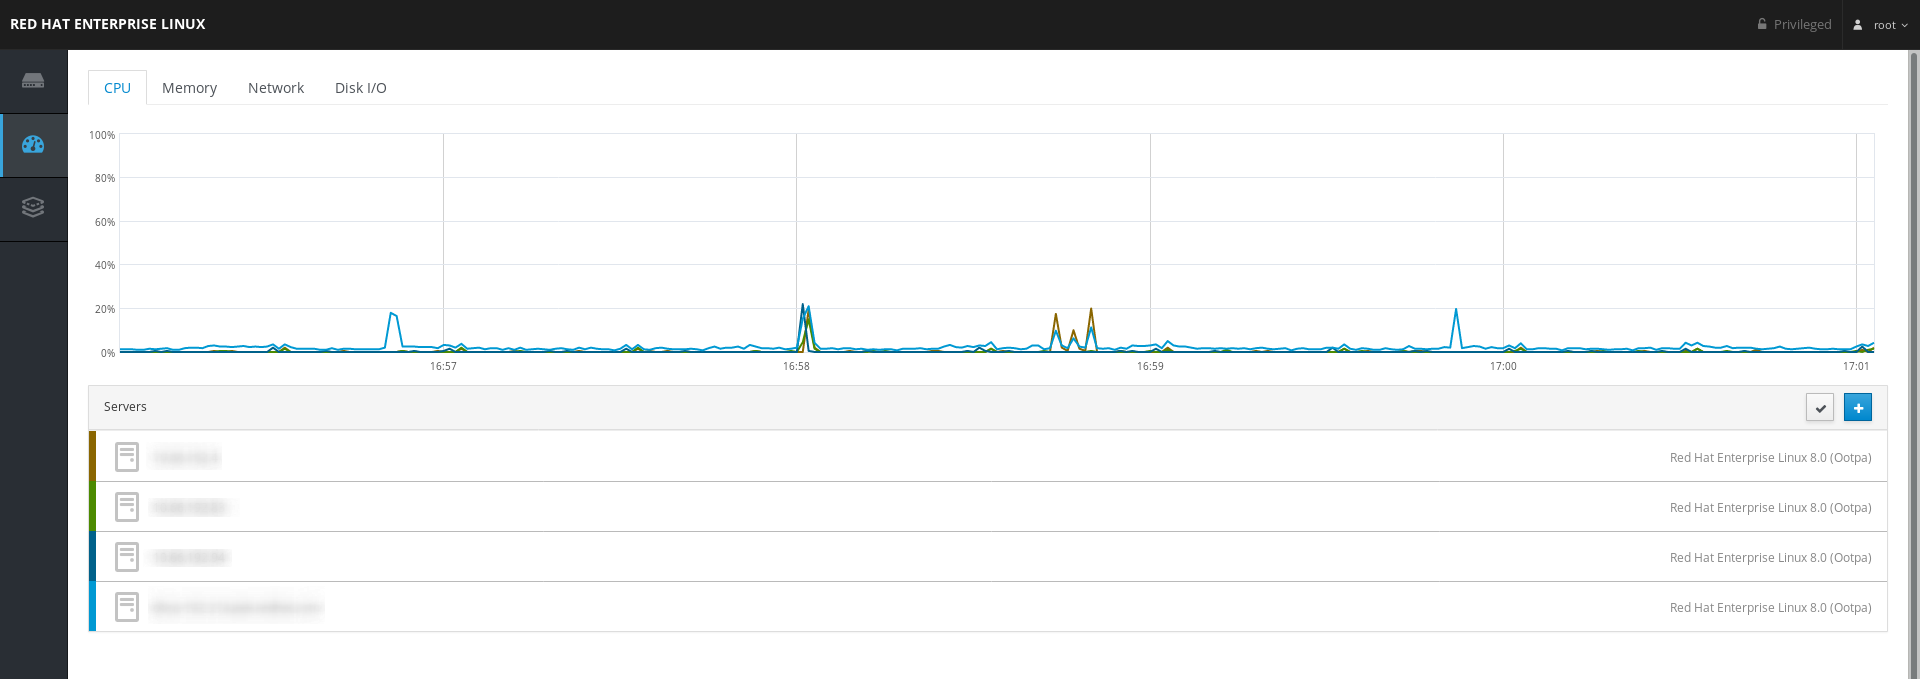
To examine the system loads of container hosts, you can use the Web Console at Dashboard tab, and see the following graph:
Moreover, to check the performance of containers running on the host, you can utilize PCP and pmda-podman to examine containers performance or Podman Containers in Web Console.
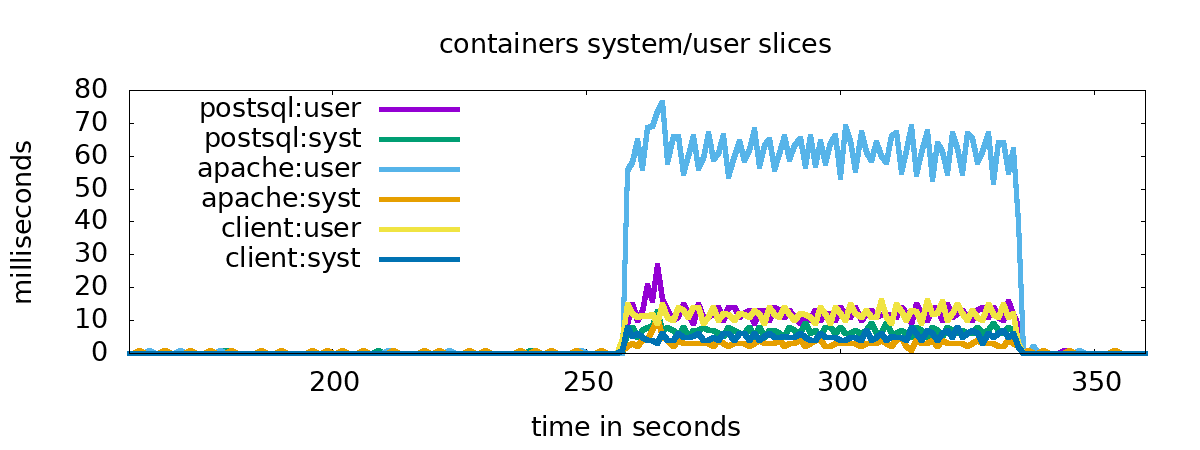
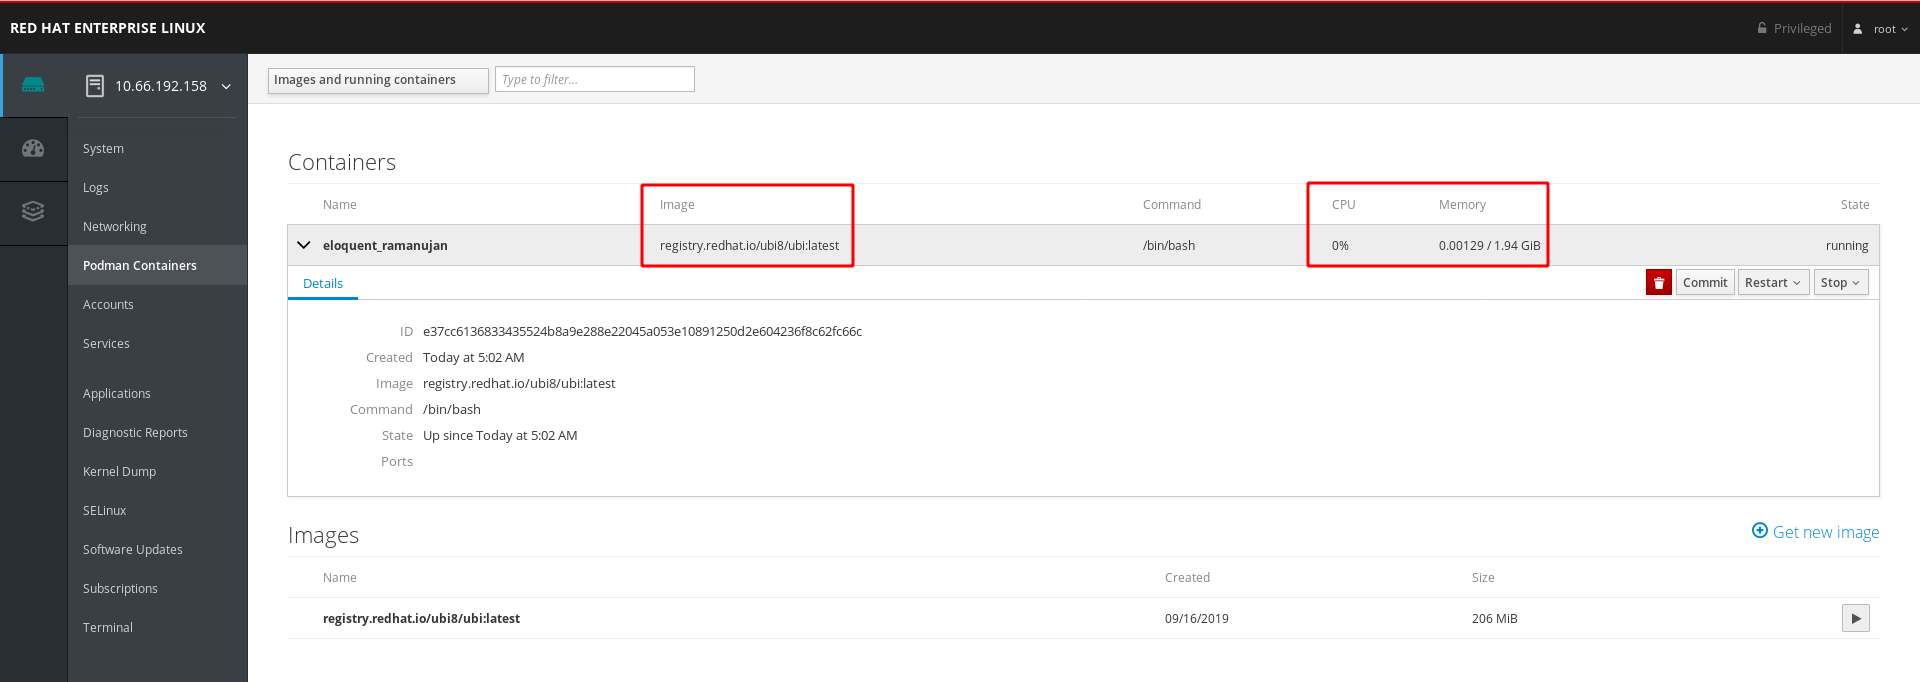
With RHEL 8.1, Podman containers is available as a component of the Web Console to manage containers and images. From the graph below, you can see that a RHEL 8 UBI (Universal Base Image) container is running on podman, and how much CPU and memory it is consuming. To install it, you may need RHEL 8.1 beta ISO image, and run “# yum install cockpit-podman."
Conclusion
We have looked at how to set up a template of a container host, deploy container hosts and manage container hosts and containers. Podman helps developers and admins to find, run, build, share and deploy containers on RHEL. To explore more Podman features, check out the Building, Running and Managing Containers guide for RHEL 8.
