When I first started learning the Linux command line, I found myself memorizing commands for specific scenarios. Even if it wasn’t the best command for the job, I had my way of doing things, and that worked for me. As I started working in a more professional environment around people with years of experience and knowledge, I discovered that just because I could use a command did not mean that I understood the command. Sometimes, just knowing how isn’t good enough. It helps to understand what is going on behind the scenes and why you use specific arguments, flags, and objects. The sudo command is one that I didn’t use often before. This choice is unthinkable now, and honestly, it makes me laugh at myself for assuming I knew what I was doing. I’ll explain this later on; for now, let’s take a look at what the sudo command is, why it's important, and how to configure it.
What is sudo?
Do you know those crime TV scenes where a plainclothes detective walks up and the uniformed officer stops them from entering the area until they flash their badge? We’ve all seen this drama unfold over the years, from the yellow tape to the pouring rain and the cliché trench coats, but what happens next? The uniformed officer takes a look, realizes that this person belongs on the scene, and lets them pass. Sudo is your badge. It’s your "golden ticket," your security clearance, and your permission to do as you please. Metaphor aside, sudo is your elevated privilege.
Sudo stands for "superuser do" and is the master key to your high-privilege admin tasks. Have you ever tried to edit a config file only to receive "Permission Denied?" (The /etc/hosts file comes to mind.) If so, that was because your user account did not have access to that file. You need root or sudoer access. Previously, back when I was doing things "my way," I used to always use the su command (switch user) and would log in as root for these tasks. While this method works, it isn’t the best way to accomplish the needed task in most cases.
Think about this: You su to root to edit a file, but you forget to switch back to your user account afterward. At this point, a simple command line error could cost you dearly as an administrator. I saw a colleague blow away the root directory of a back-end storage server for the state of New York due to this simple oversight. Thankfully, the data and his career were recoverable!
[ Free download: Advanced Linux commands cheat sheet. ]
So how do I use sudo?
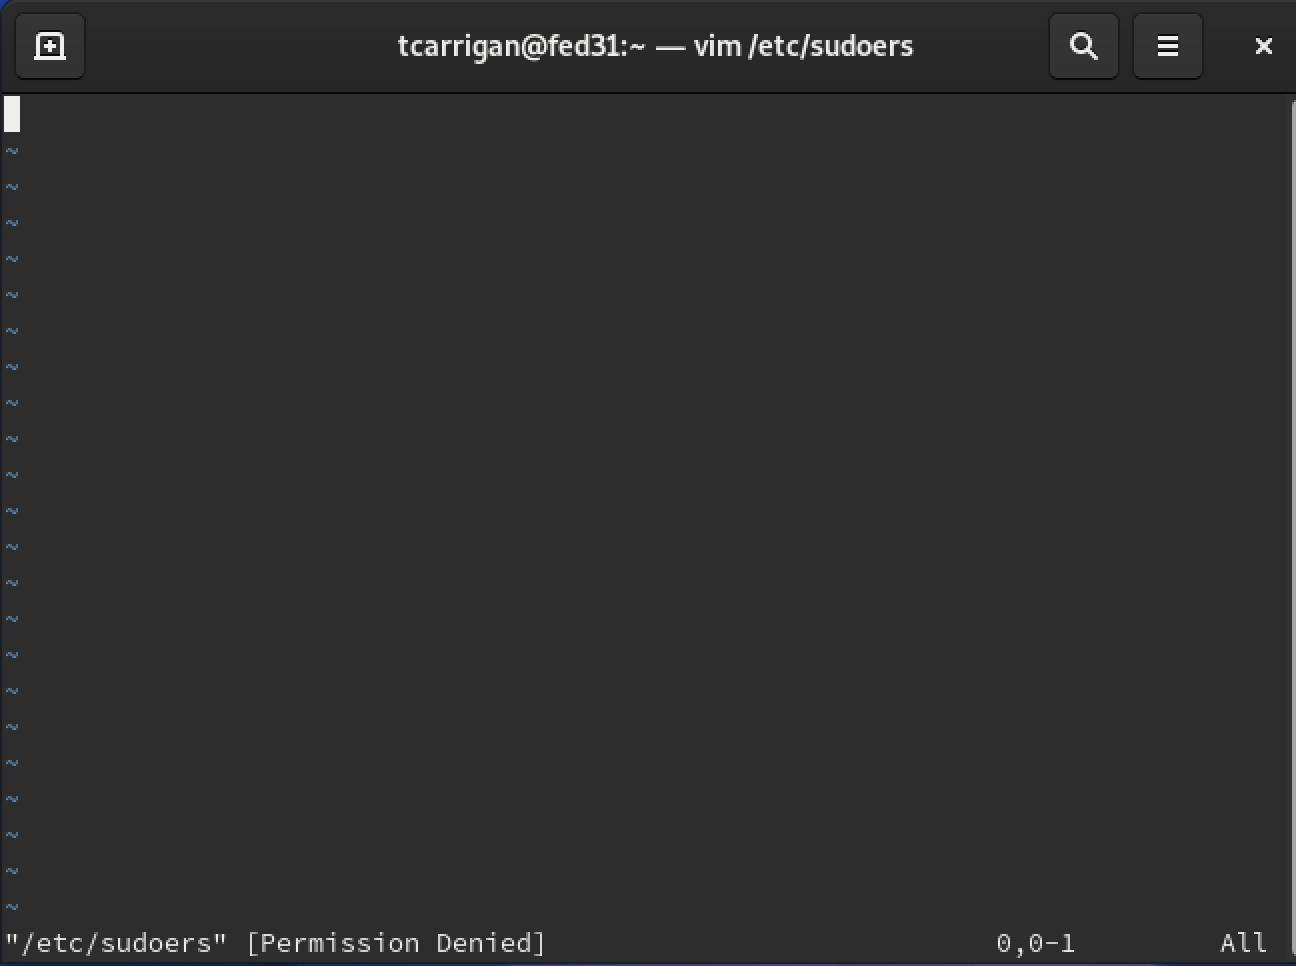
Simply preface the intended command with sudo. You will then be prompted for a password (you need to enter your user account password, not root's). For example, if you want to edit an important configuration file, you might use vi /etc/sudoers:

When you do, though, you would be met with "Permission Denied" error, or an equivalent:
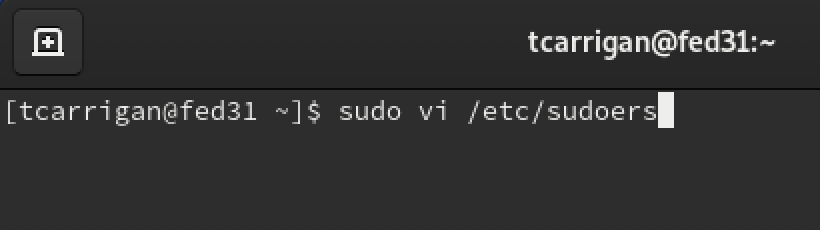
Now, try that same command prefaced with sudo:
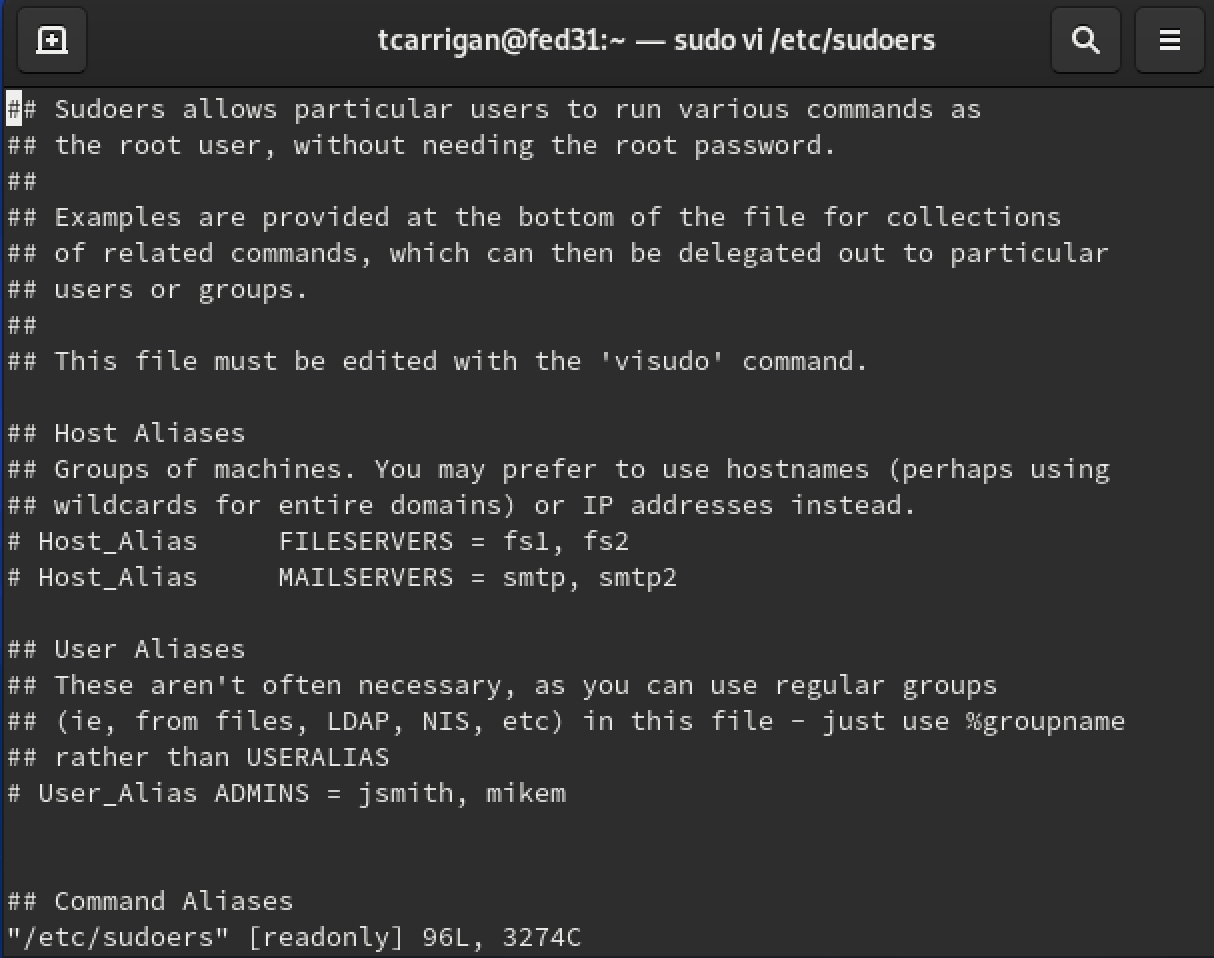
You would be prompted for your user account's password. After entering a correct credential, you would then be given read/write access to the file:
Now that you know how to use this command, let’s look at how to configure the sudoers file.
Becoming a super user
The sudo privilege is given on a per-user or per-group basis. To ensure that your account has this privilege, you must be added to the sudoers file. The file is located at /etc/sudoers and requires root permissions. To make yourself a superuser, enter the following into the bottom of the file:
username ALL=(ALL) ALL //gives user "username" sudo access
%wheel ALL=(ALL) ALL //Gives all users that belong to the wheel group sudo access
Doing this will give your user account all root privileges, so use them wisely.
Options and takeaways
Now that you understand the basic command and how to add your user account to the superuser config file, you are probably ready to look into options and flags. There is far too much information in the man pages to cover here, so I will simply leave a link so you can look over the information for yourself.
Remember that sudo is the preferred way to use elevated privileges to securely accomplish a task. This tool is simple to use and configure, and it doesn’t leave you exposed in a high-privilege account. Sometimes, there really is a better way.
Want to try out Red Hat Enterprise Linux? Download it now for free.
About the author

Tyler is the Sr. Community Manager at Enable Sysadmin, a submarine veteran, and an all-round tech enthusiast! He was first introduced to Red Hat in 2012 by way of a Red Hat Enterprise Linux-based combat system inside the USS Georgia Missile Control Center. Now that he has surfaced, he lives with his wife and son near Raleigh, where he worked as a data storage engineer before finding his way to the Red Hat team. He has written numerous technical documents, from military procedures to knowledgebase articles and even some training curricula. In his free time, he blends a passion for hiking, climbing, and bushcraft with video games and computer building. He is loves to read and enjoy a scotch or bourbon. Find him on Twitter or on LinkedIn.
More like this
More than meets the eye: Behind the scenes of Red Hat Enterprise Linux 10 (Part 5)
Announcing general availability of SQL Server 2025 on Red Hat Enterprise Linux 10
OS Wars_part 1 | Command Line Heroes
OS Wars_part 2: Rise of Linux | Command Line Heroes
Browse by channel

Automation
The latest on IT automation for tech, teams, and environments

Artificial intelligence
Updates on the platforms that free customers to run AI workloads anywhere

Open hybrid cloud
Explore how we build a more flexible future with hybrid cloud

Security
The latest on how we reduce risks across environments and technologies

Edge computing
Updates on the platforms that simplify operations at the edge

Infrastructure
The latest on the world’s leading enterprise Linux platform

Applications
Inside our solutions to the toughest application challenges
Virtualization
The future of enterprise virtualization for your workloads on-premise or across clouds