

Suppose you have a workflow set up in Red Hat Ansible Tower with several steps and needed another user to view and approve some or all of the nodes in the workflow. Or maybe a job is running inside of a workflow but it should be viewed and approved within a specific time limit, or else get canceled automatically? Perhaps it would be useful to be able to see how a job failed before something like a cleanup task gets set off? It is now possible to insert a step in between any job template or workflow within that workflow in order to achieve these objectives.
Table of Contents
A New Feature for Better Oversight and More User Input
How to Add Approval Nodes to Workflows
What Happens When Something Needs Approval?
Approval-Specific Role-Based Access Controls
A New Feature for Better Oversight and More User Input
The Workflow Approval Node feature has been available in Ansible Tower since the release of version 3.6.0 on November 13, 2019. In order to visually compare the additional functionality, examine the before and after examples of a workflow job template below:
BEFORE
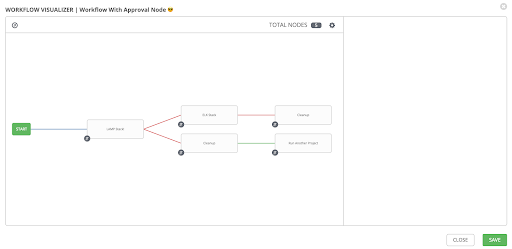
(this is a workflow set up with no pauses, just success/error/any conditions)
AFTER
(workflows pause for review and approval before continuing, wherever you need them to!)
How to Add Approval Nodes to Workflows
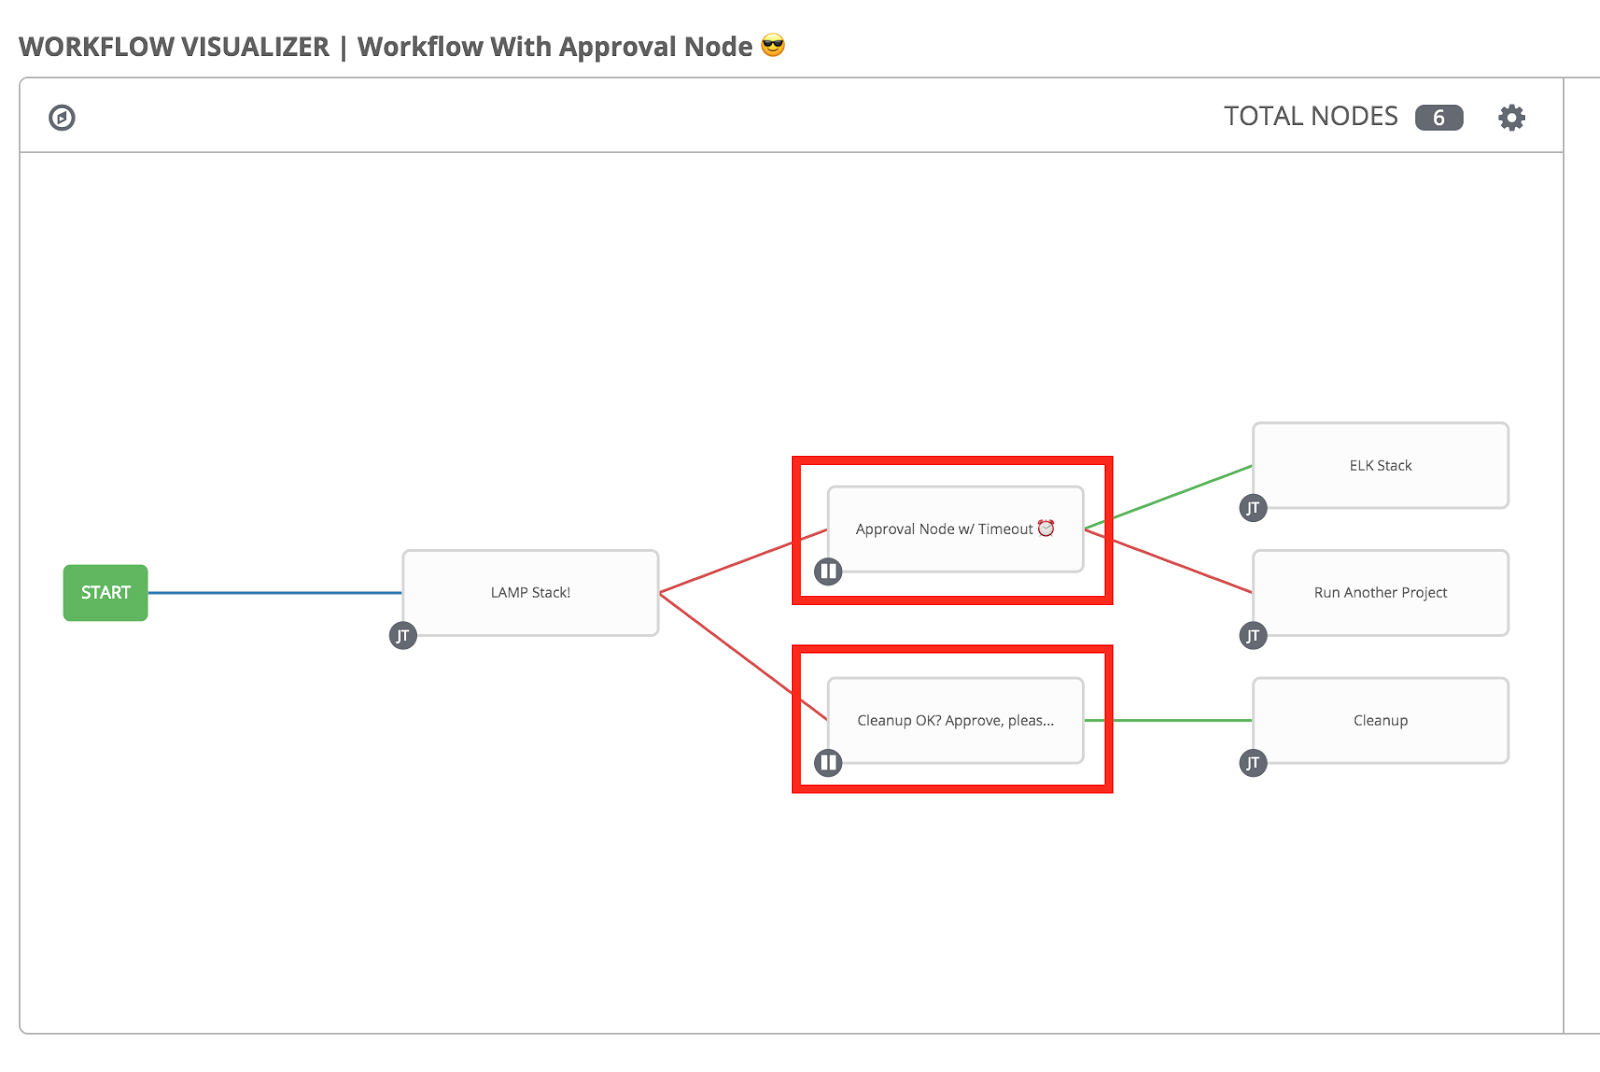
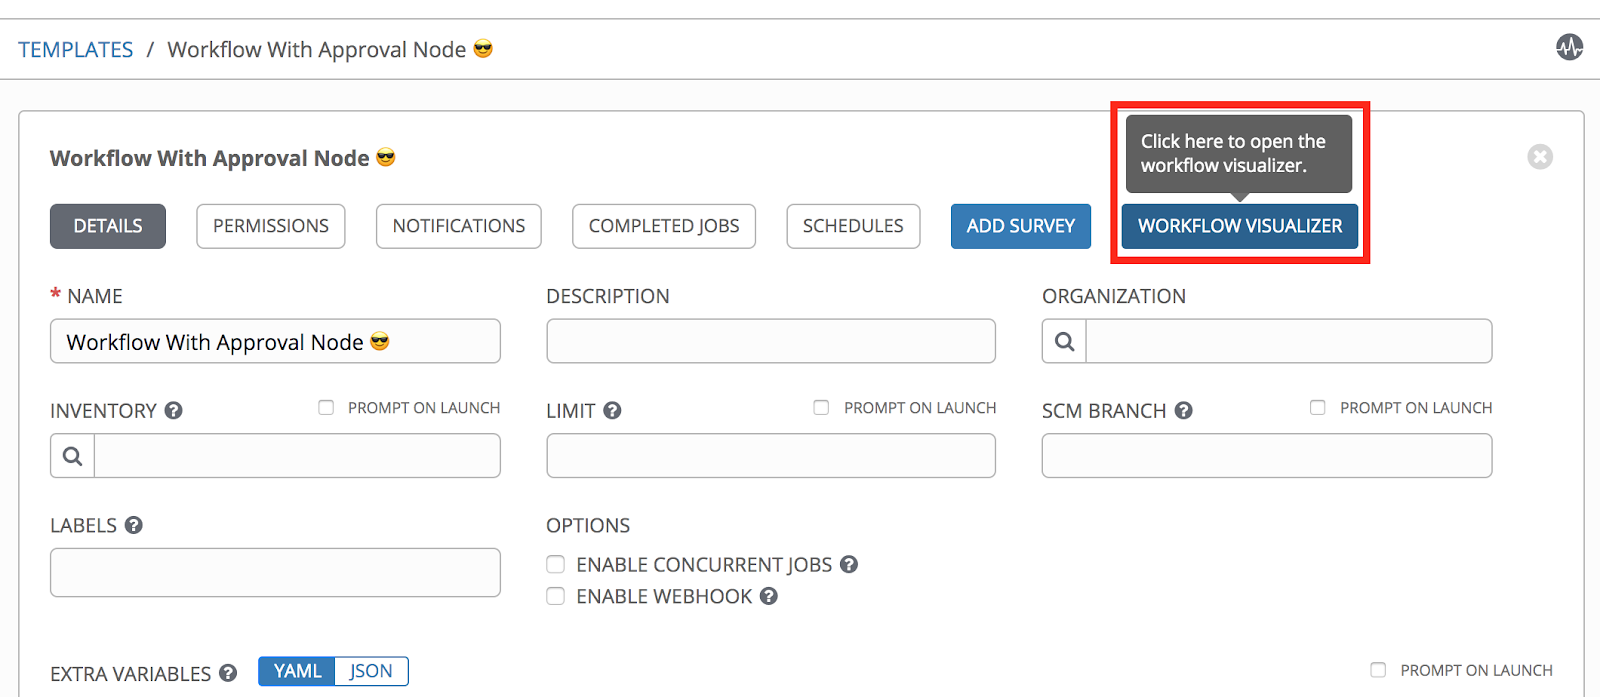
You can easily create approval nodes just like any other workflow node, via the Workflow Visualizer in the Ansible Tower UI:
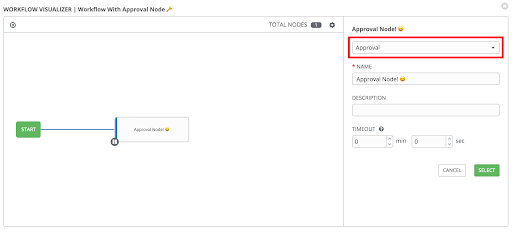
From here, you will see Approval as a node type that you can add, with a specific name (required) as well as a description and timeout (optional):
After you click Select, you can add other nodes to the one you just created -- whether they are job templates, project/inventory syncs, or more approval nodes -- and build up your workflow the same way prior to this feature becoming an option.
What Happens When Something Needs Approval?
When an approval node needs attention, a bell icon on the top right corner of the screen (newly added for this feature!) will show a number next to it, indicating how many approval nodes are in need of attention:
 Simply click on that icon to view details for those approval nodes:

The Approve and Deny buttons are visible for any user with the ability to affect these nodes (see the Approval-Specific Role-Based Access Controls section below for more details) to set the “approved” or “denied” status.
Approval Notifications
Another way to be alerted to when an approval node needs review is for notifications to be set on the Approval level. There is now a new toggle in the UI (Templates > Workflow > Notifications) where you can set a notification template to ping you whenever an approval node needs attention:
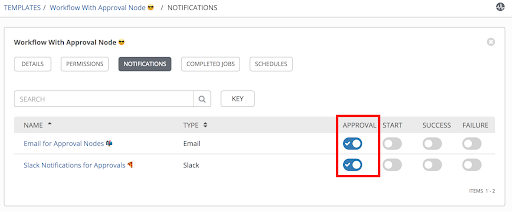
When a notification is set in this manner, it will alert the recipient when any approval node inside of that workflow:
- Needs review
- Was approved
- Was denied
- Timed out
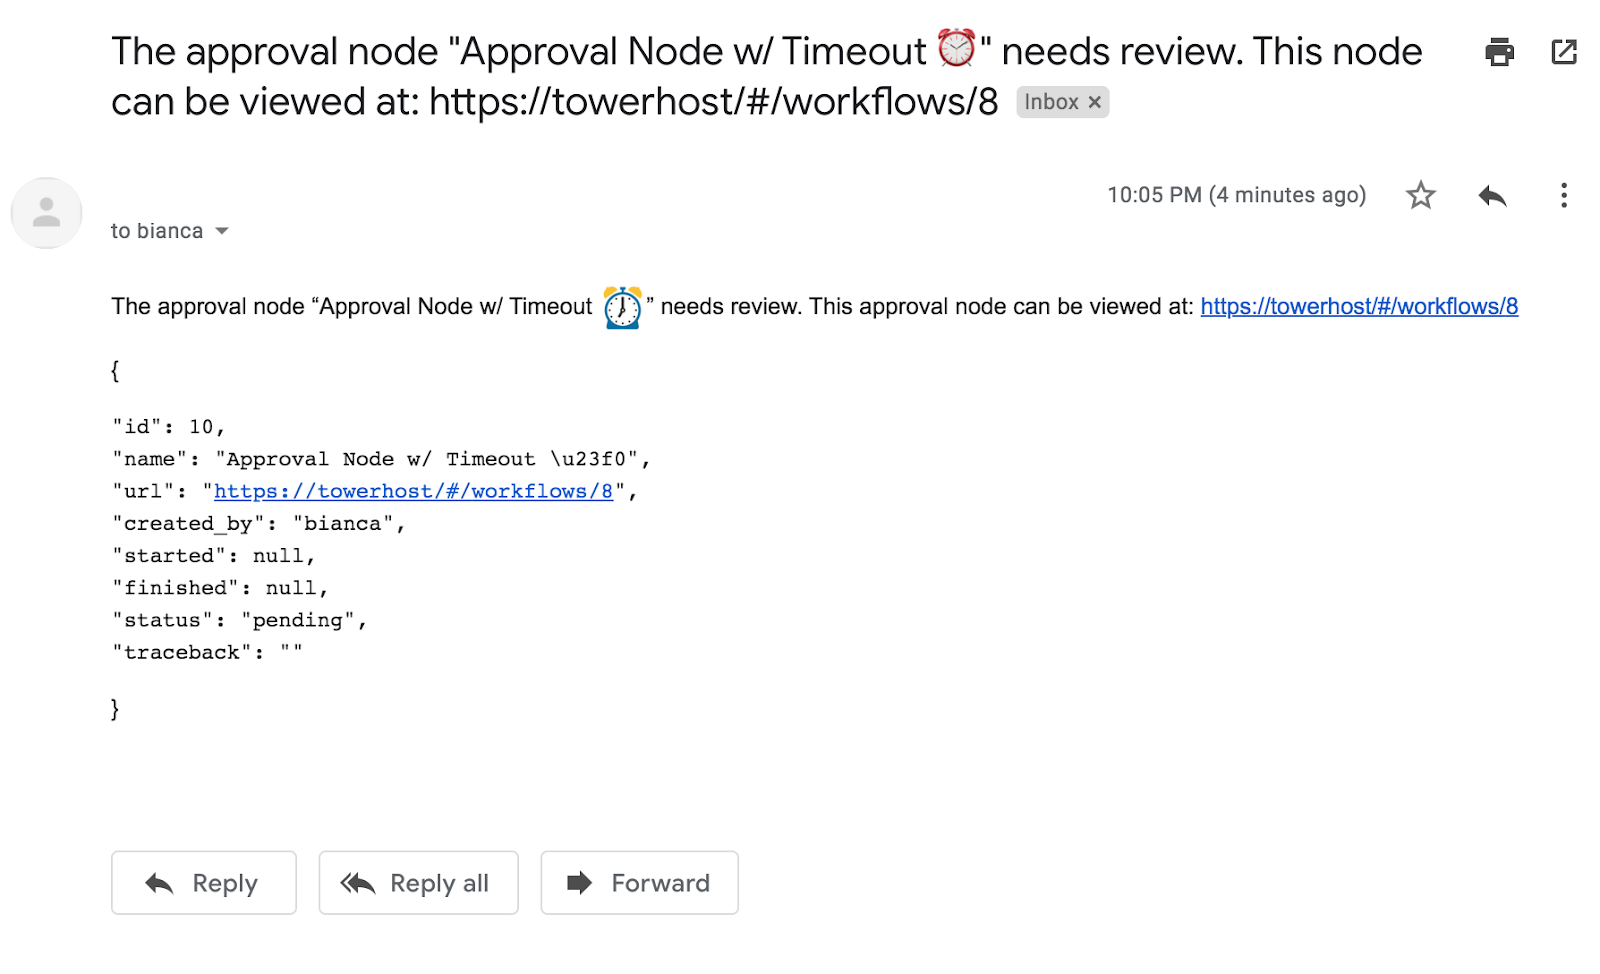
See below for an example of how a non-customized email notification looks when set to “Approval”:
 And below is how default Slack notifications look like for approval nodes:

Most notification types will include a URL to view the job in need of attention, for ease of review. For more information on how to enable and disable notifications in Ansible Tower, see the documentation page on this topic.
|
Note: Customized notifications work for approvals, too! See the Ansible Tower documentation about this customized template feature to learn more. |
Timeouts
Another added detail that increases the usefulness of this feature is the Timeout option. With an explicitly-enforced time limit, workflows will not be in “pending approval” state forever; this is useful in case there is a job that needs attention within a certain timeframe.
To set an approval node’s timeout, simply select it via the scrollable fields found here:

Note: When an approval node with a timeout expires, its status becomes the same as “denied”, and the next “run on failure” step will start (if there are any).
Approval-Specific Role-Based Access Controls
Since RBAC is an important part of Ansible Tower, we wanted to make sure that there would be very specific permissions related to approval nodes. Below is a chart that shows details at-a-glance:

This table is taken from documentation, the most up to date version can be found here.
On the top level, the System Administrator role has permissions for everything approval-related. The Auditor may view the approval and see information about it in the activity stream, but they do not automatically receive approval permissions to actually give the OK for the workflow to proceed.
In relation to this feature, there is a new type of user permission that was introduced: the Approve role. As long as a user specifically gets assigned to the workflow and has the Approve role assigned to them, they may view and approve/deny those nodes. They do not gain the ability to create approval nodes, unless they already had permission to do so (e.g., if they were already a workflow administrator or the administrator for the organization connected to that specific workflow).
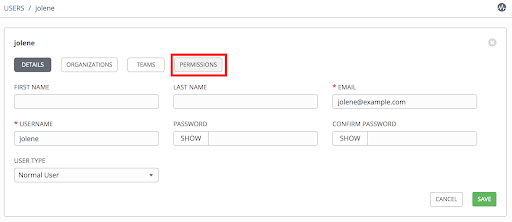
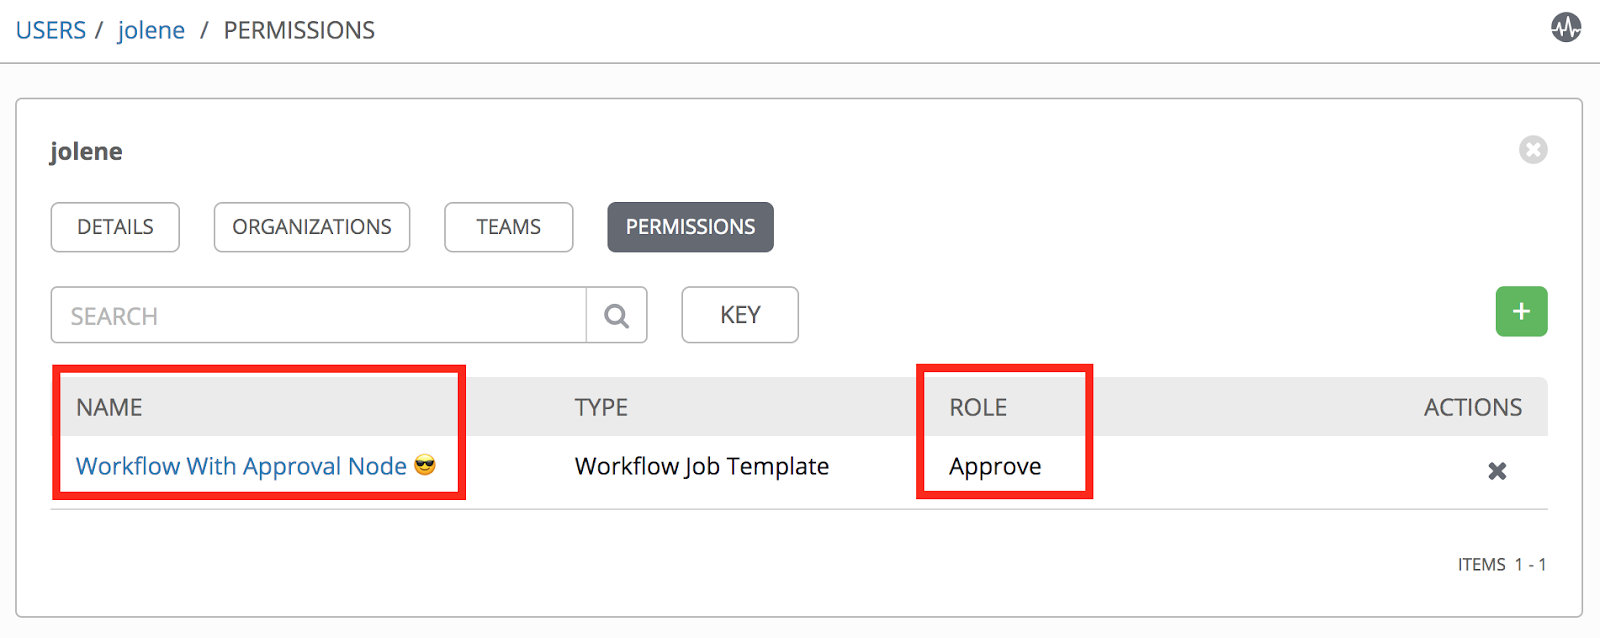
In the Ansible Tower UI, select any user you would like to assign the Approve role to, and click the Permissions button:
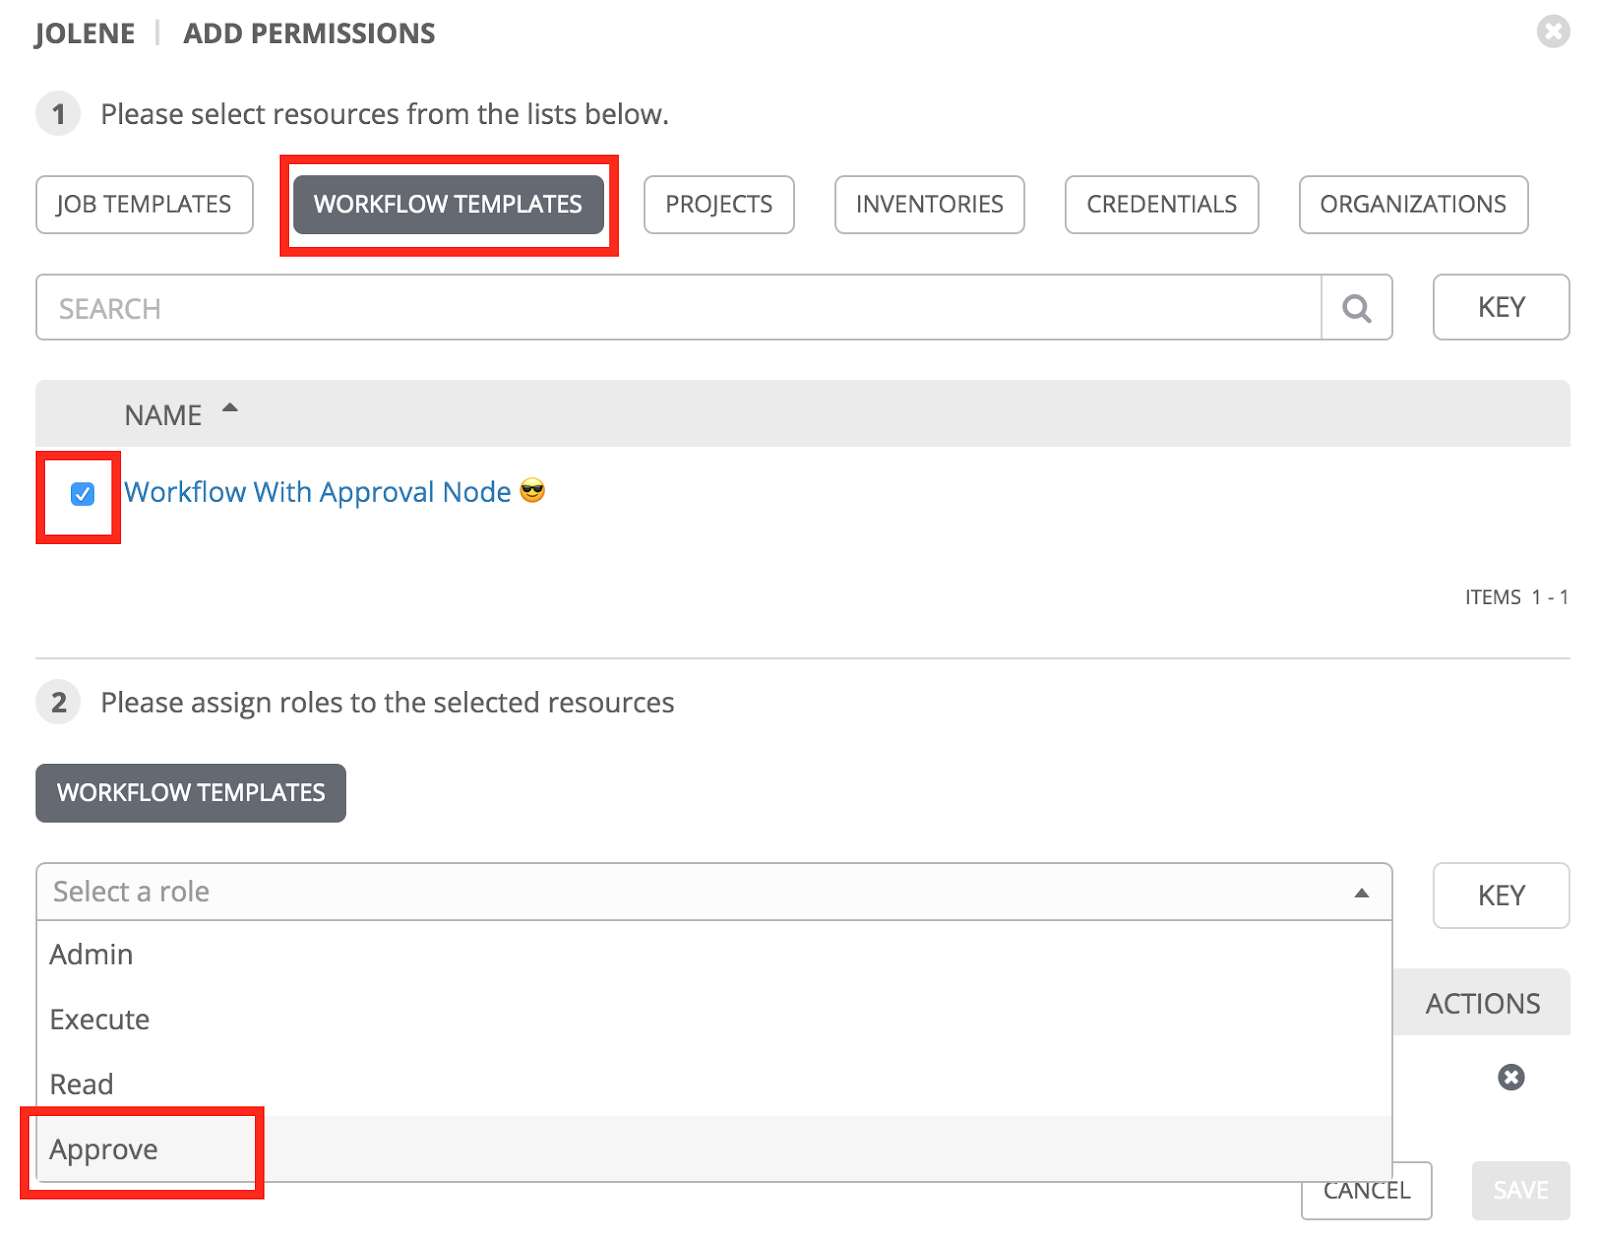
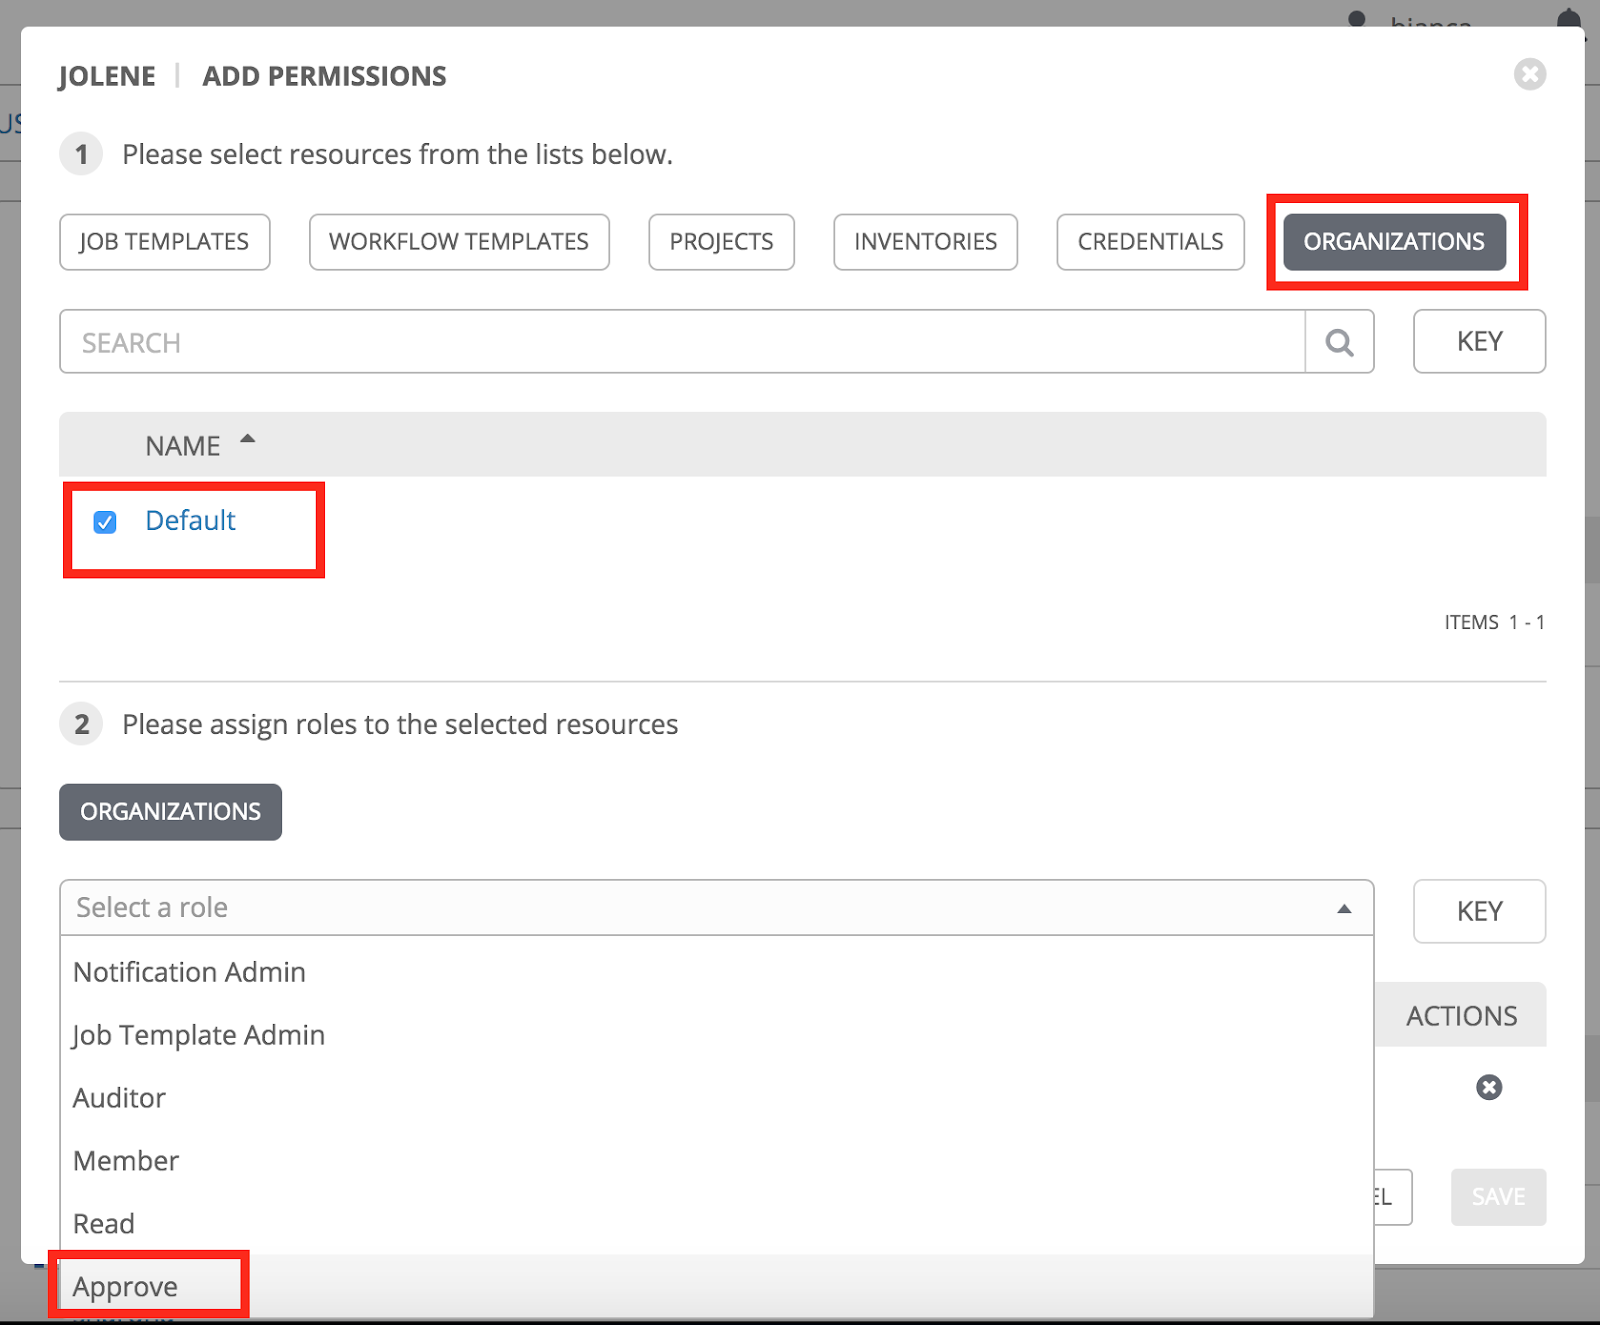
In the permissions window, click the Add button (green plus sign) in order to add a new permission level, then select Workflow or Organization.
If selecting Workflow, you will need to select the specific workflow you want them to have approval access to. The screenshot below is an example of what a user will see while doing this:
Once this is saved successfully, the workflow + Approve role will be displayed in that user’s permissions page:
In order to add the Approve role via Organization, click the Permissions button and the Add button as before. From there, click on the Organization tab, select the appropriate organization, and then select Approve from the drop-down of available roles:
After this is successfully saved, the organization and correct permissions will show up on that user’s permissions page:

Keep in mind, when assigning the Approve role on an organization level, the user will be able to approve/deny approval nodes inside of any workflow that is associated with that specific org. For a user to only have Approve permissions for specific workflows, it is best to apply the permission at a workflow level.
Note: Only the Org Admin, Workflow Admin, and Systems Administrators may grant approval roles to any users, as shown in the RBAC chart above.
Summary
This blog post covered what exactly approval nodes are, how to implement them into your workflows, details about related features such as notification alerts and timeouts, as well as approval-specific RBAC. This information should enable you to incorporate more control and oversight into your Ansible Tower workflows; for further reading on this topic, see the Ansible Tower documentation.
As always, happy automating!
Where to go next?
Not sure where to go next? Did Bianca’s post get you interested in trying out Ansible Tower?
- Click here to get a trial for Ansible Tower
- Attend an Ansible Automation Workshop and get hands-on with Ansible Tower
- Contact us to get pricing information on the Ansible Automation Platform
Also if you want to meet some of the blog authors like Bianca, make sure to sign up for updates on Ansiblefest 2020! Join us October 13-15 in San Diego
저자 소개
유사한 검색 결과
과거의 운영 방식에서 벗어나 IT의 미래 구축
추론에서 에이전트까지: Red Hat AI 3.4를 통해 기업의 AI 확장
Operating System Management | Compiler
Technically Speaking | Inside open source AI strategy
채널별 검색

오토메이션
기술, 팀, 인프라를 위한 IT 자동화 최신 동향

인공지능
고객이 어디서나 AI 워크로드를 실행할 수 있도록 지원하는 플랫폼 업데이트

오픈 하이브리드 클라우드
하이브리드 클라우드로 더욱 유연한 미래를 구축하는 방법을 알아보세요

보안
환경과 기술 전반에 걸쳐 리스크를 감소하는 방법에 대한 최신 정보

엣지 컴퓨팅
엣지에서의 운영을 단순화하는 플랫폼 업데이트

인프라
세계적으로 인정받은 기업용 Linux 플랫폼에 대한 최신 정보

애플리케이션
복잡한 애플리케이션에 대한 솔루션 더 보기
가상화
온프레미스와 클라우드 환경에서 워크로드를 유연하게 운영하기 위한 엔터프라이즈 가상화의 미래