
Red Hat Enterprise Linux (RHEL) 9 offers lots of significant new features, especially for organizations building and deploying applications across physical, virtual, private and public cloud, and edge environments. Now that it's an official release, you may want to start evaluating RHEL 9, testing your mission-critical applications, and planning your migration. Thanks to the Red Hat Developer program, you can download and try Red Hat Enterprise Linux and evaluate it for production.
To get an authentic copy of RHEL 9, create a developer account with developers.redhat.com. Take note of the username and passphrase you choose, as you'll need these later when registering your RHEL install.
Once you have an account, download the Red Hat Enterprise Linux install ISO image. The default download is for the x86_64 architecture, but ARM is also supported.
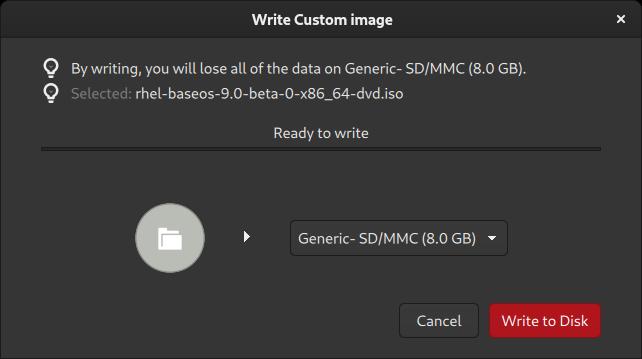
The installer image contains everything you need to develop on or administer a Red Hat Enterprise Linux system, so it might take several minutes to download. You can write the image to a USB thumb drive with the open source Fedora Media Writer application. Fedora Media Writer is available for Windows, macOS, and Linux.
If you're on Linux already, you can write the image to a thumb drive with the dd or ddrescue command. To do so, attach the thumb drive you want to use, and run the lsblk command to locate the thumb drive on your system:
NAME                  RM   SIZE RO TYPE  MOUNTPOINT
sdx                   1   7.8G  0 disk
└─sdx1                1   7.8G  0 part  /run/media/seth/thumb
nvme0n1               0 238.5G  0 disk
├─nvme0n1p1           0     3G  0 part  /boot
└─nvme0n1p2           0 235.5G  0 part
  └─luks-4ec4...41e4  0 235.5G  0 crypt
    ├─RHEL7-Root      0    50G  0 lvm   /
    ├─RHEL7-Home      0   100G  0 lvm   /home
    └─RHEL7-Swap      0     8G  0 lvm   [SWAP]
In this example, device /dev/sdx is the target thumb drive. To write the ISO directly to the drive with ddrescue, type the following:
sudo ddrescue -f -v rhel-9-x86_64.iso /dev/sdx
Boot the install media
Before you start installing RHEL, make sure to back up any data you want to keep. Installing an operating system onto a computer erases all existing information from the computer, so do not install your developer copy of RHEL onto a computer containing important data. When you're ready to install, attach the USB thumb drive to your target computer and reboot.
There are ways to "dual boot," but this is considered an advanced procedure requiring disk partitioning and careful data management, so it's out of scope for this article. If you are in doubt, try installing RHEL in a virtual machine instead.
[ Download the Linux commands cheat sheet. ]
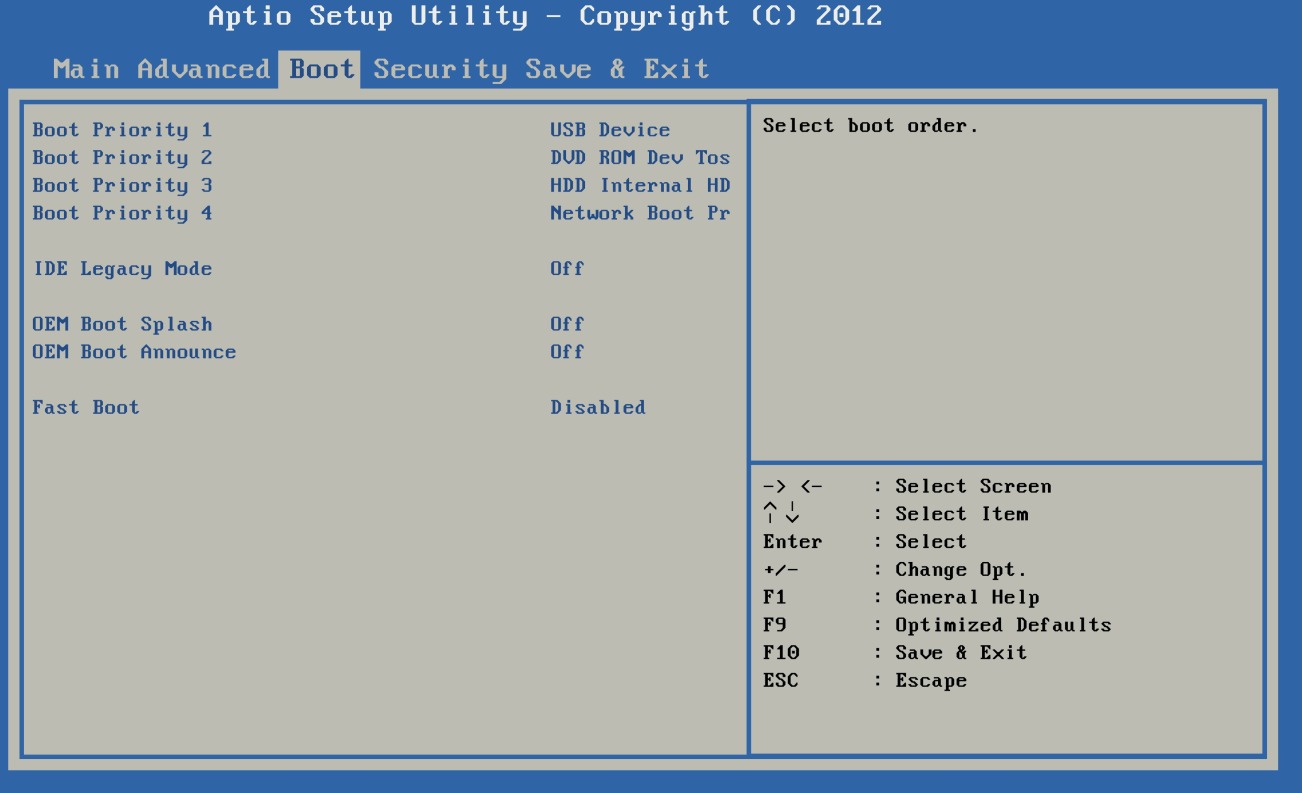
Once you insert the thumb drive to install, you might need to do some manual intervention to reboot to the Linux image on the thumb drive. Most computers' firmware boots from the first internal hard drive, not from an external thumb drive. You can configure these firmware settings in UEFI (BIOS on some systems). The method of getting into the UEFI or BIOS interface differs among motherboard vendors, but it usually involves pressing a function key just after powering on, or sometimes the Del, Backspace, or Esc key. Read the messages on your screen during boot for tips, or refer to your computer vendor's documentation.
Once you enter the UEFI or BIOS interface, locate the Boot settings menu and promote external USB drives to the first priority so that your computer looks for a thumb drive first, and then falls back on the internal drive if it doesn't find one.
Depending on the computer, you may also need to deactivate Secure Boot, a firmware routine that checks for Microsoft certificates before allowing your computer to boot. Not all motherboard vendors call the technology by the same name, so you might have to, for instance, deactivate Trusted Boot or enable Disable Secure Boot, or whatever else the UEFI or BIOS programmers chose to call the option.
Install RHEL 9
Once you've booted to the RHEL installer, it guides you through the process. The Anaconda install wizard is powerful, yet famously simple, providing you with good defaults with the option to adjust the configuration to your preference.
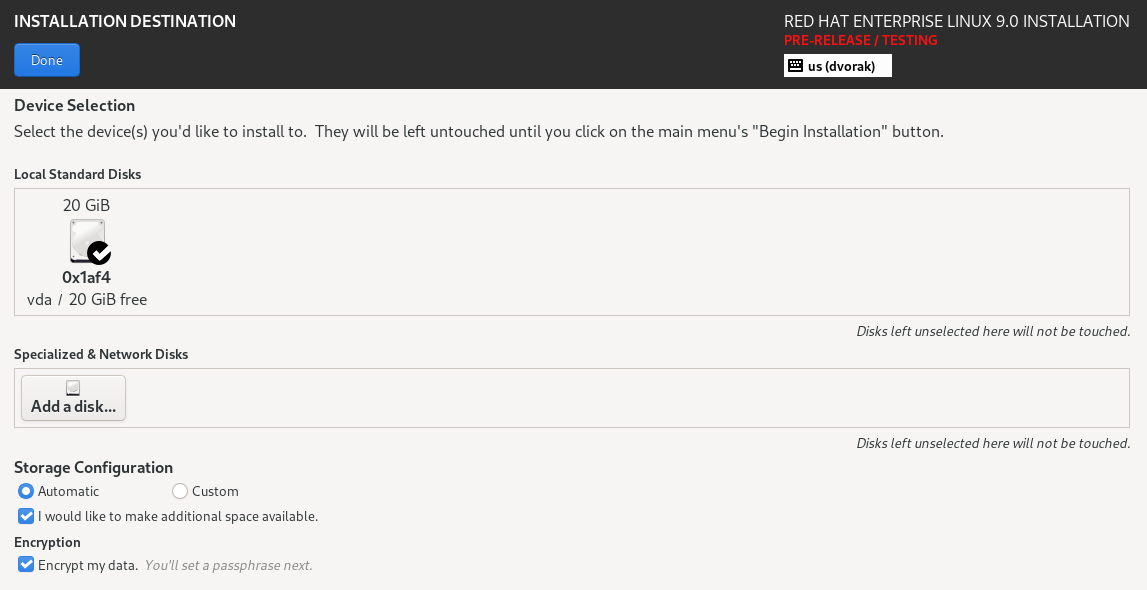
Click through each item in the Anaconda installer, or just review the ones you want to change. No matter what, take time to review the Installation Destination option, which by default tries to not overwrite whatever is installed on the drive. This option offers the benefit of preserving your existing data, but if you do so, there may not be enough room for another operating system on the drive. It's generally best to dedicate a computer to a single operating system: You avoid potential boot loader issues, and you always have the operating system available when you need it.
Assuming you've backed up all the data on this computer, select the option to make space available on your drive, and then delete all partitions for a fresh start.
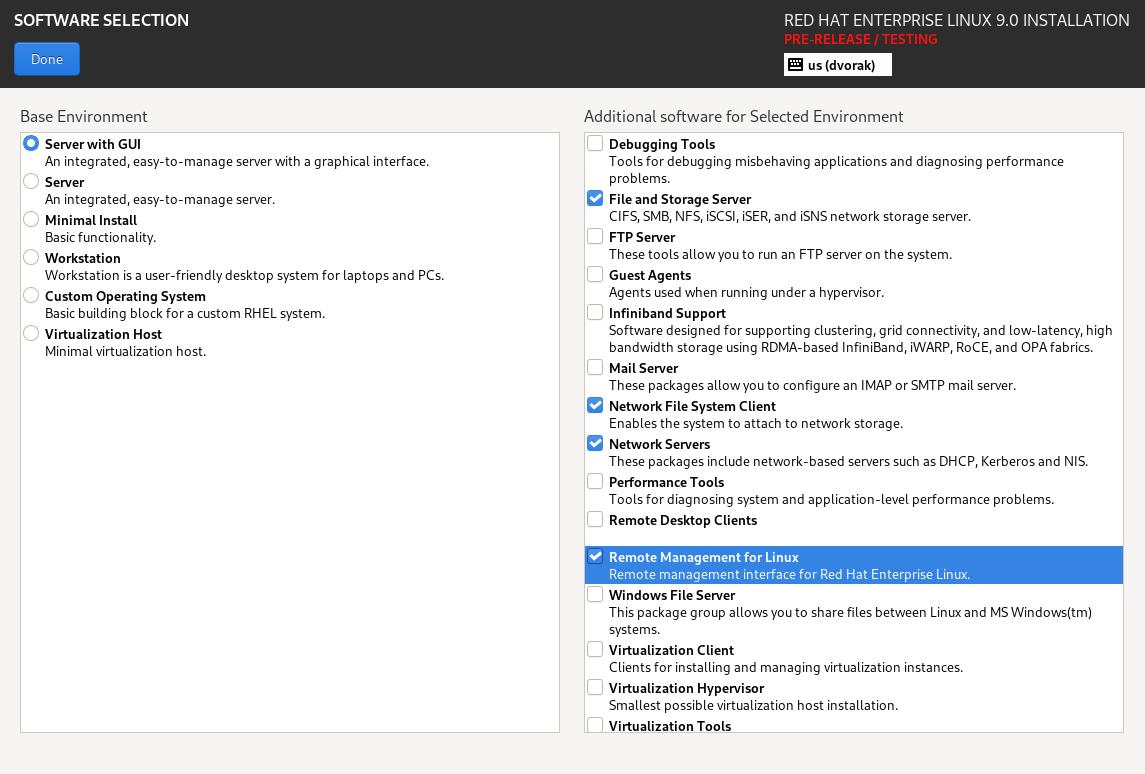
The Software Selection setting allows you to customize the software installed with the operating system. If you're new to Linux or to Red Hat Enterprise Linux, then the Workstation profile is the best way to get familiar with the system. This option provides familiar tools—a desktop, a file manager, and so on. Install all the software groups listed on the right that appeal to you, including GNOME Applications, Office Suite and Productivity, Development Tools, and Container Management.
Finally, click on the Connect to Red Hat option and log into your Red Hat account. Register your system, using the Set System Purpose options for added context. This data isn't permanent—you can change it later as you get more familiar with the system and what it offers.

Finally, you can create the initial user for your system. By default, the root user is disabled. I leave it disabled because brute-force attackers generally focus on root. Instead, I grant the initial user administrative permissions and delegate admin permission to users on an as-needed basis.
When you're ready to install (and you're confident that any existing data on this computer is expendable), click the Begin Installation button.
The rest of the installation is automated, so it's safe to step away. At the end of the process, click Reboot to boot into RHEL 9.
Configure the software
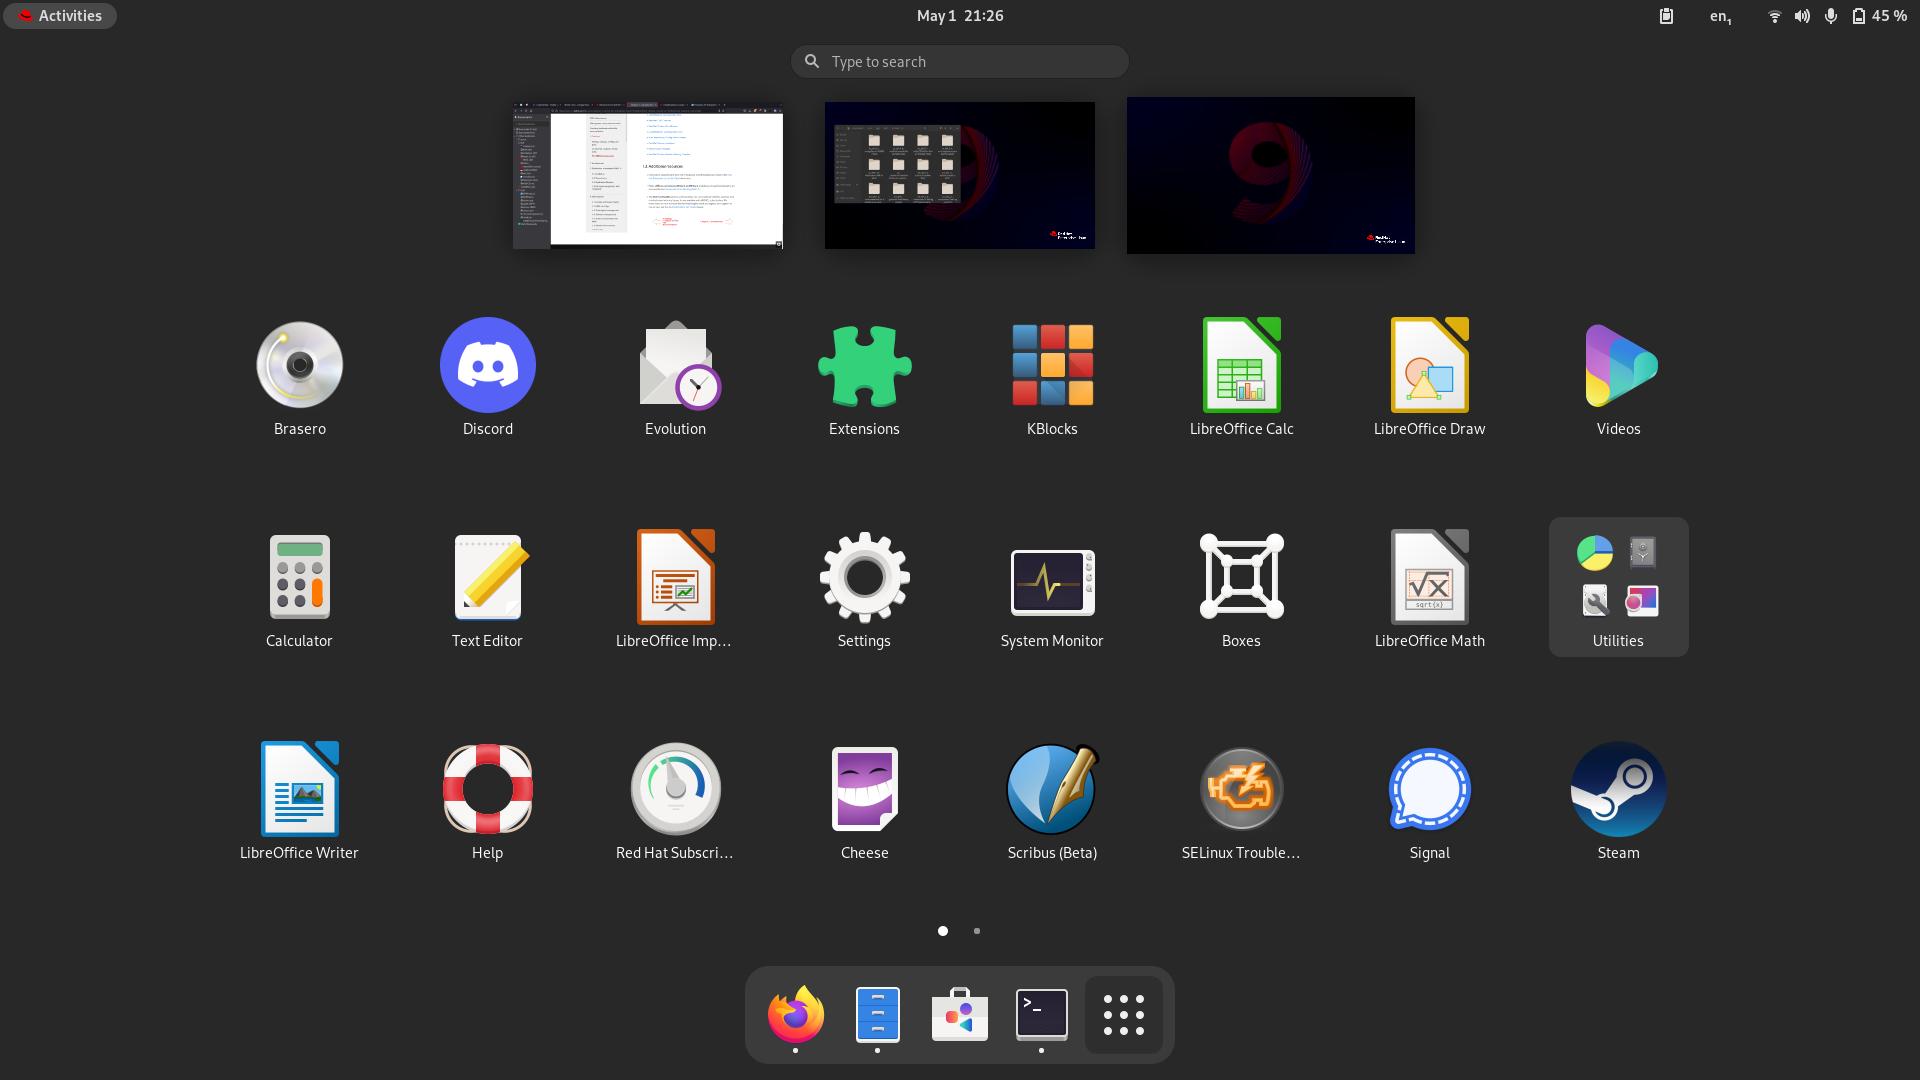
Log into your new system and have a look around. If you've used other Linux distributions, you'll find the same GNOME desktop you know from Fedora and others. If you're new to Linux, you might be surprised at how familiar the interface feels with its mix of all the best conventions from traditional desktops and progressive mobile interfaces. Most everything works as you'd expect. The system tray in the top-right corner contains your essential daily settings, such as your wireless and wired network settings, volume, screen brightness, and so on. The Activities menu (accessible either by moving your mouse to the top-left corner or by hitting the Super or Windows key on your keyboard) provides all the usual applications.
But first things first: You need to configure your software sources for updates. On Linux, the preferred manner of installing and maintaining software is through a distribution's software repositories (Mac and Windows are beginning to mimic this with their app stores). To gain access to Red Hat's repositories, you must register your system and then attach it to the default set of repositories.
Click the Activities menu in the top-left of your desktop, and then click the Show Applications button on the right end of the dock.
You have access to dozens of software repositories, offering collections of software for every niche and discipline. To view the repositories available to you, locate and launch the Software application. When an application runs on the GNOME desktop, an application menu appears on the top bar. This menu often contains general options, such as Preferences and Quit. Click the Software application menu and select Software Repositories.
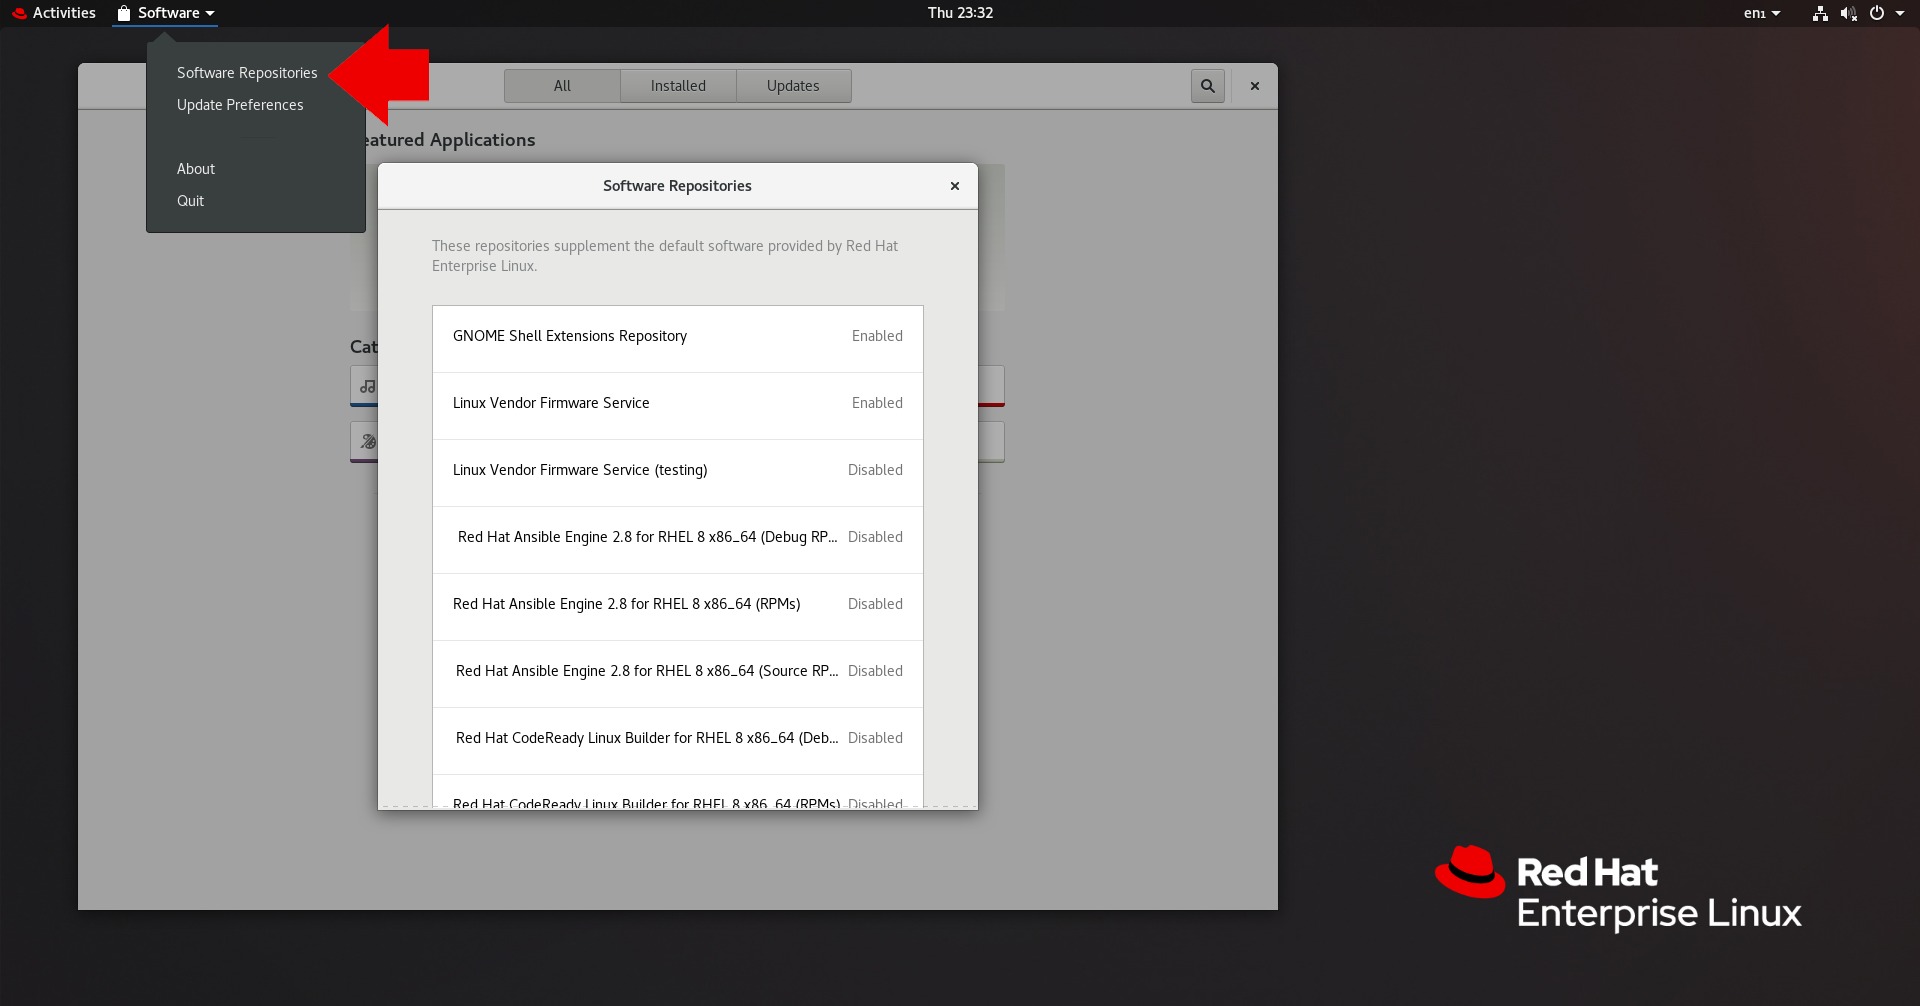
Click to enable or disable any repository on the displayed list.
Alternately, you can add the default set of repositories from the terminal:
sudo subscription-manager attach
You can also view available repositories:
sudo subscription-manager repos --list
Use Flatpak to install software
Red Hat provides all the software you need to get work done, but there's more software out there than just integrated development environments (IDEs) and office suites. To give your system a boost in the everyday workstation department, there's Flatpak, a universal packaging format for Linux. One of the largest repositories of flatpaks is Flathub.org, which provides a wide variety of applications, including the VLC media player, GNU Octave, and Steam (so you can game while waiting for servers to provision).
[ Turn curiosity into new skills in the Red Hat product trial center. ]
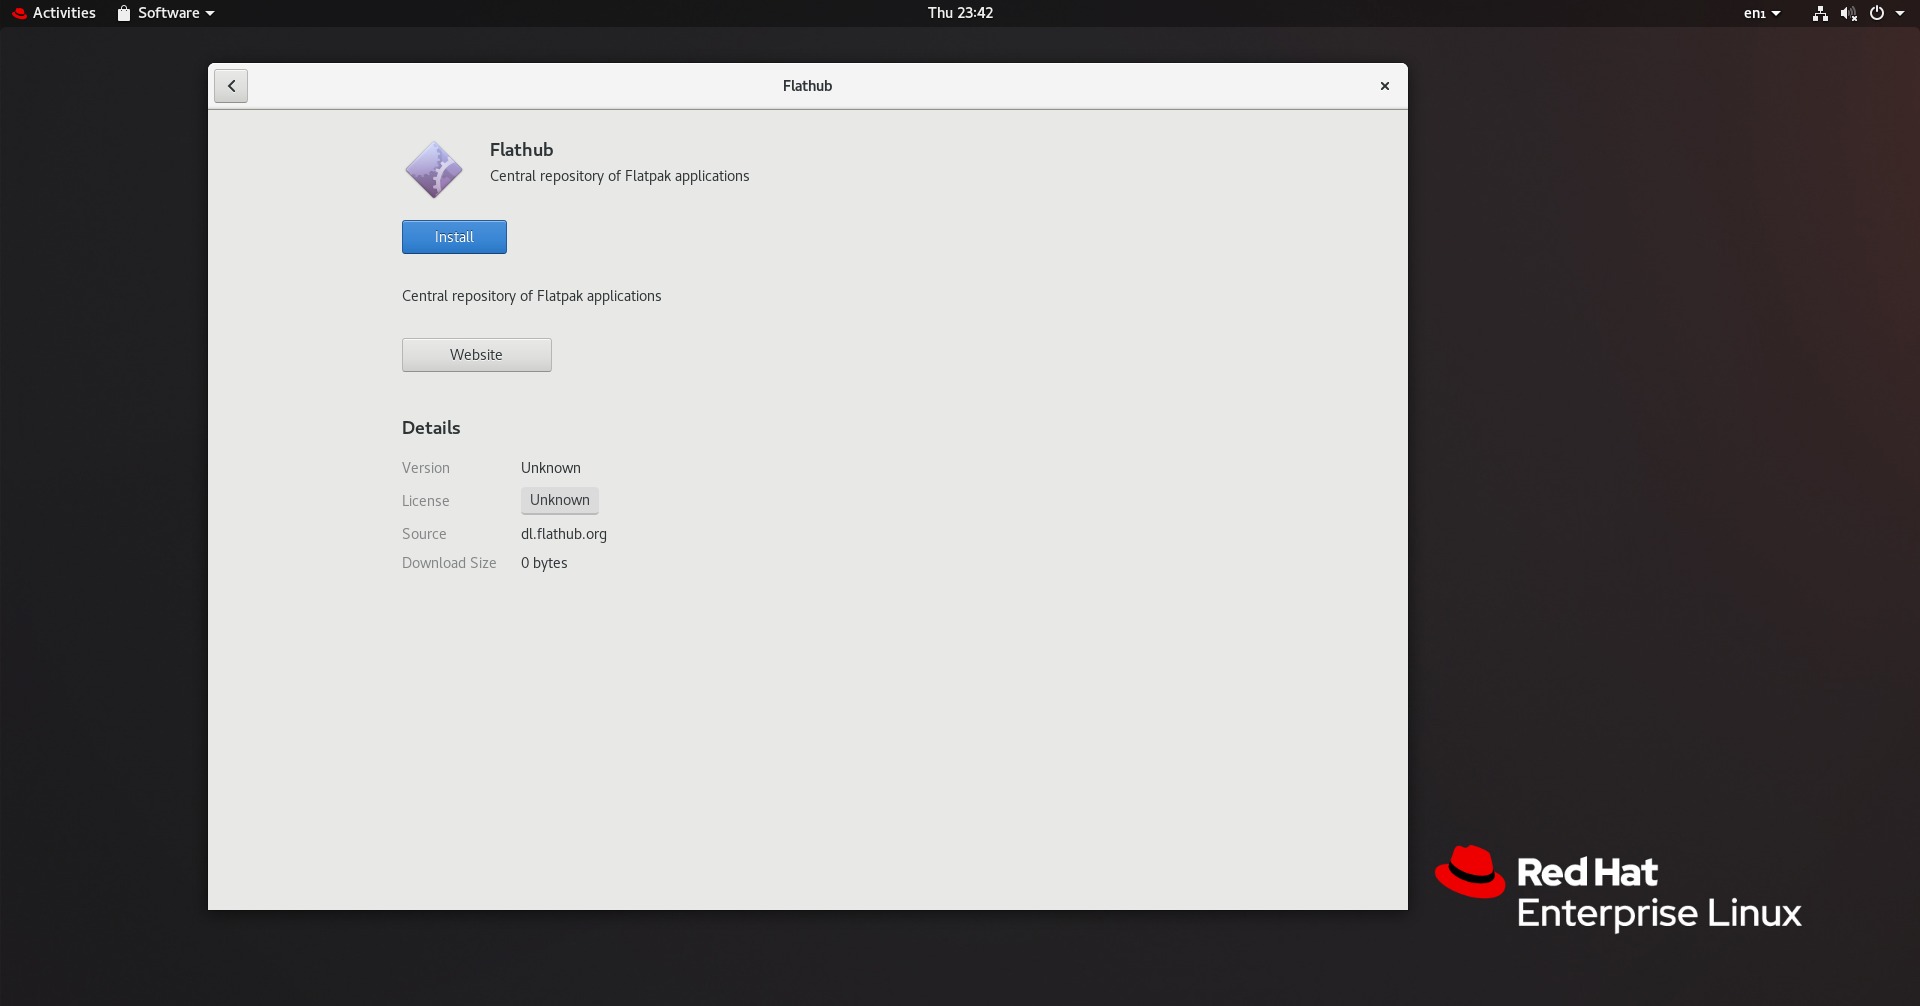
To add Flathub to your system, open Firefox and go to flatpak.org/setup/Red Hat Enterprise Linux. Skip the first step, and download the Flathub installer. Once the download finishes, open the Flathub installer in Software and click Install.
Log out
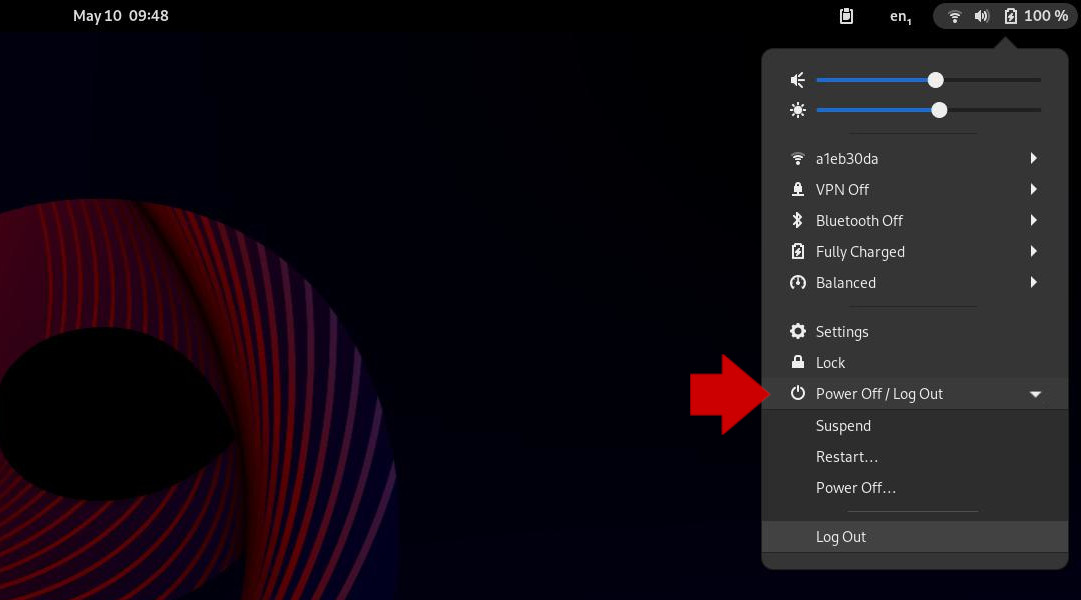
After you've added software repositories and Flathub, either log out of your desktop or just restart your computer.
Log back in and launch Software. Wait for the new repository configurations to load. Depending on what you've added, this process may take several minutes.
Once everything's loaded and refreshed, you can browse and install software at your leisure. There's a lot to explore, so pace yourself!
Use trusted Linux
Red Hat Enterprise Linux offers a predictable, stable environment for development and infrastructure. Learn it now—develop your applications, run containers, manage your servers, and monitor edge devices. It comes with unmatched flexibility and extensibility, and it's one of the most stable yet progressive distributions available. Try it today.
저자 소개
Seth Kenlon is a Linux geek, open source enthusiast, free culture advocate, and tabletop gamer. Between gigs in the film industry and the tech industry (not necessarily exclusive of one another), he likes to design games and hack on code (also not necessarily exclusive of one another).
유사한 검색 결과
Red Hat Device Edge, 이제 NVIDIA Jetson Orin에서 사용 가능
장기적인 안정성 지원: Red Hat Enterprise Linux Extended Life Cycle, Premium 출시
Infrastructure At The Edge | Compiler
Operating System Management | Compiler
채널별 검색

오토메이션
기술, 팀, 인프라를 위한 IT 자동화 최신 동향

인공지능
고객이 어디서나 AI 워크로드를 실행할 수 있도록 지원하는 플랫폼 업데이트

오픈 하이브리드 클라우드
하이브리드 클라우드로 더욱 유연한 미래를 구축하는 방법을 알아보세요

보안
환경과 기술 전반에 걸쳐 리스크를 감소하는 방법에 대한 최신 정보

엣지 컴퓨팅
엣지에서의 운영을 단순화하는 플랫폼 업데이트

인프라
세계적으로 인정받은 기업용 Linux 플랫폼에 대한 최신 정보

애플리케이션
복잡한 애플리케이션에 대한 솔루션 더 보기
가상화
온프레미스와 클라우드 환경에서 워크로드를 유연하게 운영하기 위한 엔터프라이즈 가상화의 미래