

The core Podman runtime environment only runs on Linux operating systems. Other operating systems can use remote client software to manage containers on a Linux backend. The remote client is nearly identical to the standard Podman program. Certain functions that do not make sense for remote clients have been removed. For example, the --latest switch for container commands is not present.
Brief architecture
The remote client uses a client-server model. You need Podman installed on a Linux machine or VM that also has the SSH daemon running. On the local operating system, when you execute a Podman command, Podman connects to the server via SSH. It then connects to the Podman service by using systemd socket activation. The Podman commands are executed on the server. From the client's point of view, it seems like Podman runs locally.

Podman is capable of exposing its service directly to TCP sockets, but using the SSH tunnel is recommended for security reasons.
Obtaining and installing Podman
Windows
Begin the Windows Podman client installation by downloading the Podman Windows installer. The Windows installer is built with each Podman release and is downloadable from the release description page. You can also build the installer from source using the podman.msi makefile endpoint.
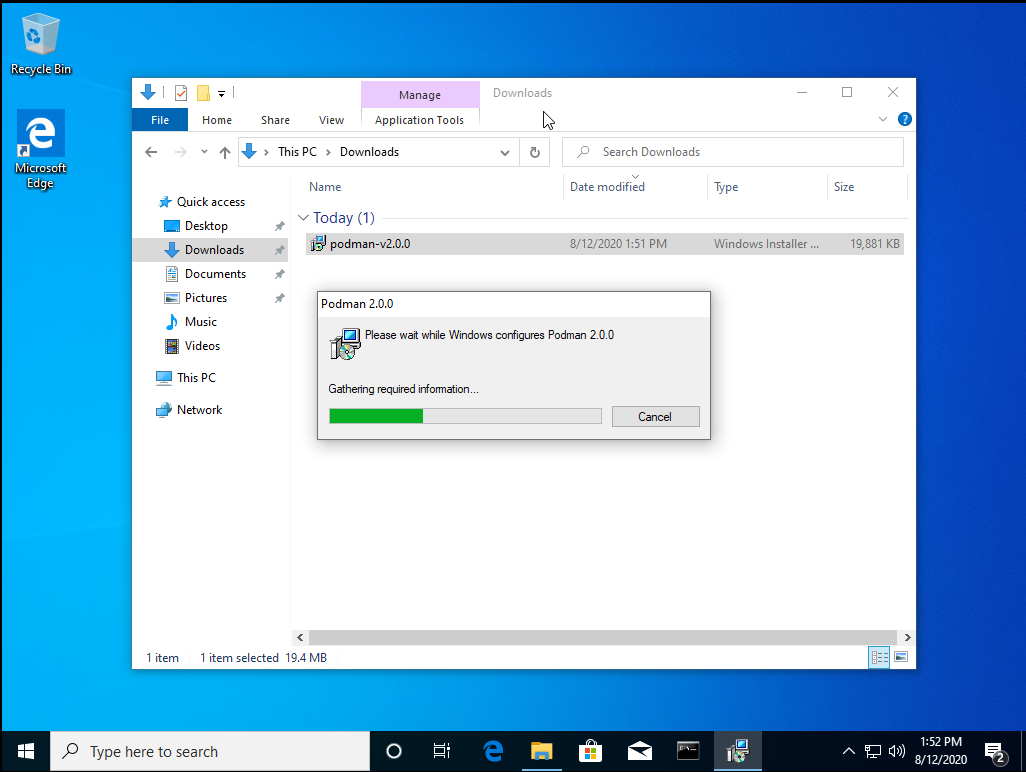
Once you have downloaded the installer, simply double-click it, and Podman client is installed. The installer puts podman in the default user path.
Podman must be run at a command prompt using the Windows cmd.exe or PowerShell applications.
macOS
The Mac client is available through Homebrew. You can download Homebrew via the instructions on their site. Install Podman using this command:
$ brew install podman
Create the first connection
Enable the Podman service on the server
Before performing any Podman client commands, you must enable the podman.sock systemd service on the Linux server. In these examples, we run Podman as a normal, unprivileged user (also known as a rootless user). By default, the rootless socket listens at /run/user/${UID}/podman/podman.sock. You enable this socket permanently using the following command:
$ systemctl --user enable podman.socket
You need to enable linger for this user for the socket to work when the user is not logged in.
$ sudo loginctl enable-linger $USER
Verify that the socket is listening with the following simple Podman command:
$ podman --remote info
host:
  arch: amd64
  buildahVersion: 1.16.0-dev
  cgroupVersion: v2
  conmon:
    package: conmon-2.0.19-1.fc32.x86_64
Enable sshd
For the client to communicate with the server, you need to enable and start the SSH daemon on your Linux machine. If it is not currently enabled, use the following command:
$ sudo systemctl enable -s sshd
Set up SSH
Remote Podman uses SSH to communicate between the client and the server. The remote client works considerably smoother with SSH keys. To set up your SSH connection, you need to generate an SSH key pair by using the ssh-keygen command:
$ ssh-keygen
By default, the public key is in your home directory under .ssh\id_rsa.pub. You need to copy the contents of id_rsa.pub and append it to ~/.ssh/authorized_keys on the Linux server. On a Mac, you can automate this using ssh-copy-id.
If you do not use SSH keys, you are prompted with each Podman command for your login password.
Use the client
The first step in using the Podman remote client is to configure a connection.
You can add a connection by using the podman system connection add command, as seen here:
C:\Users\baude> podman system connection add baude --identity c:\Users\baude\.ssh\id_rsa ssh://192.168.122.1/run/user/1000/podman/podman.sock
This command adds a remote connection to Podman. If this is the first connection, it marks it as the default. You can display your connections with the podman system connection list command, like this:
C:\Users\baude> podman system connection list
Name    Identity     URI
baude*    id_rsa           ssh://baude@192.168.122.1/run/user/1000/podman/podman.sock
Now you can test the connection with podman info.
C:\Users\baude> podman info
host:
  arch: amd64
  buildahVersion: 1.16.0-dev
  cgroupVersion: v2
  conmon:
    package: conmon-2.0.19-1.fc32.x86_64
Podman has also introduced a --connection flag to select other connections you have defined. If no connection is provided, the default connection is used.
The --help flag shows all the commands for manipulating the connections list. Here is the full command:
C:\Users\baude> podman system connection --help
Wrap up
You can use the Podman remote clients on macOS and Windows to manage your containers running on a Linux server. The communication between client and server relies heavily on SSH connections, and the use of SSH keys is encouraged. Once you have Podman installed on your remote client, you should set up a connection using podman system connection add which is then used by subsequent Podman commands.
[ Getting started with containers? Check out this free course. Deploying containerized applications: A technical overview. ]
저자 소개
Brent Baude has been working in hardware and software engineering for 27 years as an employee of IBM and Red Hat. Of late, he has specialized in Containers. His current role is that of Podman Architect.
Ashley Cui is a software engineer at Red Hat, working on Podman, Buildah, and other container tools.
유사한 검색 결과
Red Hat Enterprise Linux의 이미지 모드를 지금 바로 사용해야 하는 4가지 이유
강력한 보안, 즉시 사용 가능, 추가 비용 없이 제공: 컨테이너 보안의 진화
Container Roundup | Compiler
The Containers_Derby | Command Line Heroes
채널별 검색

오토메이션
기술, 팀, 인프라를 위한 IT 자동화 최신 동향

인공지능
고객이 어디서나 AI 워크로드를 실행할 수 있도록 지원하는 플랫폼 업데이트

오픈 하이브리드 클라우드
하이브리드 클라우드로 더욱 유연한 미래를 구축하는 방법을 알아보세요

보안
환경과 기술 전반에 걸쳐 리스크를 감소하는 방법에 대한 최신 정보

엣지 컴퓨팅
엣지에서의 운영을 단순화하는 플랫폼 업데이트

인프라
세계적으로 인정받은 기업용 Linux 플랫폼에 대한 최신 정보

애플리케이션
복잡한 애플리케이션에 대한 솔루션 더 보기
가상화
온프레미스와 클라우드 환경에서 워크로드를 유연하게 운영하기 위한 엔터프라이즈 가상화의 미래