
Any change in an environment can introduce risk. However, running management and peripheral services on the latest version of an operating system helps build knowledge and confidence within your organization. And by using your Red Hat Enterprise Linux (RHEL) systems in their Full Support Phase (that's the first five of the ten year support life cycle), you're getting the full support experience that you're entitled to. Moving your applications and services to RHEL is better done sooner than later, and it's not as hard as you might think.
In this article, I demonstrate how easy it is to deploy GitLab on a RHEL 9 system. In addition to using the latest version of RHEL, I also show you how to use Ansible to automate the deployment process. That means in the future, you can use Ansible automation to deploy GitLab onto newer versions of RHEL upon release.
1. Create an Ansible role
First, set up a role to install GitLab, based on the GitLab install instructions. Here’s a list of the directories and files contained within the role:
install_gitlab
├── defaults
│   └── main.yml
├── handlers
│   └── main.yml
├── tasks
│   ├── install-gitlab.yml
│   ├── install-prerequisites.yml
│   ├── main.yml
│   ├── set-ce-edition.yml
│   ├── set-ee-edition.yml
│   └── setup-gitlab-repo.yml
└── templates
    └── gitlab.repo.j2
2. Create Ansible tasks
There are 5 task files, starting with main.yml:
---
- name: set vars for community edition
  ansible.builtin.include_tasks:
    file: set-ce-edition.yml
  when:
    - gitlab_edition == 'community'
- name: set vars for enterprise edition
  ansible.builtin.include_tasks:
    file: set-ee-edition.yml
  when:
    - gitlab_edition == 'enterprise'

- name: import pre-tasks
  ansible.builtin.import_tasks: install-prerequisites.yml

- name: setup gitlab repo
  ansible.builtin.import_tasks: setup-gitlab-repo.yml

- name: install gitlab
  ansible.builtin.import_tasks: install-gitlab.yml
The main tasks file controls the process flow, and imports other task files. First, the task file evaluates which version of GitLab (CE or EE) to deploy (either the Community Edition or the Enterprise edition), and then sets the appropriate variables.
The next set of task files define a few variables based on the target version of GitLab. I'm using the Community Edition, but I include both for your reference. Here's the set-ce-edition.yml file:
---
- name: set CE vars
  ansible.builtin.set_fact:
    edition_abbreviation: ce
    gitlab_package: gitlab-ce
The set-ee-edition.yml file is the exact same logic, but it refers to the Enterprise Edition instead:
---
- name: set EE vars
  ansible.builtin.set_fact:
    edition_abbreviation: ee
    gitlab_package: gitlab-ee
Next, handle a few prerequisites of GitLab in the install-prerequisites.yml file:
---
- name: install prerequisites
  ansible.builtin.yum:
    name:
      - yum-utils
      - policycoreutils
      - openssh-server
      - openssh-clients
      - postfix
  register: packages_installed

- name: start/enable services
  ansible.builtin.systemd:
    name: "{{ service }}"
    enabled: yes
    state: started
  loop_control:
    loop_var: service
  loop:
    - sshd
    - postfix
  when:
    - packages_installed.changed
It’s very likely that some of the prerequisite packages are already installed, but Ansible skips over steps that aren't required on a given system.
Next, set up GitLab’s package repository on the system with the setup-gitlab-repo.yml file
---
- name: push gitlab repo file
  ansible.builtin.template:
    src: templates/gitlab.repo.j2
    dest: "/etc/yum.repos.d/gitlab_gitlab-{{ edition_abbreviation }}.repo"
    owner: root
    group: root
    mode: '0644'
  register: repo_file_pushed

- name: clear yum cache
  ansible.builtin.shell:
    cmd: yum clean all
  when:
    - repo_file_pushed.changed
And finally, install GitLab with install-gitlab.yml:
---
- name: install gitlab
  ansible.builtin.yum:
    name: "{{ gitlab_package }}"
  environment:
    EXTERNAL_URL: "https://{{ inventory_hostname }}"
    GITLAB_ROOT_PASSWORD: "{{ gitlab_admin_password }}"
  notify:
    - setup_api_token
In this file, a few environment variables are created for GitLab to use so it's not necessary to reconfigure the application after the RPM transaction finishes.
3. Defaults and templates
To support these Ansible tasks, you need to set up a few additional things.
Defaults: Defaults are typically set as values of last resort. That means that as long as a variable isn't overridden elsewhere, then the default value is used. For this role, set a default for the edition of GitLab. This can be defined in many other places with higher precedence, but it's valid to define it here.
---
gitlab_edition: 'community'
Templates: Set up a template called gitlab.repo.j2 for the GitLab repo:
[gitlab_gitlab-{{ edition_abbreviation }}]
name=gitlab_gitlab-{{ edition_abbreviation }}
baseurl=https://packages.gitlab.com/gitlab/gitlab-{{ edition_abbreviation }}/el/8/$basearch
repo_gpgcheck=1
gpgcheck=1
enabled=1
gpgkey=https://packages.gitlab.com/gitlab/gitlab-{{ edition_abbreviation }}/gpgkey
       https://packages.gitlab.com/gitlab/gitlab-{{ edition_abbreviation }}/gpgkey/gitlab-gitlab-{{ edition_abbreviation }}-3D645A26AB9FBD22.pub.gpg
sslverify=1
sslcacert=/etc/pki/tls/certs/ca-bundle.crt
metadata_expire=300

[gitlab_gitlab-{{ edition_abbreviation }}-source]
name=gitlab_gitlab-{{ edition_abbreviation }}-source
baseurl=https://packages.gitlab.com/gitlab/gitlab-{{ edition_abbreviation }}/el/8/SRPMS
repo_gpgcheck=1
gpgcheck=1
enabled=1
gpgkey=https://packages.gitlab.com/gitlab/gitlab-{{ edition_abbreviation }}/gpgkey
       https://packages.gitlab.com/gitlab/gitlab-{{ edition_abbreviation }}/gpgkey/gitlab-gitlab-{{ edition_abbreviation }}-3D645A26AB9FBD22.pub.gpg
sslverify=1
sslcacert=/etc/pki/tls/certs/ca-bundle.crt
metadata_expire=300
Note that this template has 8 hardcoded in it because GitLab doesn't yet have a repo set up for RHEL 9. In the future, that could be substituted for an Ansible variable, such as {{ ansible_distribution_major_version }}.
Handlers: After GitLab is up and running, I like to enable API access with a personal access token. Because you’re installing a fresh instance, you can add a task to your handlers file to set the access token for the root user:
---
- name: set access token for API access
  ansible.builtin.shell:
    cmd: >
      gitlab-rails runner "token = User.find_by_username('root').personal_access_tokens.create(scopes: [:api], name: 'Ansible Automation token'); token.set_token('{{ gitlab_admin_password }}'); token.save!"
  register: token_create_output
  listen:
    - setup_api_token
Setting this token allows GitLab to be configured through its API or with Ansible modules in the community.general once this role has run successfully.
The role is now complete. throw together a quick playbook, and save it as ???.yml:
---
- name: install gitlab
  hosts:
    - all
  roles:
    - roles/install_gitlab
Create an inventory file to point Ansible at our RHEL9 system, and save it to ???:
---
all:
  children:
    gitlab:
      hosts:
        gitlab.example.com:
          ansible_user: tux
          ansible_password: 'change_me'
          ansible_become: yes
          ansible_become_password: 'change_me'
          gitlab_admin_password: 'change_me'
4. Run the playbook
Everything's set. It's time to run your Anisble playbook:
$ ansible-playbook blah.yml
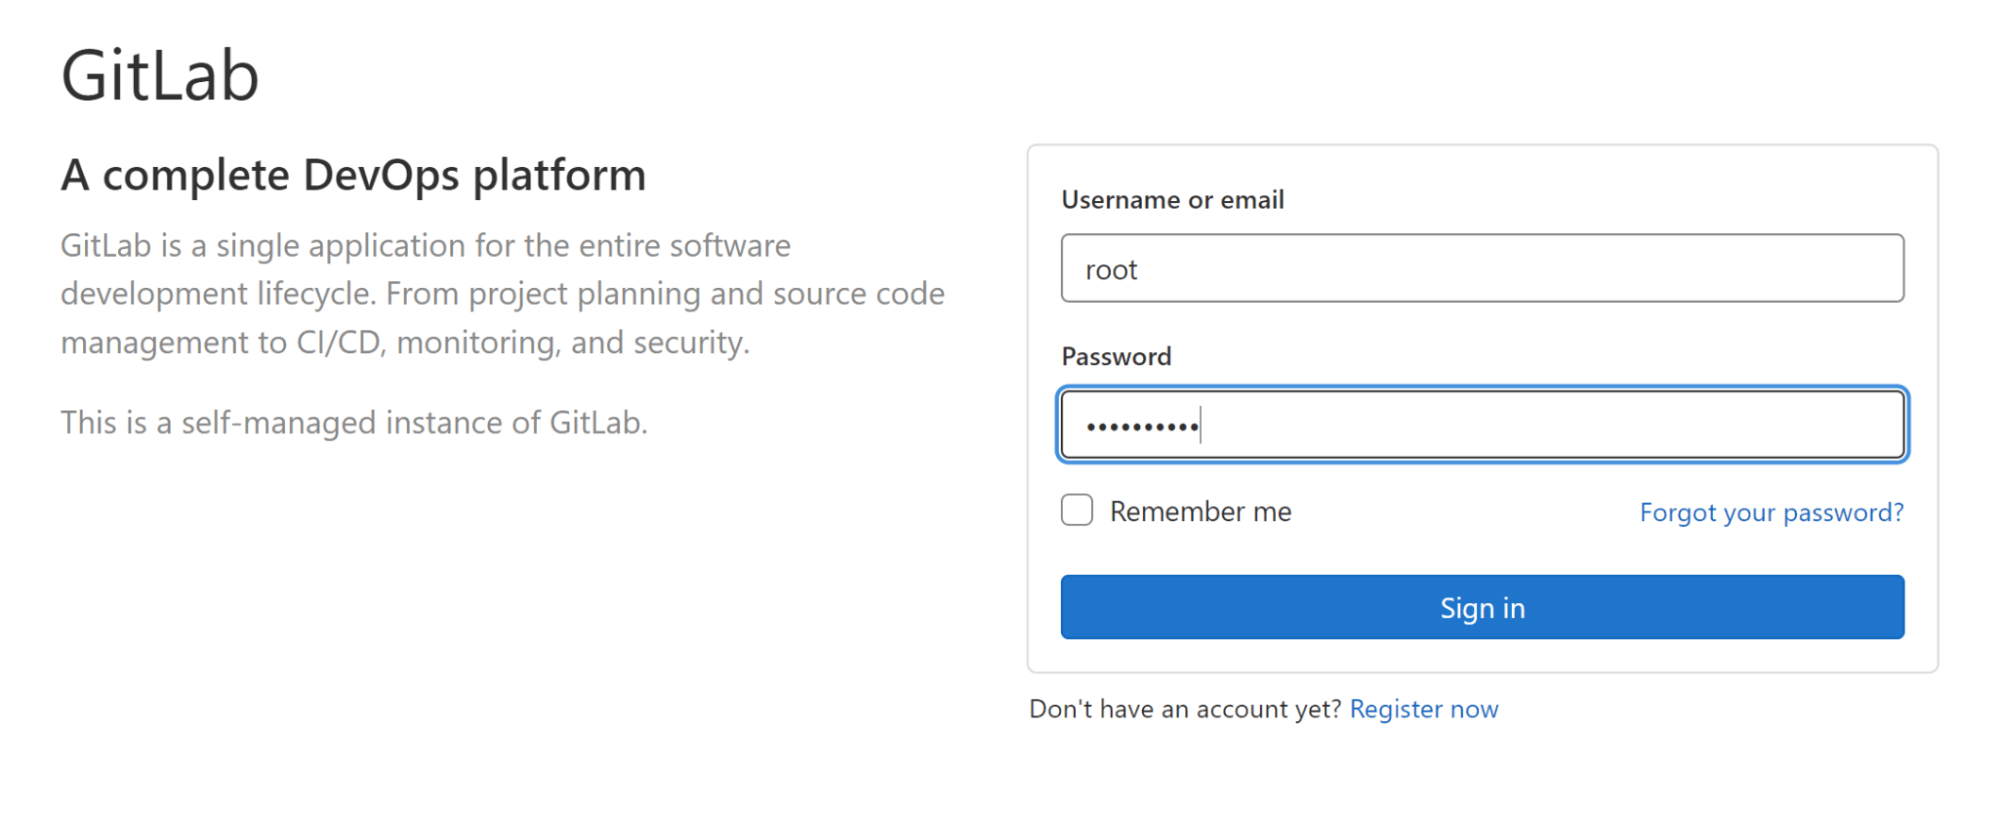
Once your playbook finishes, visit the web address of your new GitLab instance, and use the admin password to log in.
Conclusion: You've just installed GitLab on a RHEL 9 system using Ansible! While this is a straightforward procedure, you’ve taken a few important steps here. You’ve developed a reusable Ansible role that’s portable across major versions of RHEL without much modification, and you’ve placed an important workload on the latest version of the world’s leading enterprise Linux platform: Red Hat Enterprise Linux.
Sobre el autor
Josh is Red Hat’s industrial edge architect on the global edge architecture team, focused on the industrial edge. He’s worked on the floor of manufacturing plants and built industrial control systems before moving over into enterprise architecture to handle IT/OT convergence. While at Red Hat, he’s worked with large automotive companies, the oil and gas supermajors, and major manufacturing companies on their approach to next generation compute at the industrial edge.
Más como éste
La paradoja agéntica y los argumentos a favor de la IA híbrida
Deja de administrar el pasado y comienza a forjar el futuro de TI
Operating System Management | Compiler
Technically Speaking | Inside open source AI strategy
Navegar por canal

Automatización
Las últimas novedades en la automatización de la TI para los equipos, la tecnología y los entornos

Inteligencia artificial
Descubra las actualizaciones en las plataformas que permiten a los clientes ejecutar cargas de trabajo de inteligecia artificial en cualquier lugar

Nube híbrida abierta
Vea como construimos un futuro flexible con la nube híbrida

Seguridad
Vea las últimas novedades sobre cómo reducimos los riesgos en entornos y tecnologías

Edge computing
Conozca las actualizaciones en las plataformas que simplifican las operaciones en el edge

Infraestructura
Vea las últimas novedades sobre la plataforma Linux empresarial líder en el mundo

Aplicaciones
Conozca nuestras soluciones para abordar los desafíos más complejos de las aplicaciones
Virtualización
El futuro de la virtualización empresarial para tus cargas de trabajo locales o en la nube