
Are you a Microsoft SQL Server database administrator (DBA)? Do you have a proliferation of smaller instances of Express and Standard editions in your environment? With Red Hat Enterprise Linux (RHEL), these instances can be consolidated onto a single host as containers. Part one of this blog discussed how this can help you reduce costs. That article also discusses the advantages of the container approach and shows IT administrators how to set up the graphical RHEL web console environment we’re going to be working with today.
The steps we’re about to follow require a web browser and access to a standard user account on a RHEL system, the account does not require administrator (root) privileges. We’ll be using the graphical RHEL web console, extensive Linux-specific knowledge will not be required.
We start by pointing our web browser to the URL http://<hostname>:9090, where hostname for our example today is rhel91.
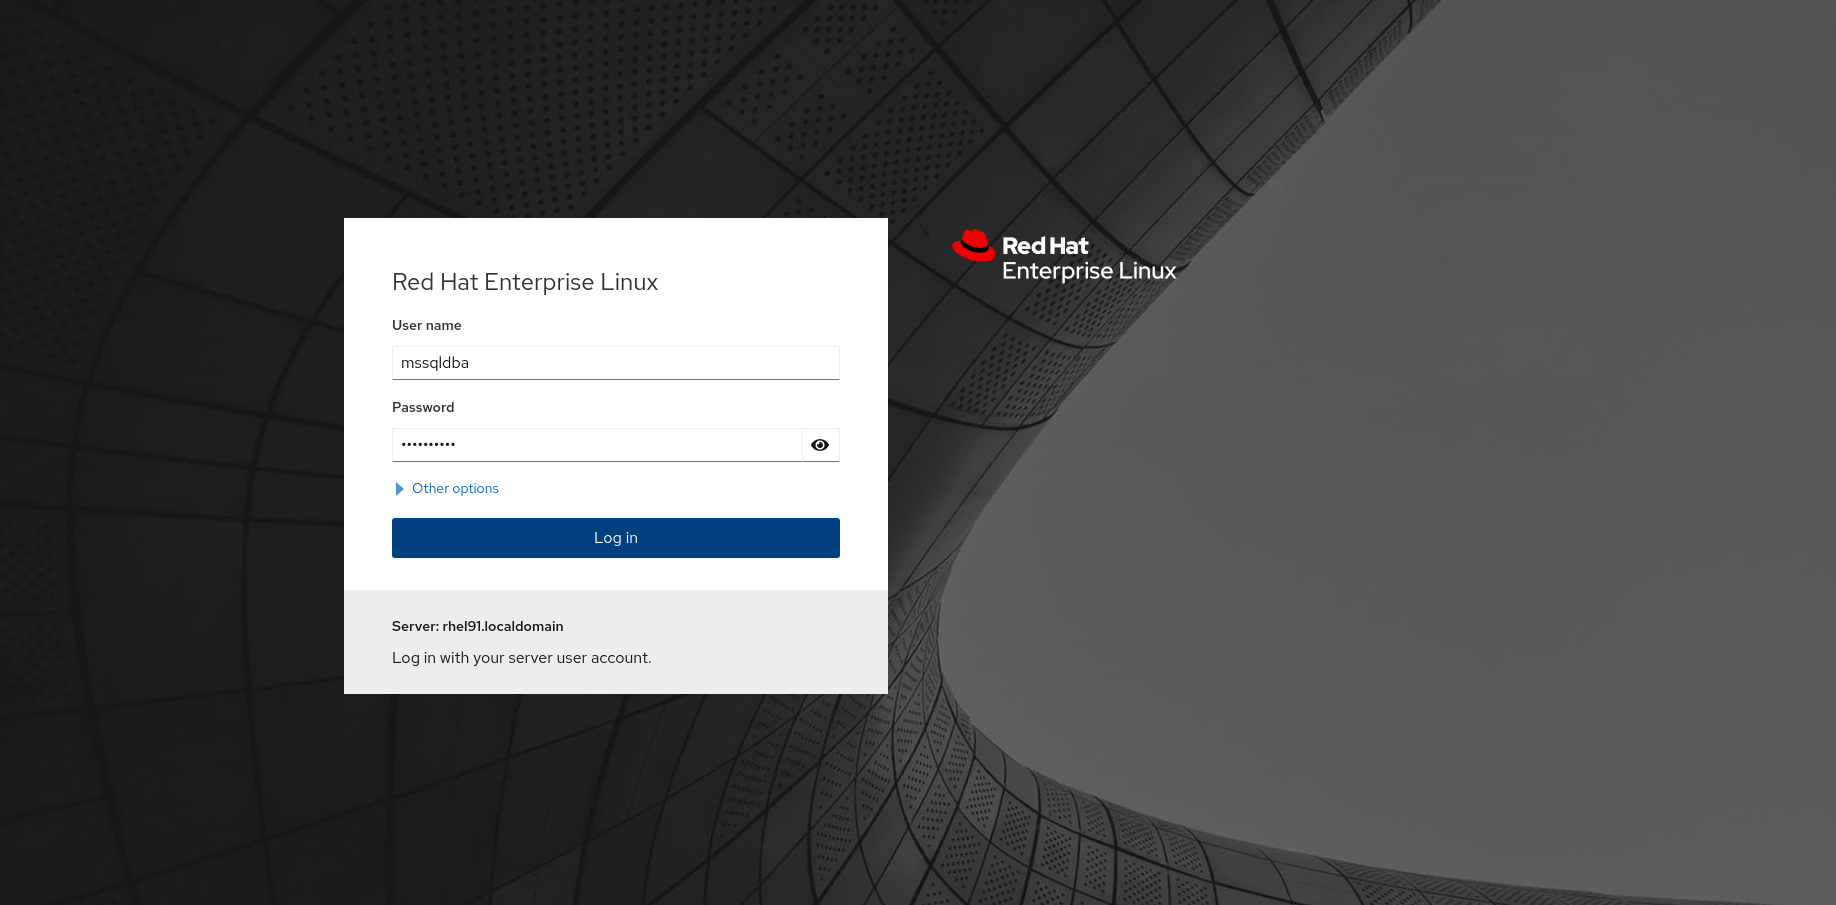
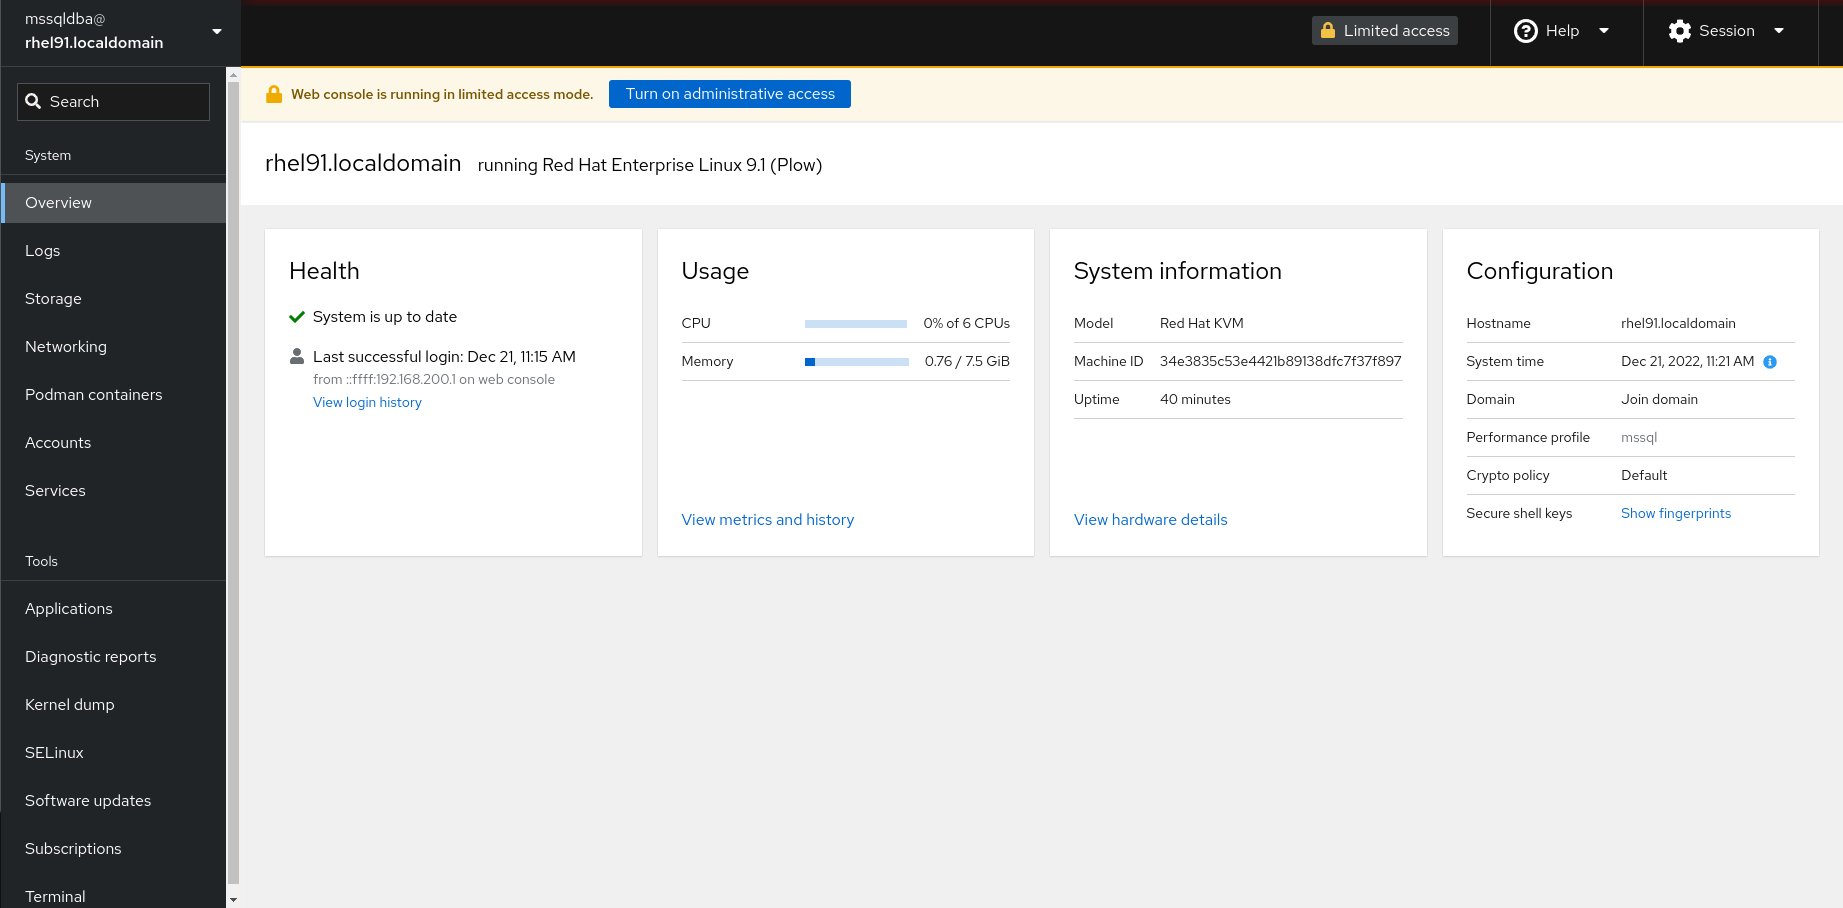
At the login screen, we enter our account name (in this example, mssqldba) and the password we created for the account. Once we’ve connected the RHEL Web Console, we’ll see a screen like this:
We now need to install the Microsoft SQL Server container image that we’ll be using to deploy our database instances. When I want to find containers built with the Red Hat Universal Base Image (UBI), I know I can search for it in the Red Hat Certified Software catalog. Entering "SQL Server container" into the search will get you to the official SQL Server on Red Hat container image from Microsoft. Following the instructions on this page, we'll first run a command to install the latest SQL Server 2022 image.
There is a Terminal link on the left hand side of the screen, near the bottom. Select Terminal to get to the Terminal screen:
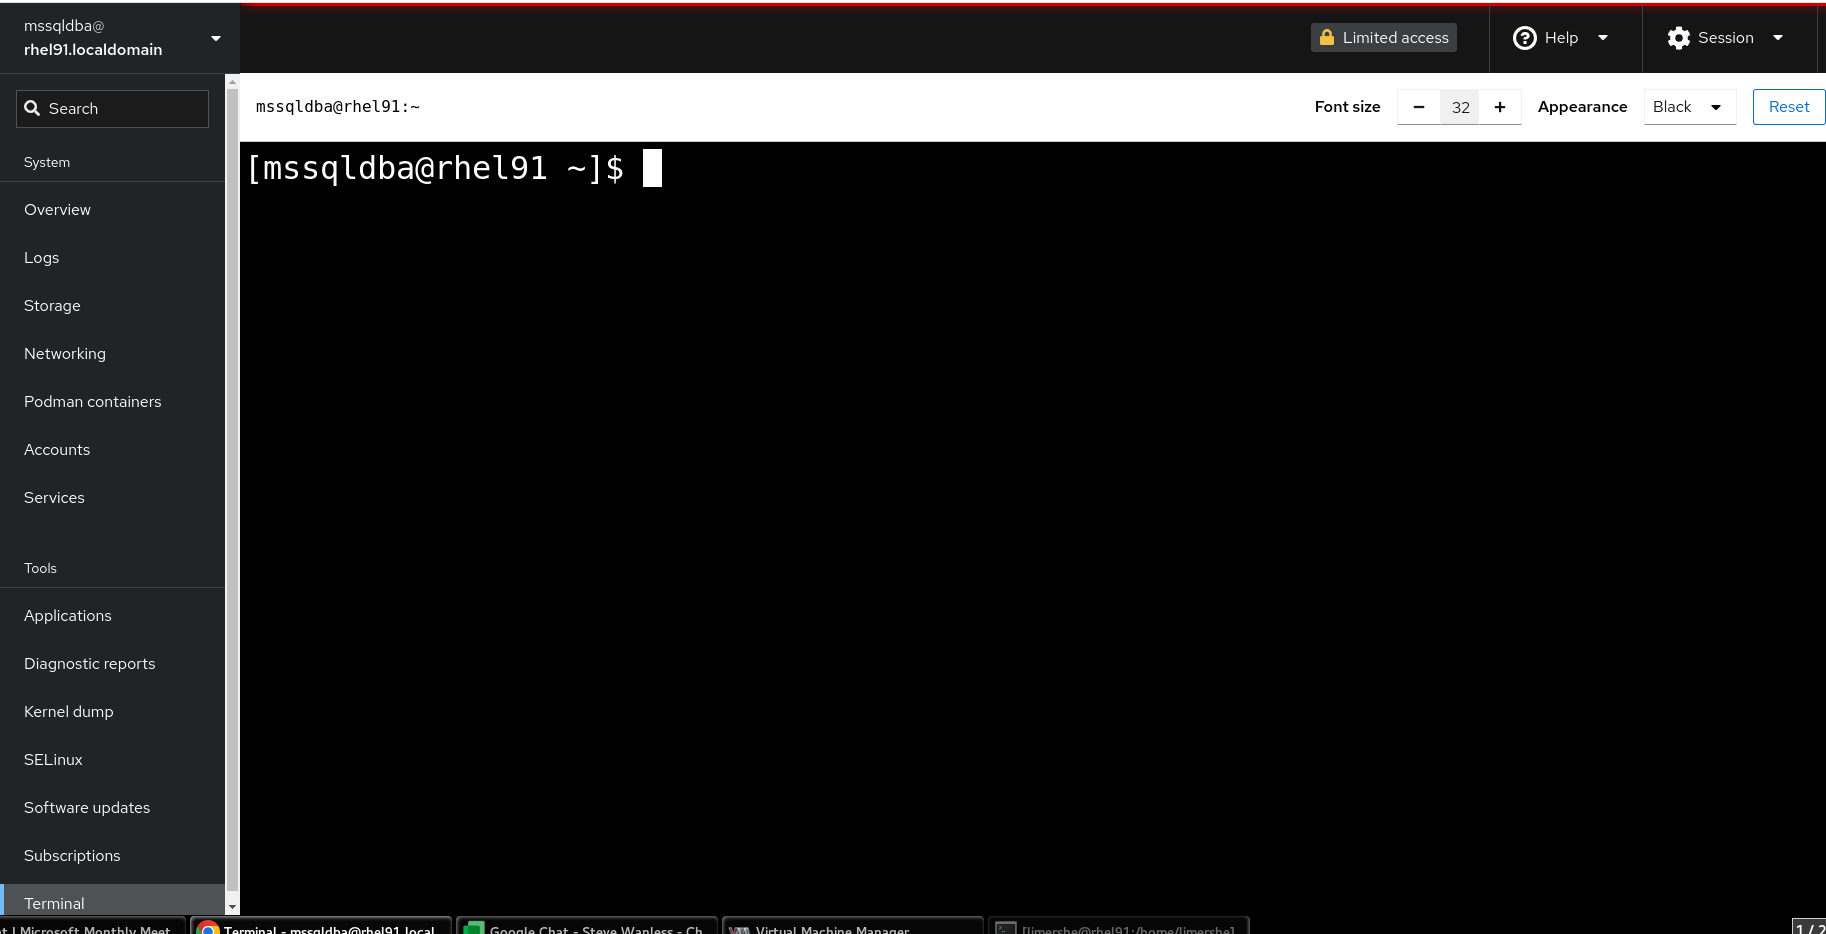
In the Terminal window enter the following command:
$ podman image pull mcr.microsoft.com/mssql/rhel/server:2022-latest
This pulls the latest version of the SQL Server 2022 image from the Microsoft Artifact Registry at mcr.microsoft.com. We’re going to be running these SQL Server containers from an end-user account which is both convenient, if we are a DBA who doesn’t have administrative access to the system, and potentially safer, because SQL Server server security issues can’t be used to gain administrative access to the entire system, since nothing is being run from the superuser (root) account.
Since we want your databases to persist, even if we upgrade to a newer version of the container, we’ll go ahead and create some directories in which to store data and configuration on the system. In our example, the mssqldba account uses the directory, /home/mssqldba . We’ll create our directories, set the permissions so that we have user and group read,write,and execute privileges. Finally, we’ll tell podman to set the ownership of files to user ID (UID) 10001 which is the user for the SQL Server container. Once again, notice that I’m doing all of this as a regular end-user and not as root:
$ mkdir -p mssql1/log mssql1/secrets mssql1/data
$ chmod -R 770 mssql1
$ podman unshare chown -R 10001 mssql1
Navigate the Podman containers screen by selecting the option on the left and we’ll be brought to this screen:
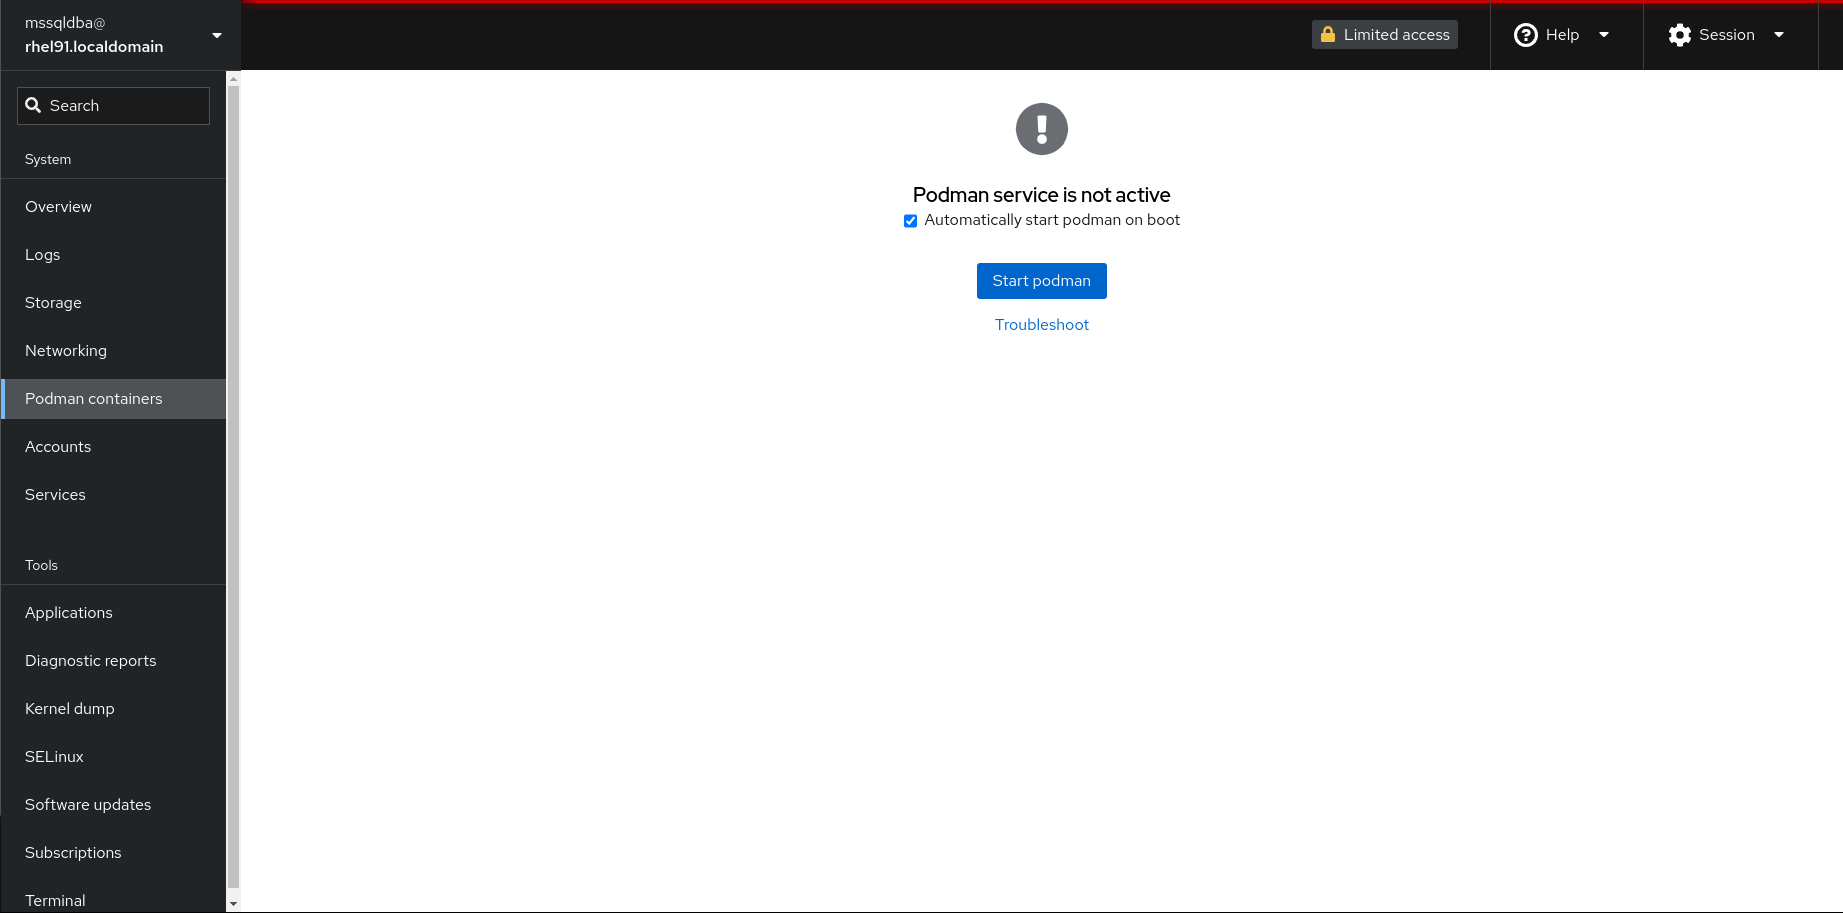
We make sure that the option Automatically start podman on boot is checked, and select Start podman.
On completion we will be brought to this screen:
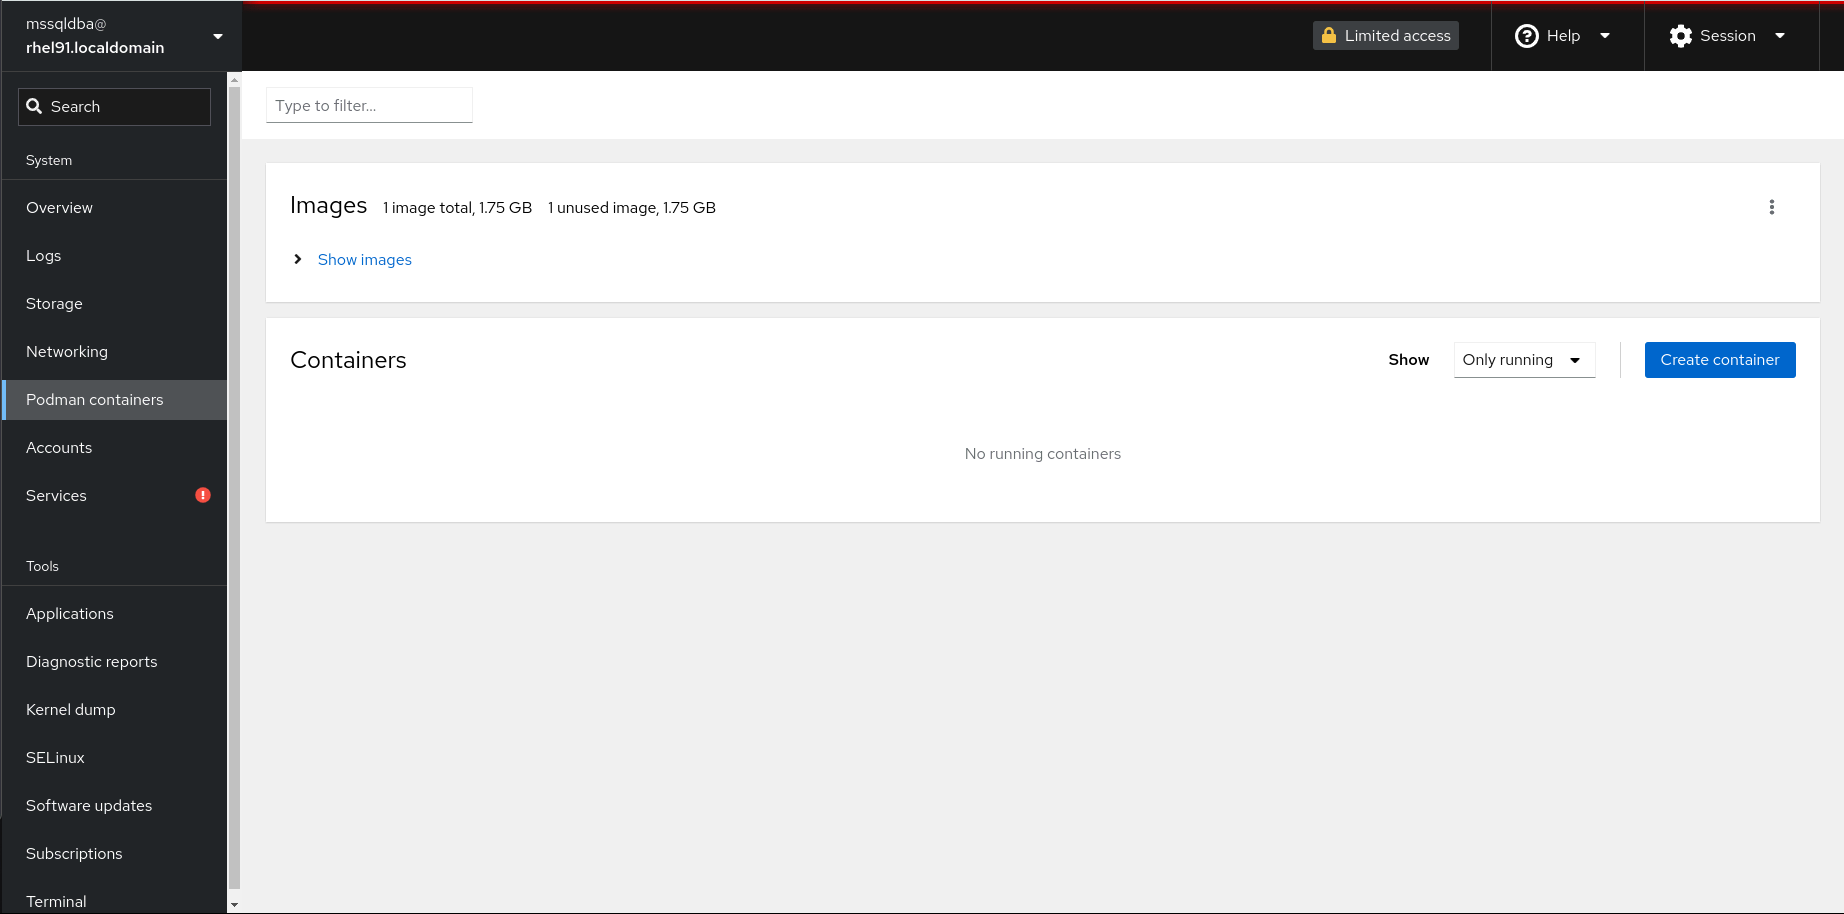
Selecting Show Images will list the SQL Server image that we loaded previously.
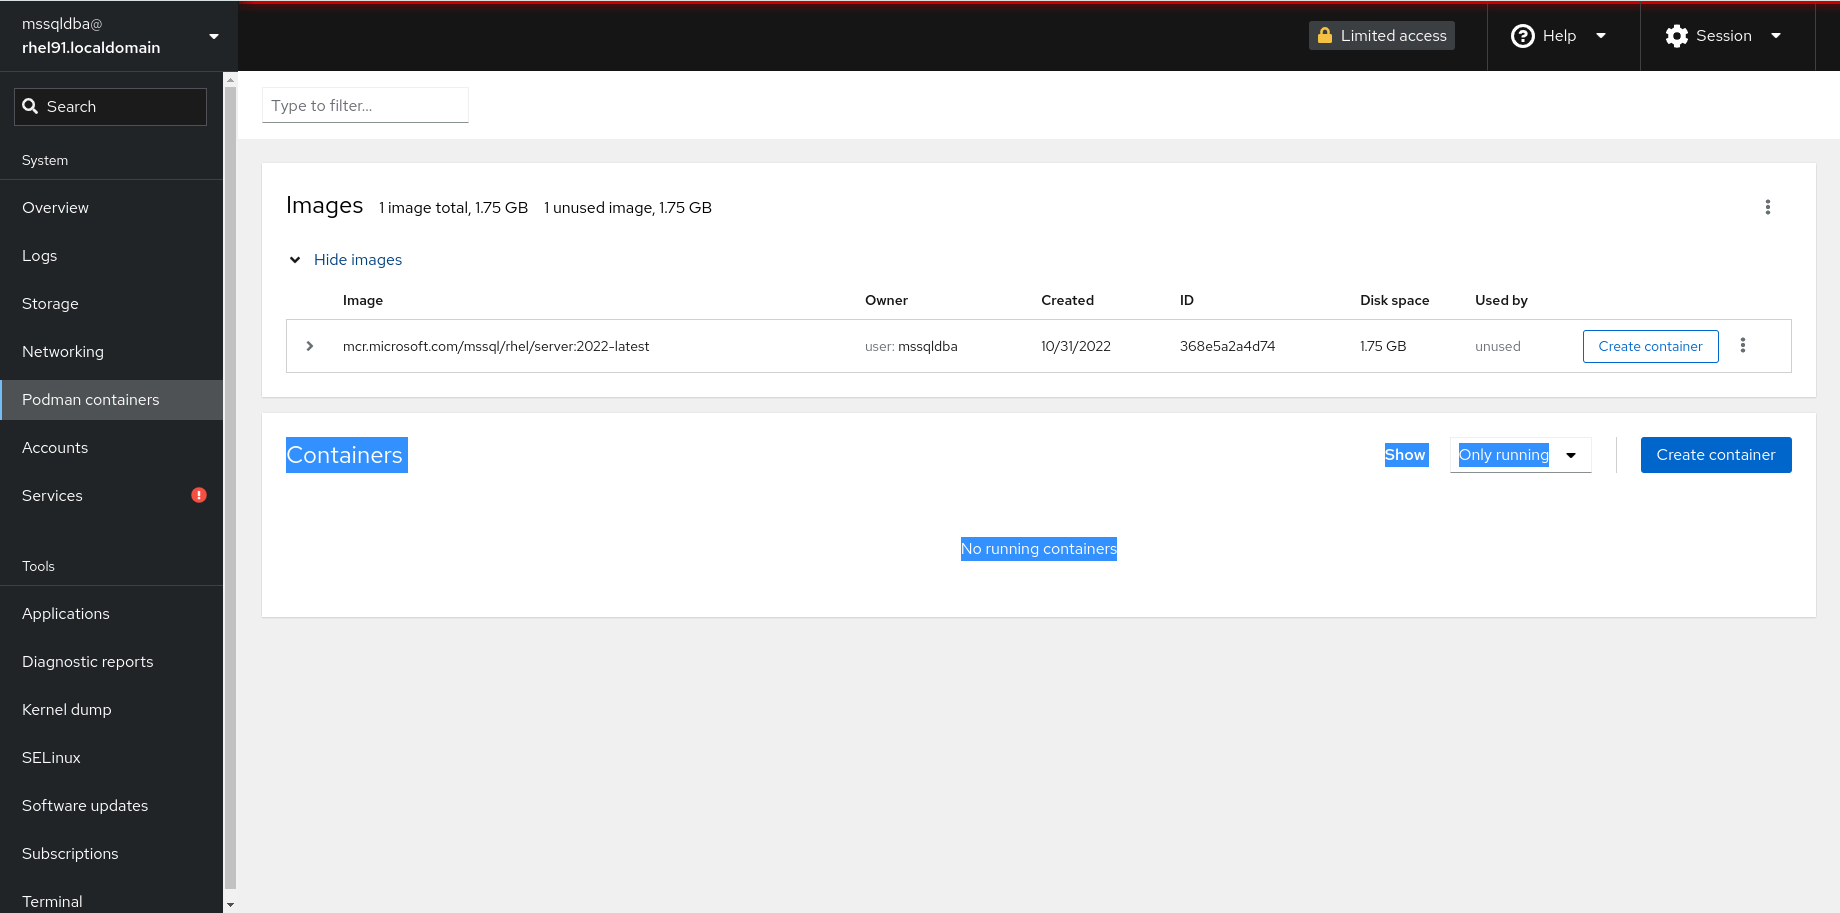
Selecting the Create Container button (on the right of your SQL Server image listing) will bring us to the Create Container Details tab. Here we are going to:
- Name your container (in this case, I’ve named mine
mssql1) - Opt to Pull latest Image from the container repository so you always run the latest version with the latest patches built in
- Run the Command /opt/mssql/bin/sqlservr
- Uncheck With Terminal since we’re going to interact with our server through tools like SQL Server Management Studio or Azure Data Studio to create or migrate application data to this instance
- Choose a Memory Limit of 2 GB which is suitable for running a SQL Server Express instance
Before selecting Create and Run, you also want to select the Integration tab and set up Port Mapping, Volumes and Environment variables.
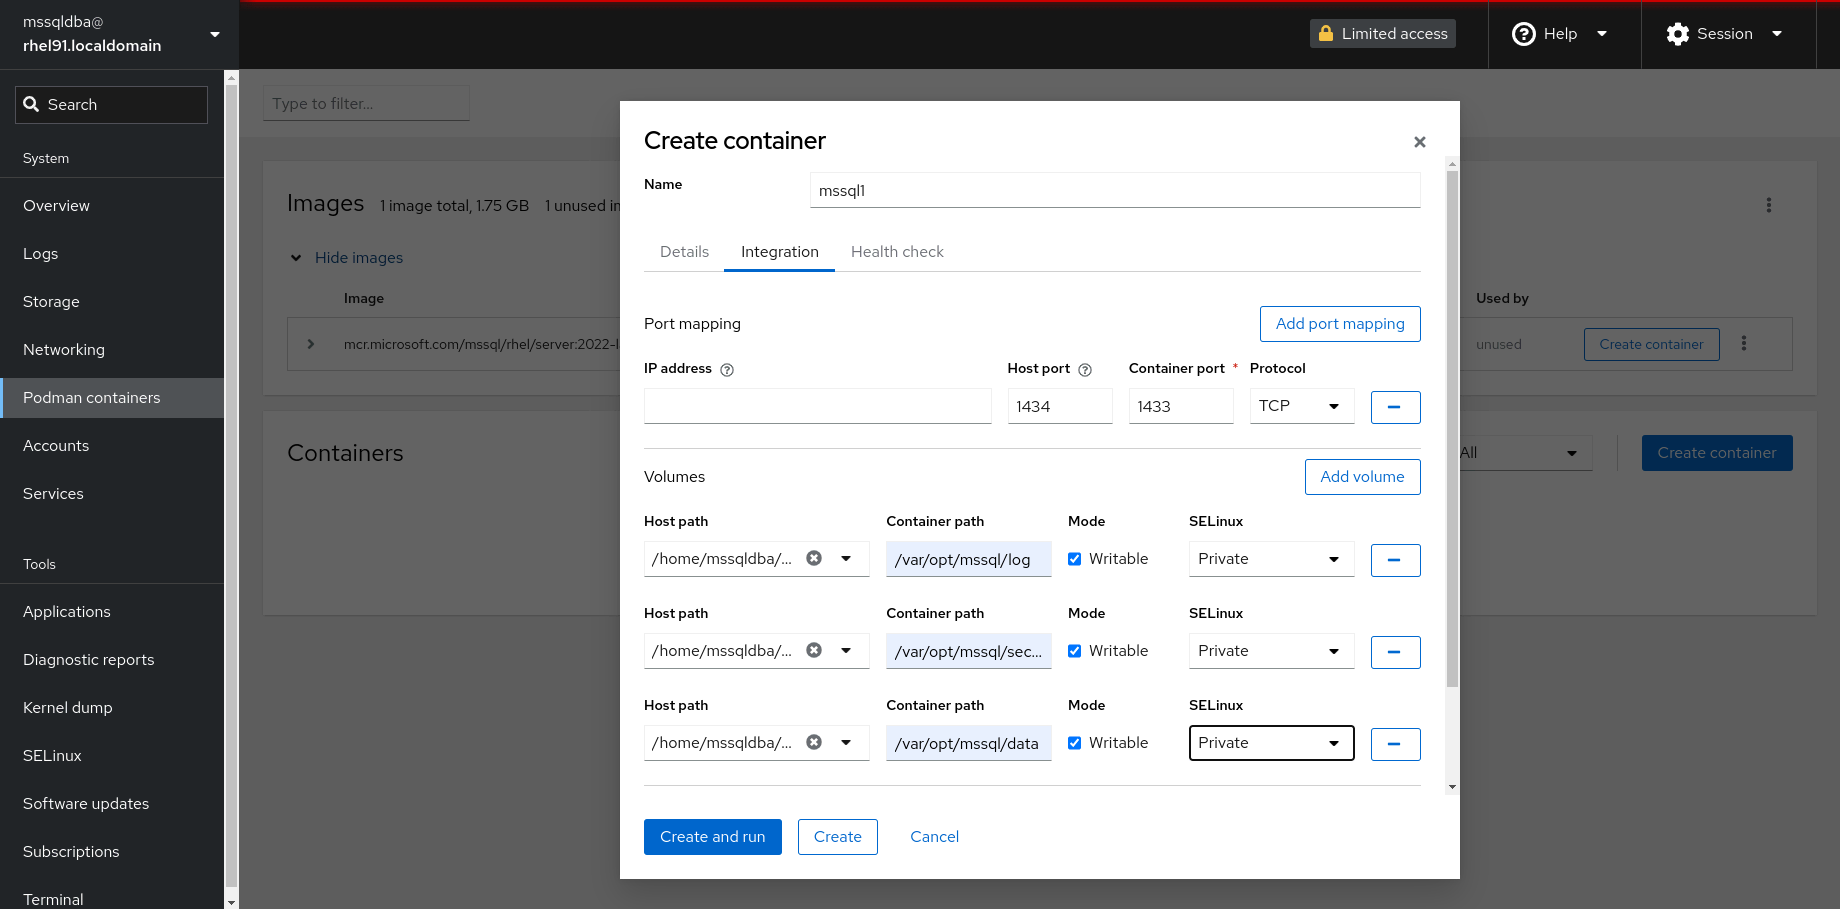
By default SQL Server will run on port 1433 in the container, but in the above example, we map to port 1434 on the host. When we add a second SQL Server, we can map it instead to port 1435, 1436, etc. This allows you to run multiple SQL Server containers on the same system and address them via different ports in our applications.
You’ll also notice that we map the log, secrets and data directories under /var/opt/mssql on the container to the host-based directories we created earlier under mssql1/ in our own home directory on the host. When doing so, we also specify that these directories are Writable and set as Private by SELinux so that configuration and data files can’t be shared between containers.

Finally we need to set environment variables. The first variable, ACCEPT_EULA must be set to Y, as this is used to accept the End User License agreement from Microsoft. Other environment variables set include MSSQL_SA_PASSWORD which will be the password for the "sa" user account. In my example, it is set to StrongPassword23 and the Microsft SQL Server Product Identifier, MSSQL_PID which I set to Express since we’ll be using the no-cost Express edition of SQL Server for this example.
Note that we will reset the "sa" user password to something more secure once your container is up and running using SQL Server management tools of our choice (SSMS, Azure Data Studio, sqlcmd, etc.)
At this point we can elect to Create and Run our container.
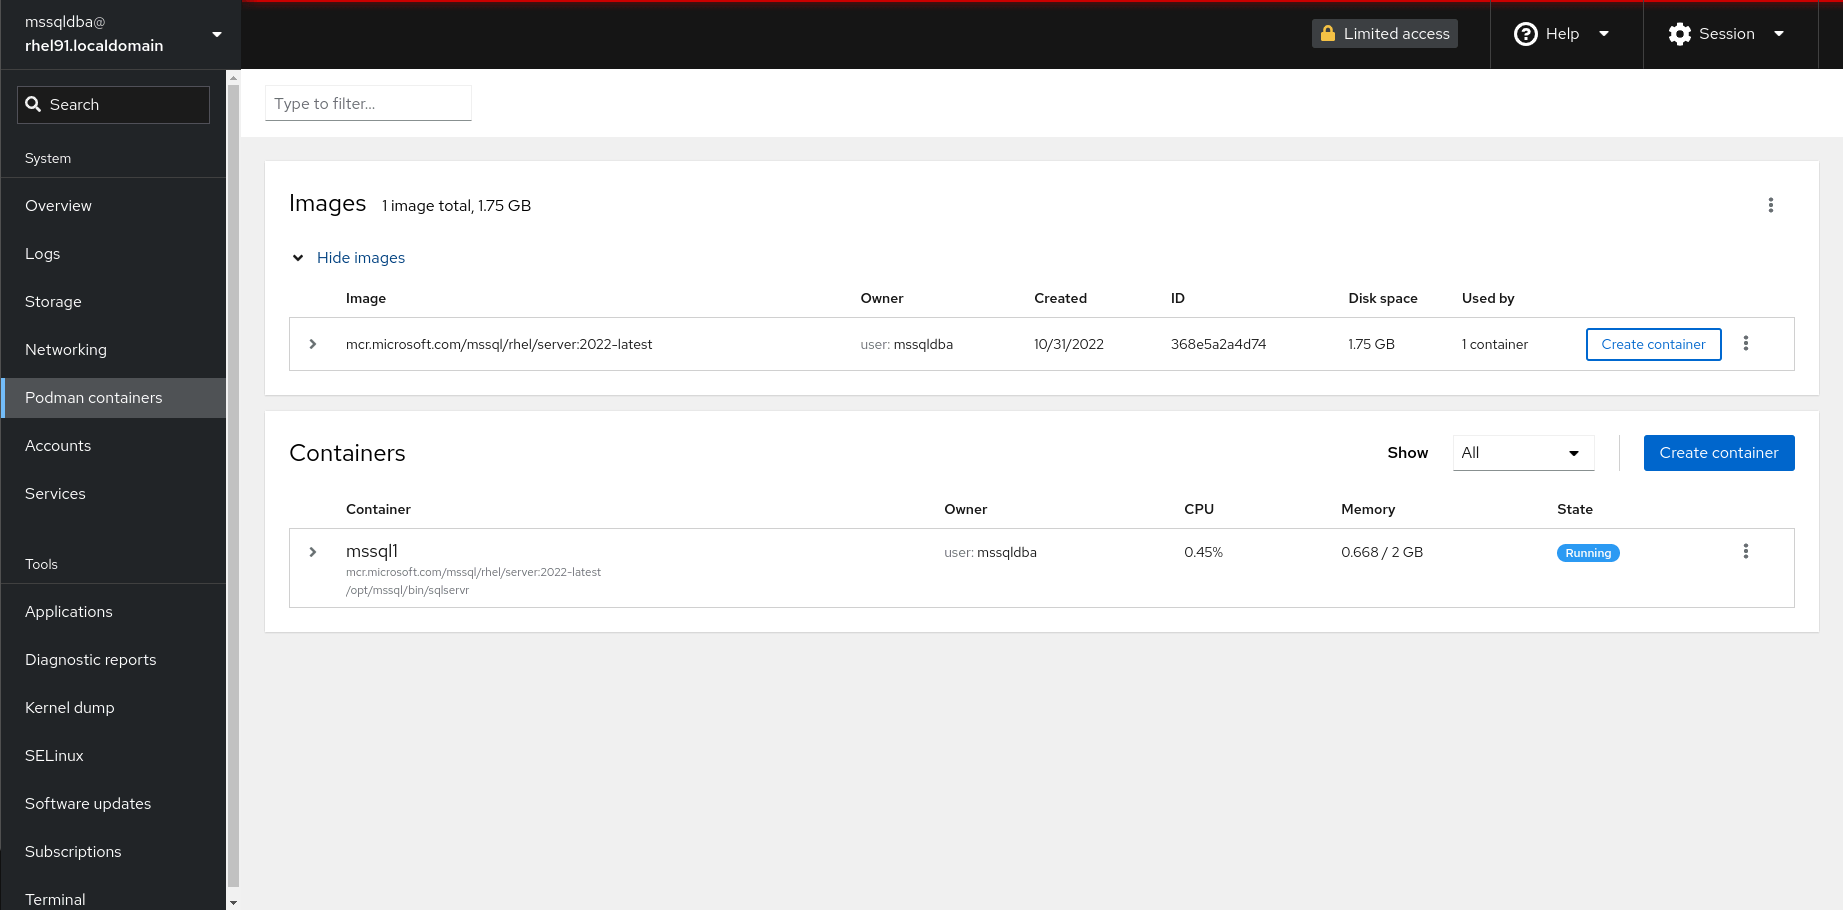
Clicking on the arrow to the left of the container will give us more details about our running container including its unique identifier (ID), its creation time (Created), the location of the image source (Image), it’s current state of operation (State) and the name of the program that’s being executed in the container (Command).

Selecting the Integration tab allows us to look at the configuration of network ports (Ports) storage volumes (Volumes) and environment (Environment Variables) that we set previously.
We can also use a Console tab to get a shell prompt and diagnose container-level issues if needed.
The vertical ellipses, in the upper righthand corner of the container listing, provide us with the ability to start, stop or suspend the container image.
One last step remains, and for that we’ll want to switch to the Terminal screen of the RHEL Web Console. Once again, we won’t need to be a super user.

As shown above, from the terminal screen we will first create a systemd startup script for our container, and then activate that script. The podman utility provides an easy mechanism to create a script that systemd can use to start up a container. In this example, we create a startup script for the mssql1 container that we created in the examples above. We only want the container to start on startup, so that we can control starting and stopping it from the RHEL web console so we specify a restart policy of "no". We name the start-up script mssql1.service placing it in our home directory under .config/systemd/user/:
$ podman generate systemd --name mssql1 --restart-policy=”no” > \
   ~/.config/systemd/user/mssql1.service
We then inform systemd that we want this to kick off when we login and we’re good to go:
$ systemctl --user enable mssql1.service
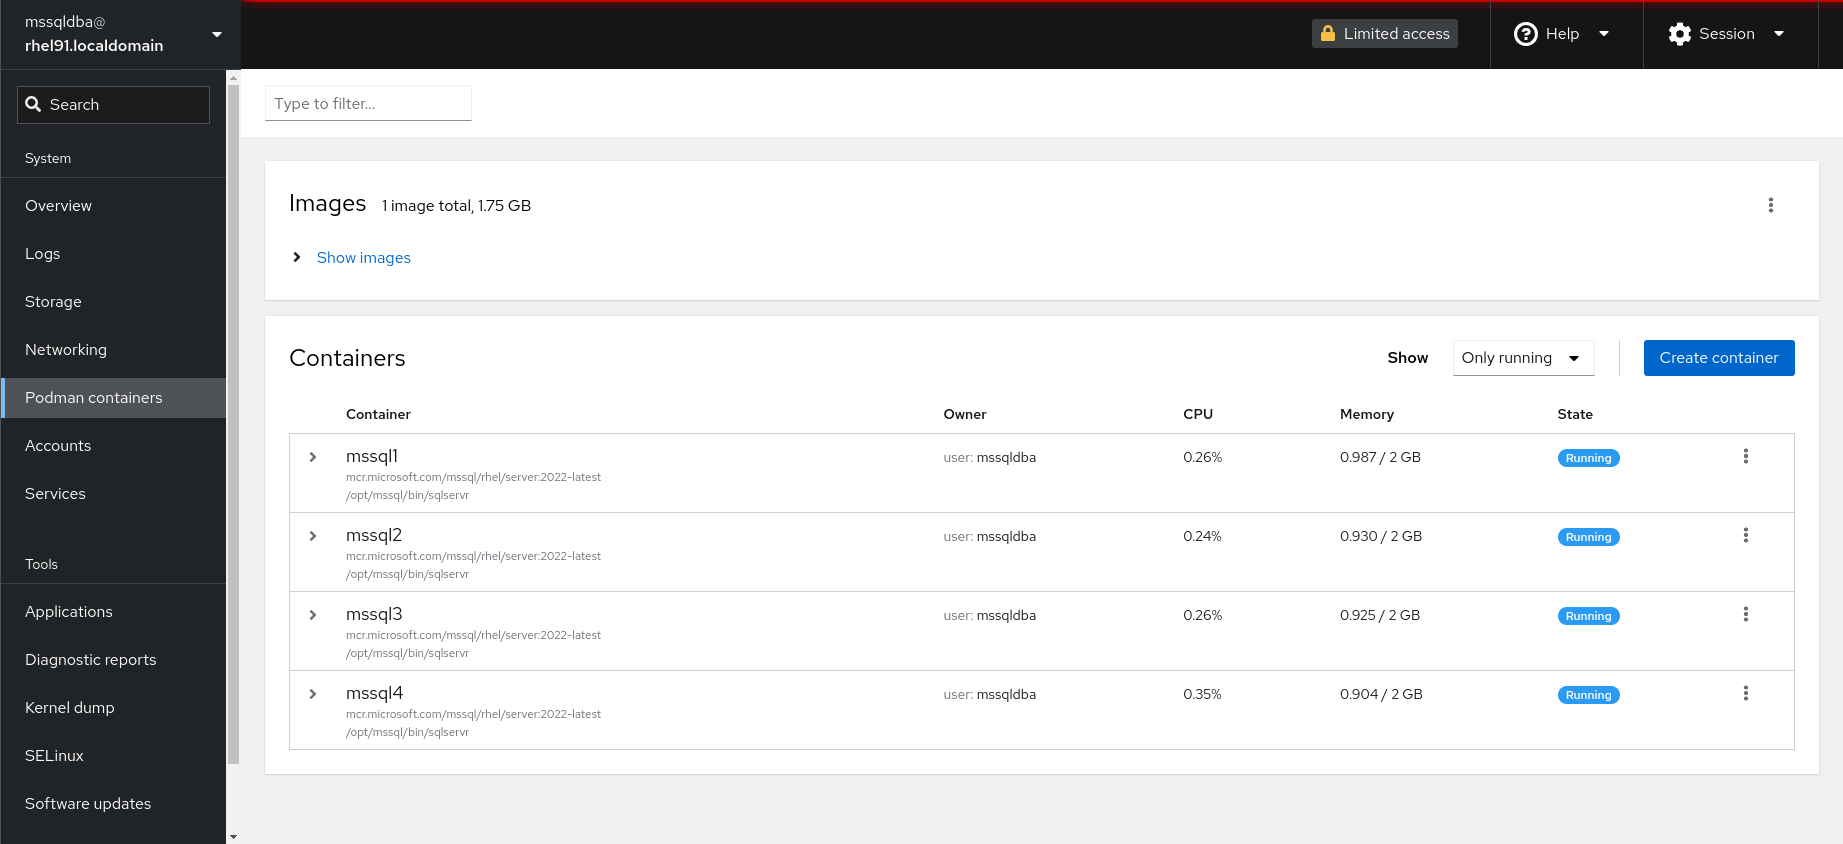
We can repeat this process for multiple SQL Server containers, assigning each to a different port, as I’ve done in the example above. Doing so provides us with a consolidated multi-container environment that requires minimal footprint while still giving you the stability and reliability of a RHEL kernel underneath. The provides a low footprint solution for your favorite Virtual Machine or Cloud Service Provider environment, but without the higher costs of separate VMs or the disadvantages of shared multi-instance solutions.
Learn more
To learn more about running SQL Server on RHEL visit Red Hat Enterprise Linux for Microsoft SQL Server.
À propos de l'auteur
Louis Imershein is a Product Manager at Red Hat where his focus is on improving the Red Hat Enterprise Linux software developer experience. He has an extensive background in software development, architecture, quality assurance, technical support, and product management on a wide range of OS, management, security, and storage software projects. Louis joined Red Hat as part of the acquisition of Permabit Technology Corporation, where he was VP of Product.
Plus de résultats similaires
Amélioration des capacités post-quantiques de SSH dans Red Hat Enterprise Linux
Quatre raisons d'utiliser dès maintenant le mode image pour Red Hat Enterprise Linux
Container Roundup | Compiler
Infrastructure At The Edge | Compiler
Parcourir par canal

Automatisation
Les dernières nouveautés en matière d'automatisation informatique pour les technologies, les équipes et les environnements

Intelligence artificielle
Actualité sur les plateformes qui permettent aux clients d'exécuter des charges de travail d'IA sur tout type d'environnement

Cloud hybride ouvert
Découvrez comment créer un avenir flexible grâce au cloud hybride

Sécurité
Les dernières actualités sur la façon dont nous réduisons les risques dans tous les environnements et technologies

Edge computing
Actualité sur les plateformes qui simplifient les opérations en périphérie

Infrastructure
Les dernières nouveautés sur la plateforme Linux d'entreprise leader au monde

Applications
À l’intérieur de nos solutions aux défis d’application les plus difficiles
Virtualisation
L'avenir de la virtualisation d'entreprise pour vos charges de travail sur site ou sur le cloud