
This article covers my journey of learning about the Linux filesystem architecture and using my knowledge to write a shell script to create Linux users. In my second year of college, I learned about the Linux filesystem when the concept of users came to my mind. I tried to create users in Linux-based operating systems.
The script is designed for the Red Hat-based operating systems and can also be used for other Linux distributions with some slight modifications. Note that it uses ksh.
[ You might also like: Linux sysadmin basics: User account management ]
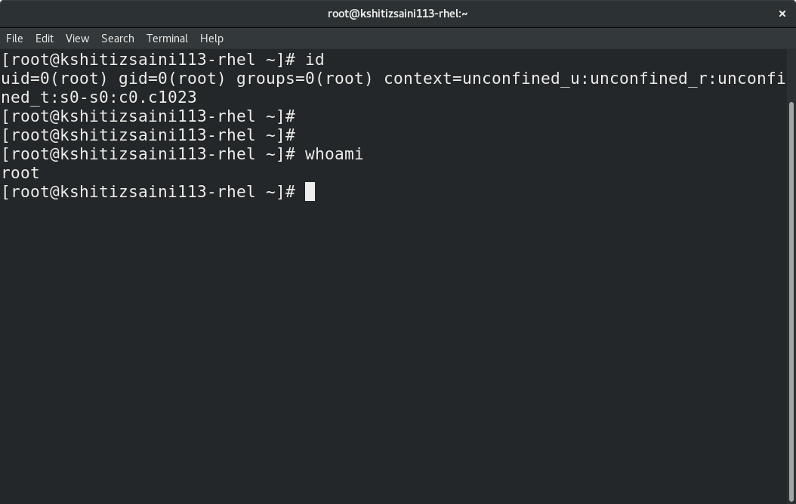
The focus is on files located in the /etc directory, which stores the system configuration information. I demonstrate how to work with system files and to create a new user. Root access is a requirement.
Here are the files that are changed when creating a new user in Linux:
- /etc/passwd
- /etc/shadow
- /etc/group
- /etc/gshadow
- /home/USER
- /var/spool/mail/USER
The system adds security to the user's (USER) home directory and mailbox by setting ownership to the user and to the user's group.
/etc/passwd
This file stores information about the user, such as the username, User ID, Group ID, full name (Comment), and shell. The data is stored in the following format: UserName:Link:UserID:GroupID:Comment:HomeDirectory:Shell
Each line of the file contains the following information about the users:
- Username: Denotes the username provided to the user for easy access.
- Link: Represents that the user's password stored in the
/etc/shadowfile. If x is removed, then the password will not be checked, and the user cannot log in. - UserID: Commonly known as UID and used to uniquely represent a user. It ranges from 0 to 65,535.
- UID = 0 -> root user account
- UID = 1,000 to 60,000 -> Non-root/general accounts
- UID = 1 to 999 and 60,001 to 65,535 -> System users
- GroupID: Same as UserID but used to represent a group uniquely.
- Comment: Additional information about the user. Typically, the user's full name.
- HomeDirectory: Location of the user's home directory.
- Shell: User's default shell.
/etc/shadow
This file stores the information about the user's password and contains the password in an encrypted form.
The data is stored in the following format:
UserName:EncryptedPassword:LastPasswordChange:MinPwdAge:MaxPwdAge:WarningPeriod:InactivityPeriod:ExpirationDate:Unused
- Username: Denotes the username provided to the user.
- Encrypted Password: Password is encrypted using hashing algorithms like sha256, sha512, md5, etc., and stored in the file.
- Last Password Change: Stores the epoch date since the password was last changed.
- Min Password Age: Stores the number of days until the next password change.
- By default, 0 -> No minimum age
- Max Password Age: Stores the maximum number of days after which the user has to change the password.
- By default, 99,999 -> No maximum age
- Warning Period: Number of days after which the warning is displayed to change the password.
- By default, NULL
- Inactivity Period: It specifies the number of days after the user password is expired before the account becomes disabled.
- Expiration Date: Epoch date until the account is disabled.
- Unused: Reserved for future use.
Other files
/etc/groupand/etc/gshadowfiles are for groups in Linux and store the data in the format GroupName:Link:GroupID:MemberList and GroupName:Password:Reserved:MemberList respectively.- The user's home directory is to be created in the
/homedirectory with the data from the/etc/skelfolder. - Mailbox created in the
/var/spool/maildirectory.
The script
The following is the shell script I wrote to create new users broken down into parts:
uname=$1

id -u $uname&>/dev/null
First, it checks if the user already exists:
if [ $? -ne 0 ]
then
for i in {1000..60000}
do
id -u $i&>/dev/null & id -g $i&>/dev/null
if [ $? -ne 0 ]
then
break
fi
done
uid=$i
echo "$uname:x:$uid:$uid::/home/$uname:/bin/bash">>/etc/passwd
lastpwdchange=$(datediff 1970-01-01 `date +"%Y-%m-%d"`)
echo "$uname::$lastpwdchange:0:99999:7:::">>/etc/shadow
echo "$uname:x:$uid:">>/etc/group
echo "$uname:!::">>/etc/gshadow
mkdir /home/$uname
cp -a /etc/skel/. /home/$uname/
chown $uname:$uname /home/$uname/ -R
chmod 0700 /home/$uname/ -R
touch /var/spool/mail/$uname
chown $uname:$uname /var/spool/mail/$uname

echo "User successfully created"
else
echo "User already exists : try using a unique username">&2
fi
If the user already exists, exit the program, or create the user.
The full code is available publicly on GitHub.
Run the shell script
[ Editor's note: While this script may seem fairly straightforward, always be sure you understand and trust any scripts you find before installing them or escalating their permissions on your system. ]
1) Place the shell script in the directory /usr/bin/ to make it accessible as a command.
2) Add execute permission for root user:
# chmod u+x /usr/bin/ksh_useradd
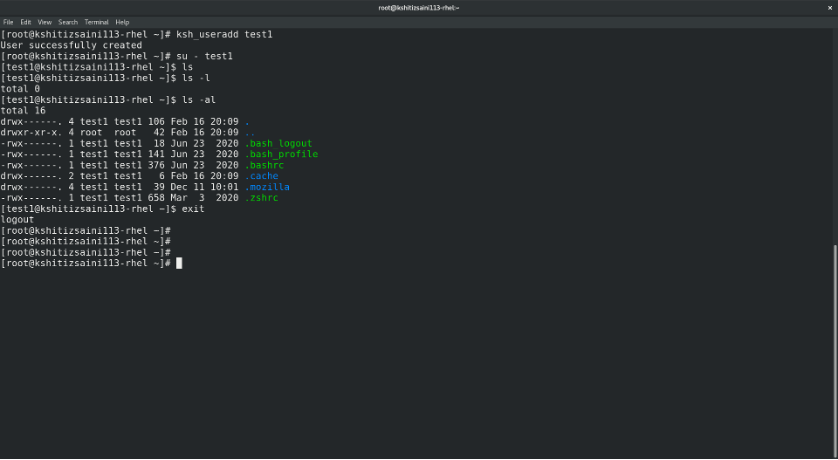
3) Run the command with the username as the argument:
ksh_useradd USERNAME
4) The script creates the user account. You must set a password for the new user before first login.
[ Free online course: Red Hat Enterprise Linux technical overview. ]
Wrap up
This script can make the process of creating users a little easier than remembering switches for the useradd command. Sure, you can use the useradd command to create users, set permissions, and create the user's mailbox, but this script performs the same actions as useradd and helps you to learn what goes on behind the scenes with your filesystem. I hope that the explanations above help you to understand the user creation-related configuration files and their fields a little more clearly.
Sobre el autor
Kshitiz Saini is a pre-final year as a Computer Science undergraduate at the University of Petroleum and Energy Studies, Dehradun, and a tech enthusiast who seeks experience by learning to increase his knowledge along with having some fun. Kshitiz is a C++ developer who loves to explore new technologies, develop software solutions, and use quick hacks. He is skilled in DevOps and Cloud Computing and is actively looking for summer internship opportunities.
Kshitiz is the founder of a tech-community dotQuestionmark which aims to provide tech geeks with the latest tech information and an instructor at dotQuestionmark where he has mentored more than 1500 students in Git, Python, Linux, and C++. Previously, he was an intern at Clay Engage and OpenGenus Foundations where he worked as a Web and App Developer intern and a Software Developer intern, respectively.
Más como éste
Avance de las funciones poscuánticas de SSH en Red Hat Enterprise Linux
Red Hat Device Edge ya está disponible para ejecutarse en NVIDIA Jetson Orin
Infrastructure At The Edge | Compiler
Operating System Management | Compiler
Navegar por canal

Automatización
Las últimas novedades en la automatización de la TI para los equipos, la tecnología y los entornos

Inteligencia artificial
Descubra las actualizaciones en las plataformas que permiten a los clientes ejecutar cargas de trabajo de inteligecia artificial en cualquier lugar

Nube híbrida abierta
Vea como construimos un futuro flexible con la nube híbrida

Seguridad
Vea las últimas novedades sobre cómo reducimos los riesgos en entornos y tecnologías

Edge computing
Conozca las actualizaciones en las plataformas que simplifican las operaciones en el edge

Infraestructura
Vea las últimas novedades sobre la plataforma Linux empresarial líder en el mundo

Aplicaciones
Conozca nuestras soluciones para abordar los desafíos más complejos de las aplicaciones
Virtualización
El futuro de la virtualización empresarial para tus cargas de trabajo locales o en la nube