
With Red Hat OpenShift Container Platform 4 Red Hat introduced automated cluster provisioning by using openshift-installer binary. Installer based cluster provisioning enables users to deploy fully functioning OpenShift Container Platform cluster by running a single command ( openshift-install create cluster ).
Cluster parameters (like machine CIDR, cluster network, number of masters and workers or VM size ) can be changed according to user needs by updating the install-config.yaml file before cluster installation.
When running openshift-installer to provision OpenShift Container Platform 4.2, wildcard DNS is set to *.apps.<cluster name>.<base domain> by default.
Sometimes user might want to have a different wildcard DNS for applications. In order to change the default wildcard DNS, user needs to generate cluster manifest files and change the domain name. Following procedure explains how this can be achieved.
Make sure prerequisites are completed: https://docs.openshift.com/container-platform/4.2/welcome/index.html
Generate cluster manifests:
$ openshift-install create manifests --dir=output? SSH Public Key /Users/user1/.ssh/id_rsa.pub
? Platform azure
? Region uksouth
? Base Domain cloud-ninja.name
? Cluster Name openshift
? Pull Secret [? for help] *********************************************************************************************************************************************************************************
$
Once you generated cluster manifests, navigate to the directory where manifests were created.
Cluster ingress is controlled by Cluster Ingress Operator and Cluster DNS operator. In manifests directory you’ll find cluster-ingress-02-config.yml file and cluster-dns-02-config.yml file.
In order to have a custom wildcard DNS names for your routes, change the domain variable inside cluster-ingress-02-config.yml file to the one you would like to use. Make sure it is part of the same base domain:
apiVersion: config.openshift.io/v1kind: Ingress
metadata:
creationTimestamp: null
name: cluster
spec:
domain: apps.openshift.cloud-ninja.name
status: {}
domain spec can be changed to e.g. prod.openshift.cloud-ninja.name or even changed to the base domain cloud-ninja.name
If you are going to use base domain for your wildcard DNS, search domain needs to be changed as well. Open cluster-dns-02-config.yml and change baseDomain spec:
apiVersion: config.openshift.io/v1kind: DNS
metadata:
creationTimestamp: null
name: cluster
spec:
baseDomain: cloud-ninja.name
privateZone:
id: /subscriptions/d480a86/resourceGroups/openshift-pk8zr-rg/providers/Microsoft.Network/dnszones/openshift.cloud-ninja.name
publicZone:
id: /subscriptions/d480a86/resourceGroups/ocp-common/providers/Microsoft.Network/dnszones/cloud-ninja.name
status: {}
Note that your API URL will still be under <cluster name>.<base domain> subdomain.
Once the manifests are updated, generate Ignition config files and deploy the cluster by running openshift-install create cluster --dir=<your ignition configs directory>:
$ openshift-install create ignition-configs --dir=outputINFO Consuming "Common Manifests" from target directory
INFO Consuming "Worker Machines" from target directory
INFO Consuming "Master Machines" from target directory
INFO Consuming "OpenShift Manifests" from target directory
$ openshift-install create cluster --dir=output
INFO Consuming "Worker Ignition Config" from target directory
INFO Consuming "Master Ignition Config" from target directory
INFO Consuming "Bootstrap Ignition Config" from target directory
INFO Creating infrastructure resources...
INFO Waiting up to 30m0s for the Kubernetes API at https://api.openshift.cloud-ninja.name:6443...
INFO API v1.14.6+2e5ed54 up
INFO Waiting up to 30m0s for bootstrapping to complete...
INFO Destroying the bootstrap resources...
INFO Waiting up to 30m0s for the cluster at https://api.openshift.cloud-ninja.name:6443 to initialize...
INFO Waiting up to 10m0s for the openshift-console route to be created...
INFO Install complete!
INFO To access the cluster as the system:admin user when using 'oc', run 'export KUBECONFIG=/Users/user1/azure-openshift/output/auth/kubeconfig'
INFO Access the OpenShift web-console here: https://console-openshift-console.cloud-ninja.name
INFO Login to the console with user: kubeadmin, password: z5eEq-D3BCn-ChpWR-LnXMr
$
Once installation is done, you’ll notice that cluster console URL uses the new wildcard DNS suffix. Open console and test wildcard DNS by deploying test application.
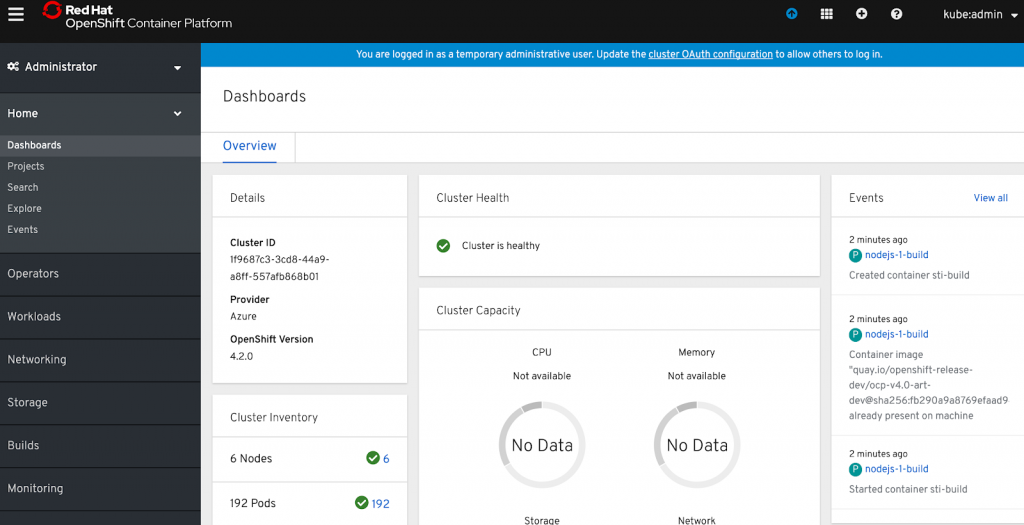
With OpenShift Container Platform 4.2 new Developer console can be used to deploy applications (more on Developer experience on OpenShift Container Platfrom 4.2 here):
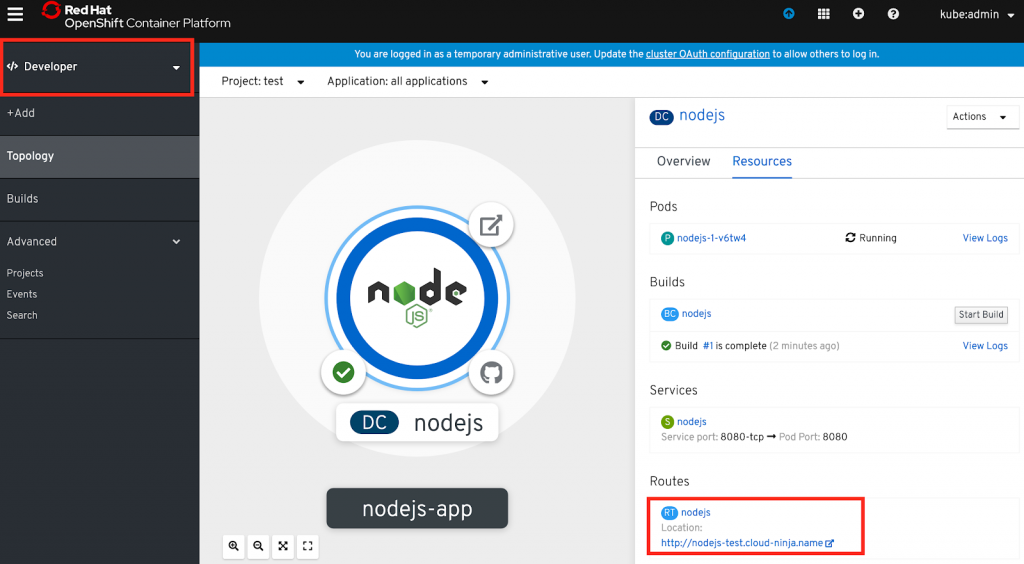
Once application container is built and deployed, access the application by selecting the URL e.g. http://nodejs-test.cloud-ninja.name
The video below shows the whole procedure done on Microsoft Azure:
Über den Autor
Juozas is a cloud infrastructure consultant specializing in Red Hat OpenShift with public and private clouds.
Ähnliche Einträge
IT-Stack vereinheitlichen: VMs, Cloud und KI vereint
Red Hat Skills Bundle: Der neue Standard für KI-Agenten
Crack the Cloud_Open | Command Line Heroes
Edge computing covered and diced | Technically Speaking
Nach Thema durchsuchen

Automatisierung
Das Neueste zum Thema IT-Automatisierung für Technologien, Teams und Umgebungen

Künstliche Intelligenz
Erfahren Sie das Neueste von den Plattformen, die es Kunden ermöglichen, KI-Workloads beliebig auszuführen

Open Hybrid Cloud
Erfahren Sie, wie wir eine flexiblere Zukunft mit Hybrid Clouds schaffen.

Sicherheit
Erfahren Sie, wie wir Risiken in verschiedenen Umgebungen und Technologien reduzieren

Edge Computing
Erfahren Sie das Neueste von den Plattformen, die die Operations am Edge vereinfachen

Infrastruktur
Erfahren Sie das Neueste von der weltweit führenden Linux-Plattform für Unternehmen

Anwendungen
Entdecken Sie unsere Lösungen für komplexe Herausforderungen bei Anwendungen
Virtualisierung
Erfahren Sie das Neueste über die Virtualisierung von Workloads in Cloud- oder On-Premise-Umgebungen