

OpenShift Pipelines are based on the Tekton project, a new way to manage Kubernetes and containers natively. In my previous article, I explained how to use Tekton to set up a CI pipeline with OpenShift Pipelines. In this article, I'll demonstrate how to create a CD pipeline using Argo CD.
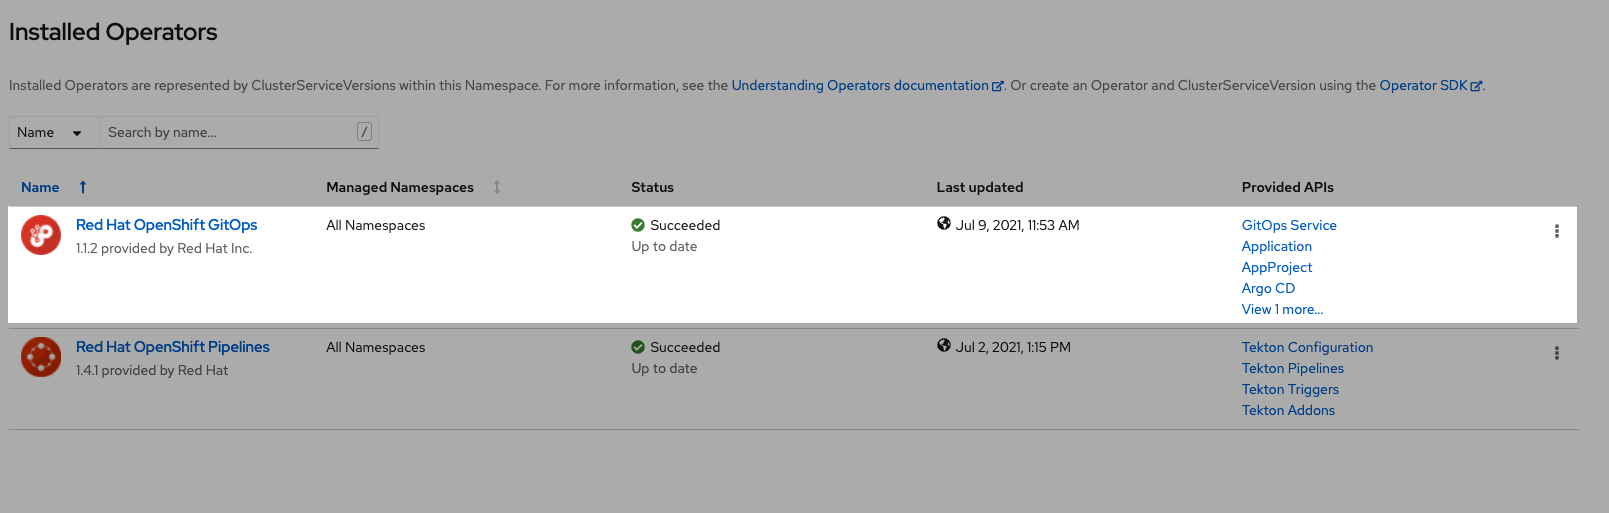
If you can't find Red Hat OpenShift GitOps in the Installed Operators section of OpenShift, ask your cluster administrator to install it before you begin.
Set up a tenant Argo CD instance
To set up a tenant Argo CD instance, create an argocd instance namespace on OpenShift.
[ Get started with Argo CD and GitOps with Red Hat OpenShift in this hands-on lab. ]
Then create all the namespaces that the argocd instance must manage. These are the namespaces used for deploying applications. If you have access to create namespaces, you can use the code snippet below, including the label argocd.argoproj.io/managed-by: <argocd instance namespace>:
for namespace in ccop-ref-dev ccop-ref-uat ccop-ref-prod
do
    oc new-project $namespace
    oc label namespace $namespace argocd.argoproj.io/managed-by=<argocd instance namespace>
done;
Next, create a cluster config secret in the argocd instance namespace:
apiVersion: v1
stringData:
  config: '{"tlsClientConfig":{"insecure":false}}'
  name: in-cluster
  namespaces: ccop-ref-dev,ccop-ref-uat,ccop-ref-prod
  server: https://kubernetes.default.svc
kind: Secret
metadata:
  annotations:
    managed-by: argocd.argoproj.io
  labels:
    argocd.argoproj.io/secret-type: cluster
  name: in-cluster
type: Opaque
Create an argocd instance in the <argocd instance namespace>:
apiVersion: argoproj.io/v1alpha1
kind: ArgoCD
metadata:
  name: argocd
spec:
  controller:
    resources:
      limits:
          cpu: 500m
          memory: 1024Mi
      requests:
          cpu: 50m
          memory: 256Mi
  redis:
    resources:
      limits:
          cpu: 500m
          memory: 512Mi
      requests:
          cpu: 50m
          memory: 256Mi
  server:
    resources:
      limits:
          cpu: 500m
          memory: 512Mi
      requests:
          cpu: 50m
          memory: 256Mi
    route:
      enabled: true
  repo:
    resources:
      limits:
          cpu: 500m
          memory: 512Mi
      requests:
          cpu: 50m
          memory: 256Mi
  sso:
    provider: keycloak
    verifyTLS: false
    resources:
      limits:
          cpu: 1000m
          memory: 1024Mi
      requests:
          cpu: 500m
          memory: 512Mi
Configure RHSSO for OpenShift GitOps login
Next, set up Red Hat Single Sign-on (RHSSO) with the OpenShift GitOps operator.
GitOps operator (version 1.2 or higher) comes with embedded RHSSO, which is not supposed to be used for any other use aside from GitOps. To enable embedded RHSSO, you must patch your argocd custom resource with the appropriate resource requirements and confirm the Keycloak pods are up and running. (Keycloak is the upstream project for RHSSO.) The available replica count must be 1. This usually takes about two to three minutes.
...
  sso:
    provider: keycloak
    verifyTLS: false
    resources:
      limits:
          cpu: 1000m
          memory: 1024Mi
      requests:
          cpu: 500m
          memory: 512Mi
Keycloak communicates with the OpenShift OAuth Server through a proxy. To get Keycloak integrated with your OpenShift OAuth login, access the Keycloak pod:
$ oc exec -it dc/keycloak \
-n <argocd instance namespace> -- /bin/bash`
Run the JBoss CLI command:
$ /opt/eap/bin/jboss-cli.sh
Start an embedded standalone server:
$ embed-server --server-config=standalone-openshift.xml
If your organization uses a web proxy, you must also set up proxy mappings:
/subsystem=keycloak-server/spi=connectionsHttpClient/provider=default:write-attribute(name=properties.proxy-mappings,value=["oauth-openshift.apps.xx;http://xxxweb.int.xxx.ca:xxxx"])
Stop the embedded server and then reload JBoss:
$ quit

$ /opt/eap/bin/jboss-cli.sh --connect --command=:reload
Exit the remote shell:
$ exit
[ Free eBook: Getting GitOps: A practical platform with OpenShift, Argo CD, and Tekton. ]
Log in with OpenShift
Go to the OpenShift Console, select Networking, and then Routes. Click on the <argocd-instance>-server route URL to access the Argo CD user interface.

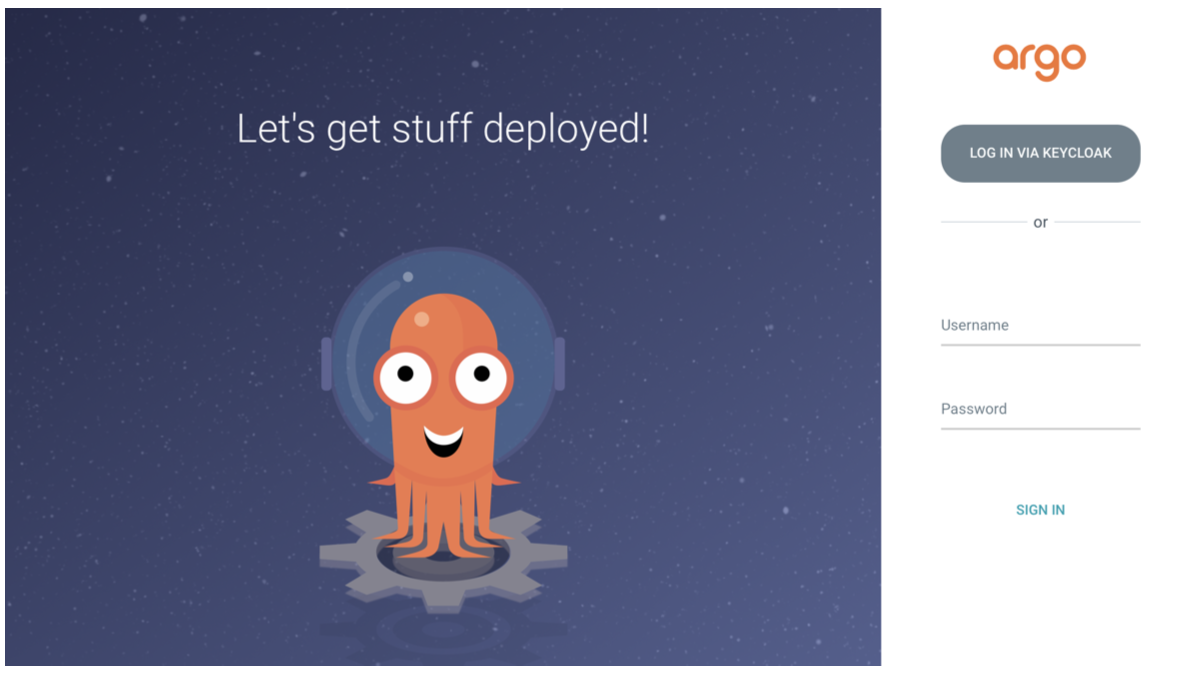
You're redirected to the Argo CD Login Page.
[ Try our interactive scenarios to learn Red Hat OpenShift at your own pace. ]
Apart from the usual ArgoCD login, you see an option to LOG IN VIA KEYCLOAK. Click on the button to log in. Use a different browser or a Private Browsing (or Incognito Mode) window to avoid caching issues.
When you log in, you're redirected to a new page providing you an option to Log in to your account on OpenShift. Click on the button to get redirected to the OpenShift login page.
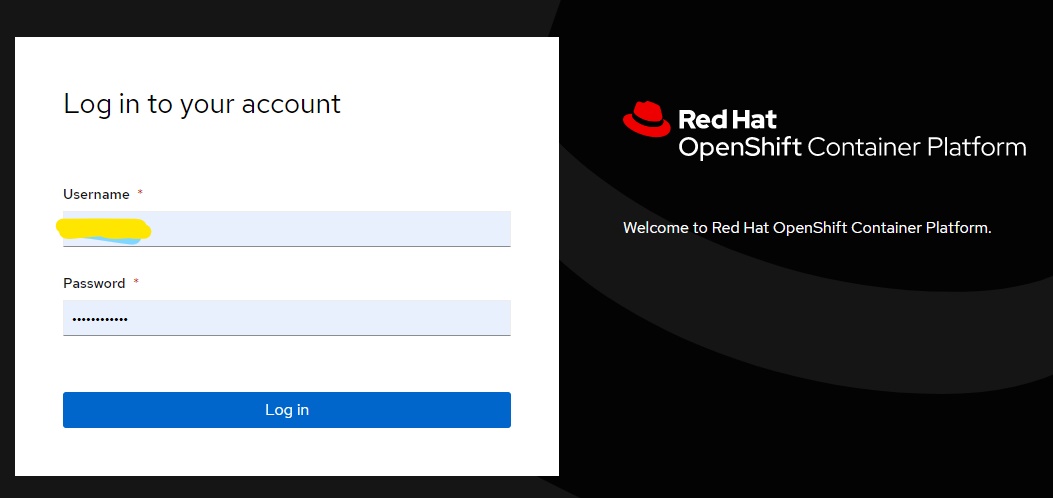
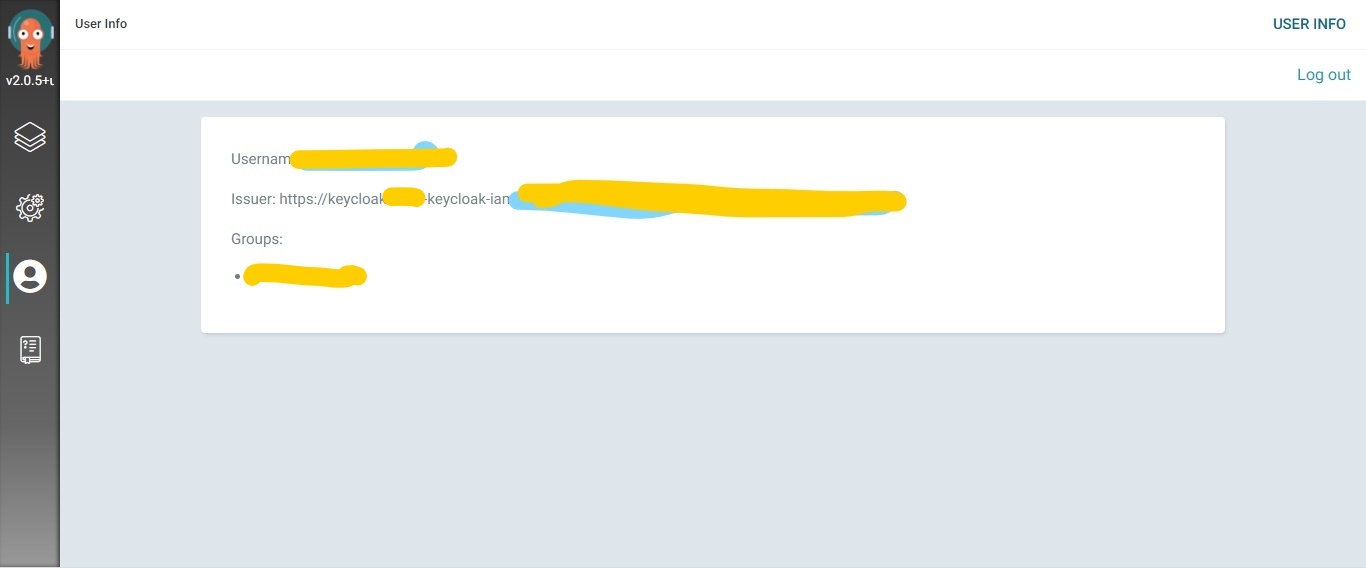
Provide the OpenShift login credentials to get redirected to Argo CD. You can look at the user details by clicking on the User Info tab.
Configure Argo CD RBAC
By default, any user logged into Argo CD using RHSSO is a read-only user. You can modify this behavior to enable role-based access control (RBAC) by updating the argocd-rbac-cm configmap data section.
$ oc edit cm argocd-rbac-cm -n <namespace>
Change the line policy.default: role:readonly to policy.default: role:admin and then save the configuration.
You can also do this with a patch:
$ oc patch cm/argocd-rbac-cm \
-n openshift-gitops --type=merge \
-p '{"data":{"policy.default":"role:admin"}}'
The Argo CD documentation contains detailed information on configuring RBAC for your Argo CD instances.
Deploy in dev environment
Set up the namespace ccop-ref-dev (assuming it doesn't yet exist) on OpenShift for deployment using the label argocd.argoproj.io/managed-by: <argocd instance namespace>. If the namespace is not labeled with the value argocd.argoproj.io/managed-by: <argocd instance namespace> after creation, contact your cluster administrator.
Create a dev environment
Log into your Argo CD cluster, navigate to Settings/Repositories, and click on the button +CONNECT REPO USING HTTPS to permit connections to your Kubernetes repository.

Create the following in the <argocd instance namespace> of the dev environment:
apiVersion: argoproj.io/v1alpha1
kind: AppProject
metadata:
    name: dev-project
    namespace: <argocd instance namespace>
spec:
    clusterResourceWhitelist:
        - group: '*'
        kind: '*'
    destinations:
        - namespace: ccop-ref-prod
        server: 'https://kubernetes.default.svc'
    sourceRepos:
        - 'https://gitlab.xxx.corp.xxx.ca/xx/xxxxx/tekton-pipeline.git'
    status: {}
Next, add this YAML to your <argocd instance namespace>:
apiVersion: argoproj.io/v1alpha1
kind: Application
metadata:
    name: quarkus-app-dev
spec:
    destination:
        namespace: ccop-ref-dev
        server: 'https://kubernetes.default.svc'
    source:
        path: k8s/overlays/dev
        repoURL: 'https://gitlab.xxx.corp.xxx.ca/xx/xxxxx/tekton-pipeline.git'
        targetRevision: dev
    project: dev-project
    syncPolicy:
        automated:
        prune: true
        selfHeal: true
Deploy in UAT environment
Set up the namespace ccop-ref-uat on OpenShift using the label argocd.argoproj.io/managed-by: <argocd instance namespace>. If the namespace is not labeled with the value argocd.argoproj.io/managed-by: <argocd instance namespace> after creation, contact your cluster administrator.
Create these files in the <argocd instance namespace> of the staging environment:
apiVersion: argoproj.io/v1alpha1
kind: AppProject
metadata:
    name: uat-project
    namespace: <argocd instance namespace>
spec:
    clusterResourceWhitelist:
        - group: '*'
        kind: '*'
    destinations:
        - namespace: ccop-ref-uat
        server: 'https://kubernetes.default.svc'
    sourceRepos:
        - 'https://gitlab.xxx.corp.xxx.ca/xx/xxxxx/tekton-pipeline.git'
    status: {}
Add this YAML to the <argocd instance namespace> of the staging environment:
apiVersion: argoproj.io/v1alpha1
kind: Application
metadata:
    name: quarkus-app-dev
spec:
    destination:
        namespace: ccop-ref-dev
        server: 'https://kubernetes.default.svc'
    source:
        path: k8s/overlays/uat
        repoURL: 'https://gitlab.xxx.corp.xxx.ca/xx/xxxxx/tekton-pipeline.git'
        targetRevision: uat
    project: uat-project
    syncPolicy:
        automated:
        prune: true
        selfHeal: true
Deploy in the production environment
Set up the namespace ccop-ref-prod on OpenShift using this label argocd.argoproj.io/managed-by: <argocd instance namespace>. If the namespace is not labeled with the value argocd.argoproj.io/managed-by: <argocd instance namespace> after creation, contact your cluster admin.
Create these files in the <argocd instance namespace> of the production environment:
apiVersion: argoproj.io/v1alpha1
kind: AppProject
metadata:
    name: prod-project
    namespace: <argocd instance namespace>
spec:
    clusterResourceWhitelist:
        - group: '*'
        kind: '*'
    destinations:
        - namespace: ccop-ref-prod
        server: 'https://kubernetes.default.svc'
    sourceRepos:
        - 'https://gitlab.xxx.corp.xxx.ca/xx/xxxxx/tekton-pipeline.git'
    status: {}
Add this YAML to your <argocd instance namespace> of the production environment:
apiVersion: argoproj.io/v1alpha1
kind: Application
metadata:
    name: quarkus-app-prod
spec:
    destination:
        namespace: ccop-ref-dev
        server: 'https://kubernetes.default.svc'
    source:
        path: k8s/overlays/prod
        repoURL: 'https://gitlab.xxx.corp.xxx.ca/xx/xxxxx/tekton-pipeline.git'
        targetRevision: master
    project: prod-project
    syncPolicy:
        automated:
        prune: true
        selfHeal: true
Once you have successfully completed these steps, start testing your CI/CD pipeline by committing changes to your source code repository. Your CI/CD pipeline works automatically on the dev environment.
You must start the CD pipelines manually for staging and production environments. Depending on your organization's policy, you can configure your staging and production environment to start automatically, if you prefer. You can modify your pipeline by adding or removing required ClusterTasks or Tasks.
Wrap up
Pipelines are immensely useful, and this blueprint has demonstrated the process for you. You have many configuration options using tools such as OpenShift Pipelines, Tekton, and Argo. Use the code snippets provided in my previous article and this one to help implement the CI/CD process for your organization.
About the authors
Dapo is a Senior Application Development Consultant at Red Hat and a Red Hat Certified Architect in Enterprise Applications (RHCA). He has over 15 years of experience in enterprise application development; and also has a strong passion for digital transformation in organizations. In his spare time, Dapo loves to volunteer for charitable causes. He is married to a beautiful wife, Mayowa, and their union is blessed with two beautiful girls.
Olu is a Senior Architect at Red Hat, working with various customers in the last few years to formulate their digital transformation strategy to respond to the constantly changing business environments. He's a TOGAF 9 certified Enterprise Architect with deep experience helping organizations align their business goals and objectives to their IT execution plans. He's happily married to Funmi, and they have two boys and a girl.
More like this
Can't patch fast enough? Zero trust as a last line of defense
What's new with image builder for Red Hat Enterprise Linux 10.2 and 9.8
Kubernetes and the quest for a control plane | Technically Speaking
SREs on a plane | Technically Speaking
Browse by channel

Automation
The latest on IT automation for tech, teams, and environments

Artificial intelligence
Updates on the platforms that free customers to run AI workloads anywhere

Open hybrid cloud
Explore how we build a more flexible future with hybrid cloud

Security
The latest on how we reduce risks across environments and technologies

Edge computing
Updates on the platforms that simplify operations at the edge

Infrastructure
The latest on the world’s leading enterprise Linux platform

Applications
Inside our solutions to the toughest application challenges
Virtualization
The future of enterprise virtualization for your workloads on-premise or across clouds