

The core Podman runtime environment only runs on Linux operating systems. Other operating systems can use remote client software to manage containers on a Linux backend. The remote client is nearly identical to the standard Podman program. Certain functions that do not make sense for remote clients have been removed. For example, the --latest switch for container commands is not present.
Brief architecture
The remote client uses a client-server model. You need Podman installed on a Linux machine or VM that also has the SSH daemon running. On the local operating system, when you execute a Podman command, Podman connects to the server via SSH. It then connects to the Podman service by using systemd socket activation. The Podman commands are executed on the server. From the client's point of view, it seems like Podman runs locally.

Podman is capable of exposing its service directly to TCP sockets, but using the SSH tunnel is recommended for security reasons.
Obtaining and installing Podman
Windows
Begin the Windows Podman client installation by downloading the Podman Windows installer. The Windows installer is built with each Podman release and is downloadable from the release description page. You can also build the installer from source using the podman.msi makefile endpoint.
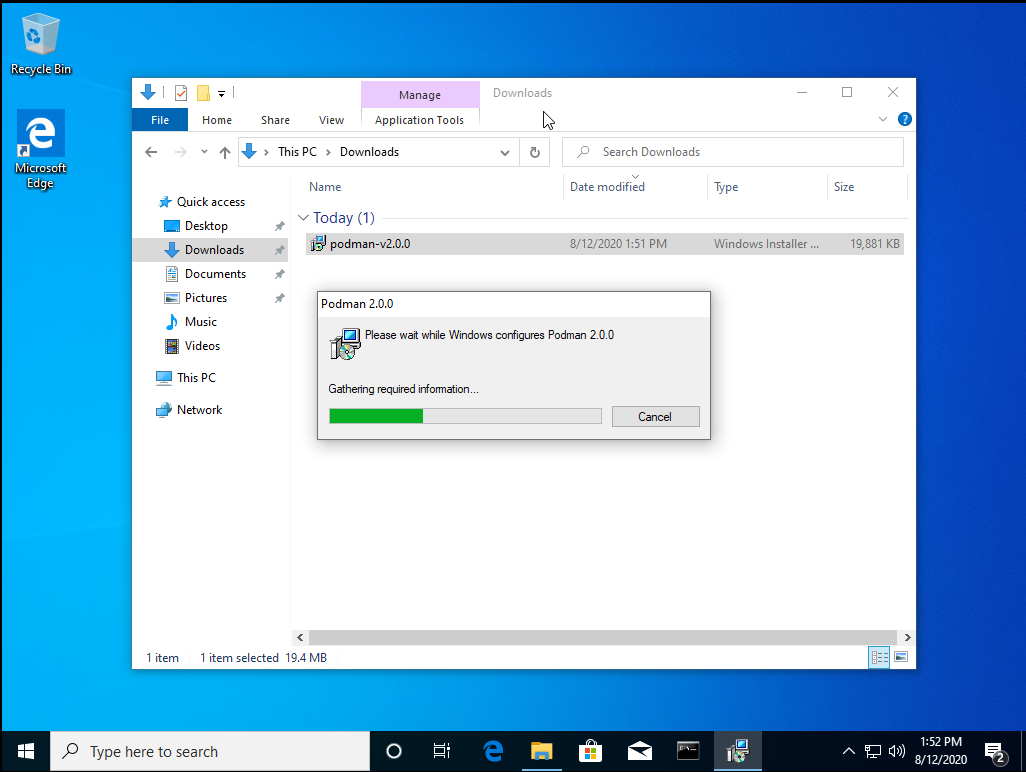
Once you have downloaded the installer, simply double-click it, and Podman client is installed. The installer puts podman in the default user path.
Podman must be run at a command prompt using the Windows cmd.exe or PowerShell applications.
macOS
The Mac client is available through Homebrew. You can download Homebrew via the instructions on their site. Install Podman using this command:
$ brew install podman
Create the first connection
Enable the Podman service on the server
Before performing any Podman client commands, you must enable the podman.sock systemd service on the Linux server. In these examples, we run Podman as a normal, unprivileged user (also known as a rootless user). By default, the rootless socket listens at /run/user/${UID}/podman/podman.sock. You enable this socket permanently using the following command:
$ systemctl --user enable podman.socket
You need to enable linger for this user for the socket to work when the user is not logged in.
$ sudo loginctl enable-linger $USER
Verify that the socket is listening with the following simple Podman command:
$ podman --remote info
host:
  arch: amd64
  buildahVersion: 1.16.0-dev
  cgroupVersion: v2
  conmon:
    package: conmon-2.0.19-1.fc32.x86_64
Enable sshd
For the client to communicate with the server, you need to enable and start the SSH daemon on your Linux machine. If it is not currently enabled, use the following command:
$ sudo systemctl enable -s sshd
Set up SSH
Remote Podman uses SSH to communicate between the client and the server. The remote client works considerably smoother with SSH keys. To set up your SSH connection, you need to generate an SSH key pair by using the ssh-keygen command:
$ ssh-keygen
By default, the public key is in your home directory under .ssh\id_rsa.pub. You need to copy the contents of id_rsa.pub and append it to ~/.ssh/authorized_keys on the Linux server. On a Mac, you can automate this using ssh-copy-id.
If you do not use SSH keys, you are prompted with each Podman command for your login password.
Use the client
The first step in using the Podman remote client is to configure a connection.
You can add a connection by using the podman system connection add command, as seen here:
C:\Users\baude> podman system connection add baude --identity c:\Users\baude\.ssh\id_rsa ssh://192.168.122.1/run/user/1000/podman/podman.sock
This command adds a remote connection to Podman. If this is the first connection, it marks it as the default. You can display your connections with the podman system connection list command, like this:
C:\Users\baude> podman system connection list
Name    Identity     URI
baude*    id_rsa           ssh://baude@192.168.122.1/run/user/1000/podman/podman.sock
Now you can test the connection with podman info.
C:\Users\baude> podman info
host:
  arch: amd64
  buildahVersion: 1.16.0-dev
  cgroupVersion: v2
  conmon:
    package: conmon-2.0.19-1.fc32.x86_64
Podman has also introduced a --connection flag to select other connections you have defined. If no connection is provided, the default connection is used.
The --help flag shows all the commands for manipulating the connections list. Here is the full command:
C:\Users\baude> podman system connection --help
Wrap up
You can use the Podman remote clients on macOS and Windows to manage your containers running on a Linux server. The communication between client and server relies heavily on SSH connections, and the use of SSH keys is encouraged. Once you have Podman installed on your remote client, you should set up a connection using podman system connection add which is then used by subsequent Podman commands.
[ Getting started with containers? Check out this free course. Deploying containerized applications: A technical overview. ]
執筆者紹介
Brent Baude has been working in hardware and software engineering for 27 years as an employee of IBM and Red Hat. Of late, he has specialized in Containers. His current role is that of Podman Architect.
Ashley Cui is a software engineer at Red Hat, working on Podman, Buildah, and other container tools.
チャンネル別に見る

自動化
テクノロジー、チームおよび環境に関する IT 自動化の最新情報

AI (人工知能)
お客様が AI ワークロードをどこでも自由に実行することを可能にするプラットフォームについてのアップデート

オープン・ハイブリッドクラウド
ハイブリッドクラウドで柔軟に未来を築く方法をご確認ください。

セキュリティ
環境やテクノロジー全体に及ぶリスクを軽減する方法に関する最新情報

エッジコンピューティング
エッジでの運用を単純化するプラットフォームのアップデート

インフラストラクチャ
世界有数のエンタープライズ向け Linux プラットフォームの最新情報

アプリケーション
アプリケーションの最も困難な課題に対する Red Hat ソリューションの詳細
仮想化
オンプレミスまたは複数クラウドでのワークロードに対応するエンタープライズ仮想化の将来についてご覧ください