
Application programming interfaces (APIs) are like fuel for digital transformation, enabling companies to develop applications and microservices quickly. DataTrucker.IO is a new, free and open source (Apache 2.0) no-code/less-code API backend that decreases the time required to build APIs.
DataTrucker reads simple JSON and YAML configs and produces the code to convert it into an API. In addition to creating the code, it also hosts the codebase on a Node.js server and makes it immediately available for public consumption.
DataTrucker handles most of the everyday activities a developer needs to do on a new project, including:
- Creating an API endpoint with specified business logic (using simple plugins)
- Applying standard role-based access control (RBAC)
- Applying authorization logic
- Applying hardening on endpoints
- Handling log management
- Connecting to a variety of systems
- Modularizing business logic
- Doing it all with little to no code
Installing DataTrucker
This tutorial shows how to install DataTrucker on OpenShift and build an API for a Postgres database. The process is similar in the Kubernetes environment.
[ Download The API owner's manual to learn 7 best practices of effective API programs. ]
Step 1: Create a namespace called trucker
oc new-project truckerStep 2: Download and install the application
DataTrucker.IO is available in OpenShift's OperatorHub and can be added to your cluster as an Operator.
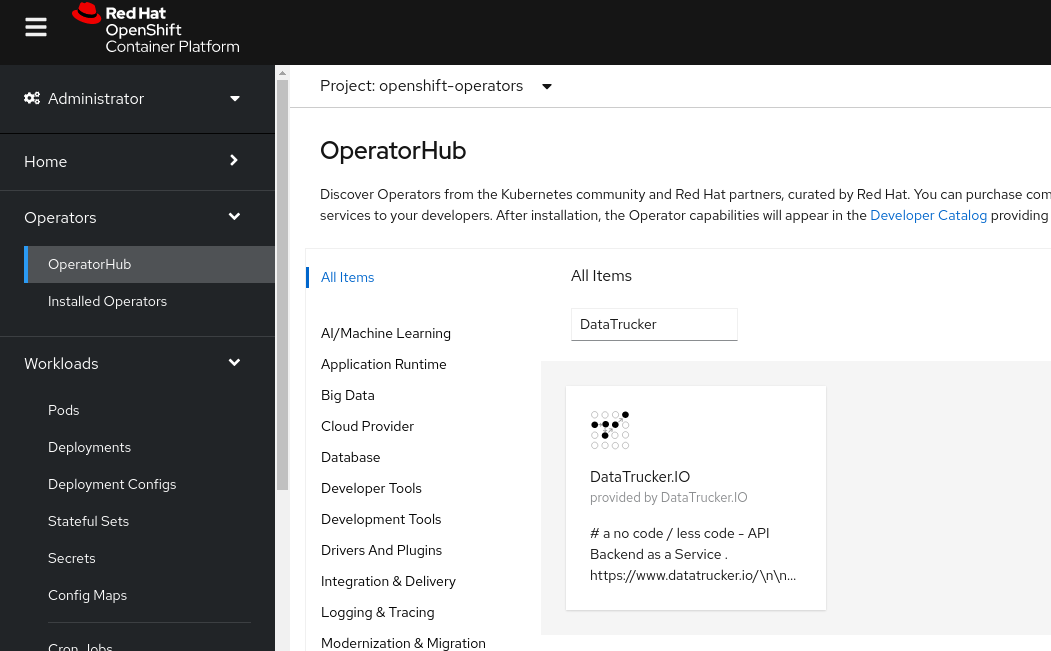
Step 3: Navigate into the Operators
Click Operators in the left navigation pane and open the DataTrucker.IO Operator.

Step 4: Create a DataTrucker config by running the YAML object
Create a Persistent Volume Claim (PVC) for a database backend. (Note: The Postgres database provided below uses Crunchy Data containers to get started. I recommend using a hardened geo-redundant database for a production workload.)
- Create a PVC called
samplepvc. - Create an instance of a DatatruckerConfig object.
- Before you click Create, ensure
TempDB.enabledis True in the DatatruckerConfig object. This is required for prototyping the demo below.
You can find an example in DataTrucker's GitLab repository.
oc apply -f DatatruckerConfig.yamlThe config object Kind: DatatruckerConfig creates the following:
Postgres database: You can create a temporary non-hardened Crunchy Data database for following this tutorial by enabling the following in the DataTrucker config (recall that for a production workload, you should use a hardened geo-redundant database):
  TempDB:
    enabled: true
    pvc: samplepvc
Database configuration: In production systems, use a geo-redundant Postgres database:
    user: testuser
    password: password
    databasename: userdb
    hostname: db
    type: pg
    port: 5432
Crypto configuration: Create the crypto configuration:
 API:
    cryptokeys: |-
       ....
See detailed information in the Production hardening section of the DataTrucker.IO documentation.
API server backend configuration: Create the API server backend configuration:
 API:
    name: API
    loginServer: |-
       ....
    managementServer: |-
       ....
    jobsServer: |-
       ....
Step 5: Create a login and management endpoints
Create an endpoint for obtaining a login token:
apiVersion: datatrucker.datatrucker.io/v1
kind: DatatruckerFlow
metadata:
  name: login-endpoint
spec:
  Type: Login
  DatatruckerConfig: < the name of the config object created in step 4 >
Create an endpoint for RBAC management and credentials:
apiVersion: datatrucker.datatrucker.io/v1
kind: DatatruckerFlow
metadata:
  name: management-endpoint
spec:
  Type: Management
  DatatruckerConfig: < the name of the config object created in step 4 >
The items above create the deployments and service endpoints for the user interface (UI) and the management API.
Step 6: Expose the management endpoint
Expose the routes:
$ oc get svc | grep endpoint
login-endpoint ClusterIP 10.217.5.89 <none> 80/TCP 3m43s
management-endpoint ClusterIP 10.217.5.220 <none> 80/TCP 3m29s
management-endpoint-ui ClusterIP 10.217.4.42 <none> 80/TCP 3m28s
$ oc expose svc management-endpoint-ui
route.route.openshift.io/management-endpoint-ui exposed
$ oc expose svc login-endpoint
route.route.openshift.io/login-endpoint exposed
$ oc get routes
NAME HOST/PORT PATH SERVICES PORT TERMINATION WILDCARD
login-endpoint login-endpoint-trucker.apps-crc.testing login-endpoint 8080 None
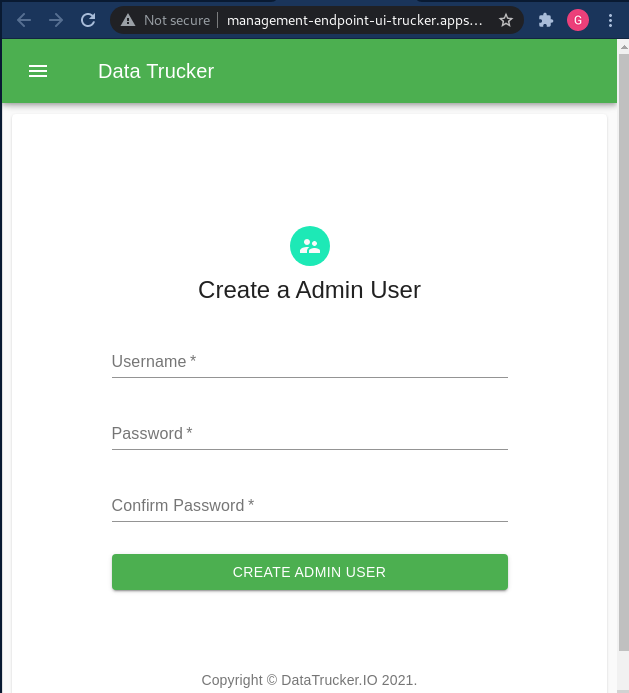
management-endpoint-ui management-endpoint-ui-trucker.apps-crc.testing management-endpoint-ui 9080 NoneStep 7: Log into the UI with a web browser
Create an admin user:
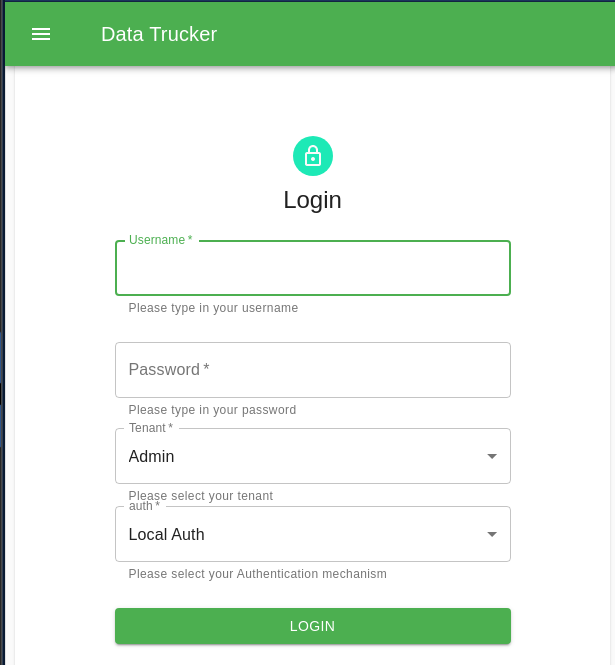
Log in as that admin user:
Step 8: Create a Postgres credential for the API
Now that DataTrucker is installed and configured, you are ready to build an API.
Create Postgres credentials for the database of your choice:
- Expand the left navigation bar.
- Select Credentials.
- Open the Postgres Credentials pane.
- Click Create Credentials.
- Enter your database details.

Step 9: Create a Postgres API
Create a Flow object with the following job spec.
---
apiVersion: datatrucker.datatrucker.io/v1
kind: DatatruckerFlow
metadata:
  name: my-first-api
spec:
  DatatruckerConfig: datatruckerconfig-sample
  JobDefinitions:
    - credentialname: db   < cred name from step 8 >
      job_timeout: 600
      name: postgres1
      restmethod: POST
      script: 'select ''[[userinput]]'' as userinput; '  < query you want to execute>
      tenant: Admin
      type: DB-Postgres
      validations:
        properties:
          userinput:
            maxLength: 18
            pattern: '^[a-z0-9]*$'
            type: string
        type: object
    - credentialname: db < cred name from step 8 >
      job_timeout: 600
      name: postgres2
      restmethod: GET
      script: select * from information_schema.tables < query you want to execute>
      tenant: Admin
      type: DB-Postgres
  Type: Job
This spec creates a new microservice to host the API, and the microservice has two APIs on its route:
- postgres1:
- Gets current date and user sent parameter into the SQL
- Is a POST request
- Sanitizes input for the user-input variable
userinput
- postgres2:
- Gets a list of tables available
- Is a GET request
[ Free download: Advanced Linux commands cheat sheet. ]
Now, search for the service:
$. oc get svc | grep my-first-api
my-first-api                                              ClusterIP   10.217.5.116   <none>        80/TCP     45s

$. oc expose svc my-first-api
route.route.openshift.io/my-first-api exposed

$. oc get routes  | grep my-first-api
my-first-api             my-first-api-trucker.apps-crc.testing                    my-first-api             8080                 None
Now that you have a URL, go test it out.
The URL is in the following form:
http://<your api route>/api/v1/jobs/<name of the JobDefinitions defined in the yaml>In the above example, you created two JobDefinitions:
- postgres1 of type POST
- postgres2 of type GET
Step 10: Test out your APIs
Get a login token from the login endpoint:
curl --location --request POST 'http://login-endpoint-trucker.<wilcard.domain>/api/v1/login' \
--header 'Content-Type: application/json' \
--data-raw '{
 "username": "xxx",
 "password": "xxxxxxxx",
 "tenant": "Admin"
}'

Response:
{
    "status": true,
    "username": "xxx",
    "token": "xxxxxxxxxxxx"
}
Now use the login token against your APIs:
The first API:
curl --location --request POST 'http://my-first-api-trucker.<wilcard.domain>/api/v1/jobs/postgres1' \
--header 'Authorization: Bearer xxxxxxxxxxxxxxxxxxxxxxxxxxxxxxxxxxxxxxxxxx \
--header 'Content-Type: application/json' \
--data-raw '{
    "userinput": "myfirstresponse"
}'

Response:
{
    "reqCompleted": true,
    "date": "2021-09-05T22:05:58.064Z",
    "reqID": "req-3w",
    "data": {
        "command": "SELECT",
        "rowCount": 1,
        "oid": null,
        "rows": [
           .............
The second API:
curl --location --request GET 'http://my-first-api-trucker.<wilcard.domain>/api/v1/jobs/postgres2' \
--header 'Authorization: Bearer xxxxxxxxxxxxxxxxxxxxxxxxxxxxxxxxxxxxx'

Response:
{
    "reqCompleted": true,
    "date": "2021-09-05T22:03:58.389Z",
    "reqID": "req-35",
    "data": {
        "command": "SELECT",
        "rowCount": 185,
        "oid": null,
        "rows": [
            {
                " .......
For more information, watch DataTrucker.IO's overview video.
This article is adapted from the DataTrucker.IO blog and is republished with permission.
About the author
Gaurav Shankar is a Senior App Dev Consultant at Red Hat Canada, where he specializes in application development on OpenShift.
He has been an application architect for over 10 years, working in a variety of applications like databases, ETL tools, web servers, Java, NodeJS, Ansible, React, and more. He is the creator and maintainer of the open source project Datatrucker.IO which is a no-code API backend.
Gaurav enjoys spending time exploring new tech, building new tools, and playing with his kid and his dog.
More like this
Why platform engineering fails to scale: Product and adoption design in practice
The new reality of supply chain trust: Why platform-native security is non-negotiable
Becoming a Coder | Command Line Heroes
Bad Bosses | Compiler: Tales From The Database
Browse by channel

Automation
The latest on IT automation for tech, teams, and environments

Artificial intelligence
Updates on the platforms that free customers to run AI workloads anywhere

Open hybrid cloud
Explore how we build a more flexible future with hybrid cloud

Security
The latest on how we reduce risks across environments and technologies

Edge computing
Updates on the platforms that simplify operations at the edge

Infrastructure
The latest on the world’s leading enterprise Linux platform

Applications
Inside our solutions to the toughest application challenges
Virtualization
The future of enterprise virtualization for your workloads on-premise or across clouds