
Containers are an important part of modern computing, for hosting, for application development, and even as an alternative to virtualization. The infrastructure supporting containers has been refined and developed since the early days, so if you've been holding off on adopting containers, you might be pleasantly surprised at how easy the daemonless Podman engine makes it to build, run, and manage containers and pods.
Containers interface directly with Linux kernel abilities like cgroups and namespaces. Running a container literally uses your existing kernel to run additional Linux systems inside your existing Linux system.
A kernel namespace is a construct that helps Linux keep track of what processes belong together. It's a little like the red ropes used to create a queue leading into a busy theater. There's not actually a difference between processes in one queue and another, but it's helpful to cordon them off from one another. Keeping them separate is the key to declaring one group of processes a "container" and the other group of processes your OS.
Install Podman
If Podman isn't already installed on your Linux system, install it using your package manager:
$ sudo dnf install podmanTo test your install, try running a simple container image:
$ podman run busybox echo "hello"
 hello
You've just downloaded a container image that provides the minimal busybox shell. Podman instantiated a container, which in turn ran the echo command and then ended its process. That's a common workflow for containers. You're often going to want a more complex container than a minimal shell, and you can define what's in a container by writing a Containerfile.
Write a Containerfile
You can define what software is included in a container image by writing a Containerfile. This file, which must be named Containerfile (or Dockerfile, for compatibility purposes), lists what base image you want to use, plus additional commands to run before the container is launched.
As an example, suppose you need to run a web server in a container. There are several container images already built for that purpose, but this example steps through building a very basic one as a demonstration. For production use, you can use an existing container that integrates SSL, a database, and other important features.
1. Find a base image
Container images are a little like the install image for an operating system. You don't install a container image, but it's the blueprint used when you launch a container. It's possible to build a container image from scratch, but it's easier to use a reliable base image that a trusted source has already prepared.
The Red Hat Universal Base Image (UBI) offers a way to build your container images on a foundation of Red Hat Enterprise Linux software.
Open a text editor and create a file called Containerfile, and enter these three lines to set what image you're building upon, who to contact with questions, and what user is active within the container:
FROM ubi9:latest
MAINTAINER Tux tux@example.com
USER root
2. Define software installations and configuration
Most container images are minimal by design. To keep file sizes small, and resource requirements and attack vectors minimal, your container must incorporate only what's necessary for it to perform its stated task.
In this example, you only want to run a web server, so all you need to install is the httpd package (along with whatever dependencies it automatically brings in). You must also expose port 80, the port a web server runs on by default.
In your Containerfile, add these lines:
# Install
RUN dnf install httpd -y
EXPOSE 80
You must also set some environment variables within the container so the httpd server uses the correct paths for its configuration files and logs:
ENV HTTPD_APP_ROOT=${APP_ROOT}
HTTPD_CONFIGURATION_PATH=${APP_ROOT}/etc/httpd.d
HTTPD_MAIN_CONF_PATH=/etc/httpd/conf
HTTPD_MAIN_CONF_MODULES_D_PATH=/etc/httpd/conf.modules.d
HTTPD_MAIN_CONF_D_PATH=/etc/httpd/conf.d
HTTPD_VAR_RUN=/var/run/httpd
HTTPD_DATA_PATH=/var/www
HTTPD_DATA_ORIG_PATH=/var/www
HTTPD_LOG_PATH=/var/log/httpd
Next, adjust the server's name in the httpd configuration files. In this example, you can use localhost because you're not actually setting up a domain:
RUN sed -i \
's/#ServerName/ServerName/' $HTTPD_MAIN_CONF_PATH/httpd.conf
RUN sed -i \
's/www\.example\.com/localhost/g' $HTTPD_MAIN_CONF_PATH/httpd.conf
All of these attributes are set as part of the container's configuration during the build process. When a container is spawned from this image, everything you've entered so far are its default settings.
3. Define launch action
Items marked as RUN occur during the image build process, but items marked as CMD run after a container has been launched. In this example, you want the container to start the httpd server at launch.
Add these lines to your In your Containerfile:
# Launch
CMD ["/usr/sbin/httpd", "-DFOREGROUND"]
Save the file, because you're ready to build!
Build your image
Build the container you've defined in your Containerfile using the podman command. You must be in the directory containing your Containerfile. Note that the command ends in a single dot (.) indicating that podman must proceed from the current directory:
$ podman build --tag myfirstcontainer .Run your image in a container
When you initially tested podman to run a sample BusyBox shell, the container launched, executed a command, and then terminated. That works for a simple demonstration of a foreground command like echo, but it's not useful behavior for a web server meant to run as a background service. You need this container to initialize and continue to run so you have time to open a web browser and look at the page.
To run the container with its port 80 mapped to your localhost port 8080, in a detached state (so you get your terminal prompt back):
$ podman run --detach --name mywebcontainer \
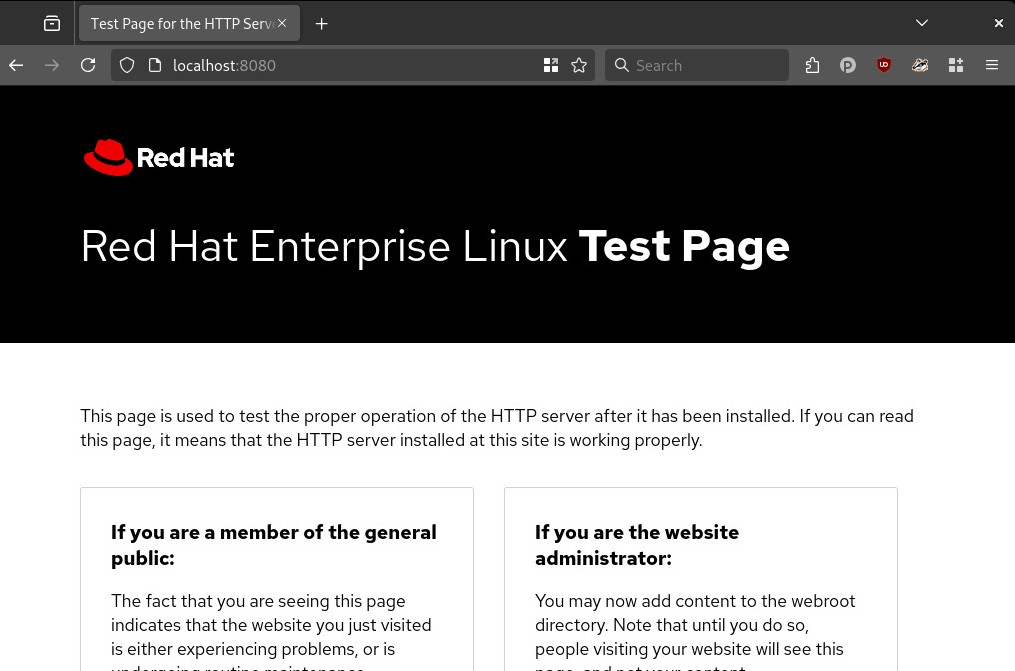
--publish 8080:80 mywebcontainerNow open a web browser and navigate to http://localhost:8080 to see the default web page provided by your web server.
Containers like commands
Containers may feel mysterious if you're new to them, but actually, they're no different than your existing Linux system. They are literally processes running on your system, without the cost or barrier of an emulated environment or virtual machine. All that separates a container from your OS are kernel namespaces, so they're really just native processes with different labels on them. Podman makes this more evident than ever, and once you configure Podman to be a rootless command, containers feel more like commands than virtual environments. Podman makes containers and pods easy, so give it a try.
Get Started
Product trial
Red Hat OpenShift Container Platform | Product Trial
About the author
Seth Kenlon is a Linux geek, open source enthusiast, free culture advocate, and tabletop gamer. Between gigs in the film industry and the tech industry (not necessarily exclusive of one another), he likes to design games and hack on code (also not necessarily exclusive of one another).
More like this
Announcing Red Hat OpenShift Platform Plus for Red Hat OpenShift Service on AWS on AWS Marketplace
Gain stronger pod isolation on Microsoft Azure Red Hat OpenShift with OpenShift sandboxed containers
Scaling with Orchestrators | Compiler
Container Roundup | Compiler
Browse by channel

Automation
The latest on IT automation for tech, teams, and environments

Artificial intelligence
Updates on the platforms that free customers to run AI workloads anywhere

Open hybrid cloud
Explore how we build a more flexible future with hybrid cloud

Security
The latest on how we reduce risks across environments and technologies

Edge computing
Updates on the platforms that simplify operations at the edge

Infrastructure
The latest on the world’s leading enterprise Linux platform

Applications
Inside our solutions to the toughest application challenges
Virtualization
The future of enterprise virtualization for your workloads on-premise or across clouds