When you think about building your own cloud, you might think of creating a Kubernetes cluster across several machines so that you can run and orchestrate containerized applications. That's a good start for some organizations, but as your user base grows, you may need to scale more than just the containers where your cluster is running. You might even find that you need to scale your Kubernetes clusters themselves at some point. OpenStack manages the infrastructure your clusters run on, and with OpenStack, you can allocate compute, storage, and networking resources as needed by your cloud.
Red Hat has a detailed overview of installing OpenShift on OpenStack that explains all the considerations for a high-performance and scalable private cloud, and recommended resources include some pretty big numbers, like 112GB of RAM, 28 vCPUs, and so on.
Before you commit those resources, you might want to learn some of the tooling around OpenStack, such as Keystone (for identity), Swift (for object storage) and Cinder (block storage), Glance (image services), Nova (compute), Neutron (networking), and the Horizon dashboard.
You can get experience with all of these tools and more through a plugin system using DevStack, a method provided by OpenStack developers to create a local OpenStack installation.
Install DevStack
DevStack is, in many ways, the OKD (formerly Minishift) or Minikube of OpenStack. It's designed for development and testing, and while it's very flexible in what it lets you do, it's also not meant for production use. DevStack can help you understand the many OpenStack components and how to customize them.
A few important requirements:
- Sudo privileges: The DevStack installer requires
sudoprivileges. - Dedicated machine: Run DevStack on a dedicated computer or virtual machine.
DevStack isn't as big as OpenStack, but it's still big. The DevStack installer applies many changes to your system, so do not attempt to run it casually on your daily computer.
1. Git clone
Assuming you've got a dedicated machine and a user with sudo access, the first step is to clone the DevStack Git repo. If you intend to develop on DevStack, omit the --depth 1 option, but if you only intend to install and explore, then a "shallow clone" is sufficient:
$ git clone --depth 1 https://opendev.org/openstack/devstack2. Configure
The DevStack installation process requires a few secrets during setup. Create your own in a file called local.conf at the root level of the Git repository you just cloned:
$ cat << EOF >> devstack/local.conf
[[local|localrc]]
ADMIN_PASSWORD=MySecretPassword123
DATABASE_PASSWORD=\$ADMIN_PASSWORD
RABBIT_PASSWORD=\$ADMIN_PASSWORD
SERVICE_PASSWORD=\$ADMIN_PASSWORD
EOF
DevStack includes a sample configuration file in the samples directory, so review that if you want to see more about what's possible before installing.
[ Take your Linux skills to the next level. Download the Advanced Linux commands cheat sheet. ]
3. Run the install script
Run the installer:
$ cd devstack
$ chmod +x ./stack.sh
$ ./stack.sh
The installation can take some time, depending on your internet connection speed. It defaults to an unattended install though, so once you get a good idea of what the script is doing, feel free to wander off for a cup of coffee.
Use DevStack
Once the installation finishes, you must import some settings into your shell session:
$ source openrcNow you have full access to the openstack command and its many subcommands. You can view your current project list, which is mostly empty:
$ openstack project list
+--------------------+--------------------+
| ID                 | Name               |
+--------------------+--------------------+
| 0799779469[...]d35 | demo               |
| 1cc22ccfce[...]07d | invisible_to_admin |
+-----------------------------------------+
You can download and create images:
$ wget http://download.cirros-cloud.net/0.x.y/cirros-0.x.y-x86_64-disk.img
$ openstack image create \
cirros-0.5.1-x86_64-disk.img
$ openstack image list
+--------------------+-------------------+--------+
| ID | Name | Status |
+--------------------+-------------------+--------+
| b8ae9c5f-[...]6112 | cirros-[...]-disk | active |
| a85fd997-[...]3cde | cirros-[...]-disk | active |
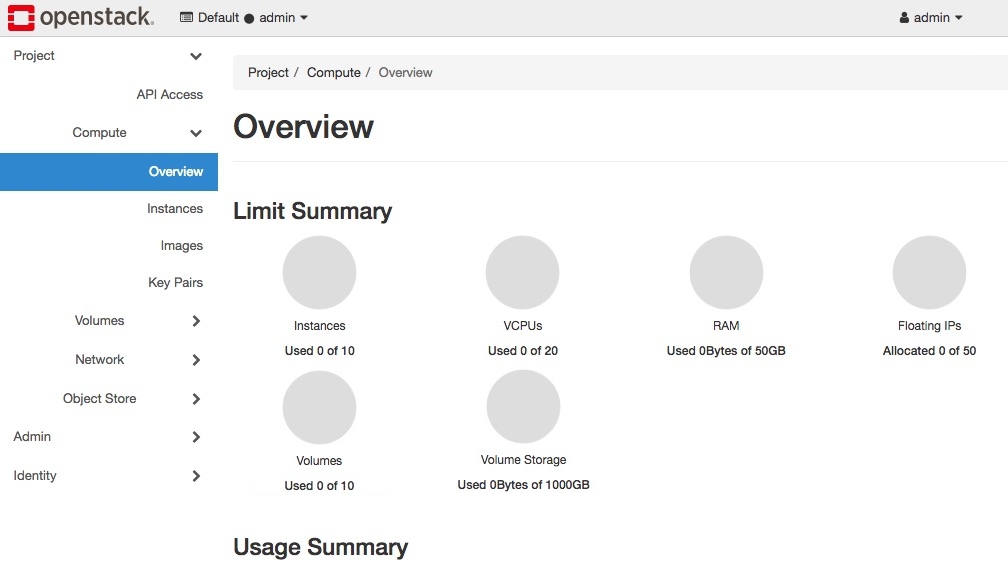
+--------------------+-------------------+--------+Alternately, you can use the Horizon dashboard, a web interface to your overcloud.
Learn OpenStack
OpenStack has everything you need to build your own open hybrid cloud. With S3-like object storage, easy integration with Kubernetes, OpenShift, and Kafka, an array of plugins and helper applications, and more, it's an excellent choice for a cloud platform, open and otherwise. DevStack is an easy way to explore the utilities it provides, so grab a spare server or even a laptop and try it out.
About the author

Seth Kenlon is a Linux geek, open source enthusiast, free culture advocate, and tabletop gamer. Between gigs in the film industry and the tech industry (not necessarily exclusive of one another), he likes to design games and hack on code (also not necessarily exclusive of one another).
More like this
AI in telco – the catalyst for scaling digital business
Introducing OpenShift Service Mesh 3.2 with Istio’s ambient mode
Crack the Cloud_Open | Command Line Heroes
Edge computing covered and diced | Technically Speaking
Browse by channel

Automation
The latest on IT automation for tech, teams, and environments

Artificial intelligence
Updates on the platforms that free customers to run AI workloads anywhere

Open hybrid cloud
Explore how we build a more flexible future with hybrid cloud

Security
The latest on how we reduce risks across environments and technologies

Edge computing
Updates on the platforms that simplify operations at the edge

Infrastructure
The latest on the world’s leading enterprise Linux platform

Applications
Inside our solutions to the toughest application challenges
Virtualization
The future of enterprise virtualization for your workloads on-premise or across clouds