
Recently, I had a chance to play with an OpenShift feature called OpenShift Virtualization, which is also known as Container Native Virtualization. OpenShift Virtualization is a really awesome technology that lets OpenShift provision and manage virtual machines (VM) on top of a Kubernetes platform. Its upstream version is kubevirt. While working with OpenShift Virtualization, I needed a way to customize the existing virtual machine operating system (OS) images. As some of you Enable Sysadmin readers know, there are different types of OS images, like ISO and VDI. The one I decided to use is the QCOW2 format for virtual disks as this works for QEMU copy-on-write and is a good format for the cloud image.
The customization of an existing image does not look like an easy task. Luckily, a fellow Red Hatter suggested that I look into an open-source tool called libguestfs, and this helped me to achieve what I wanted to do. Here is a short description of libguestfs taken from its website:
libguestfs is a set of tools for accessing and modifying virtual machine (VM) disk images. You can use this to view and edit files inside guests, scripting changes to VMs, monitoring disk used/free statistics, creating guests, P2V, V2V, performing backups, cloning VMs, and building VMs, formatting disks, resizing disks, and much more.

It sounds like a powerful tool, doesn't it? libguestfs is a part of the open-source Virtualization Tools, or Virt Tools, and the family includes other tools like QEMU, KVM, and libvirt. Be sure to check out other utilities from its website at the virt-tools web site.
libguestfs is a collection of many different tools, and the list may look daunting. This blog guides you through some of its most useful features, but feel free to explore other tools available with libguestfs after reading this blog. libguestfs documentation is very extensive and provides detailed usage for each utility, as shown below.

I'm really excited about libguestfs and I've created YouTube video to demonstrate many of the tools found in the collection. Be sure to check out the video after you finish reading the article.
Now, without further ado, let's get started. To make it easier for you to follow, I will break this into a step-by-step guide.
Step 0: Prerequisite environment
Before getting started, though, I am going to make some assumptions about your prerequisite knowledge and environment:
- You have a Linux environment available through your computer hardware or a virtual machine tool such as QEMU or VirtualBox.
- You have basic knowledge about Linux and have set up and enabled a package manager (e.g., YUM for Centos/Fedora/RHEL) for your Linux distro.
- You have access to the public network and have root/sudo privilege for your Linux environment.
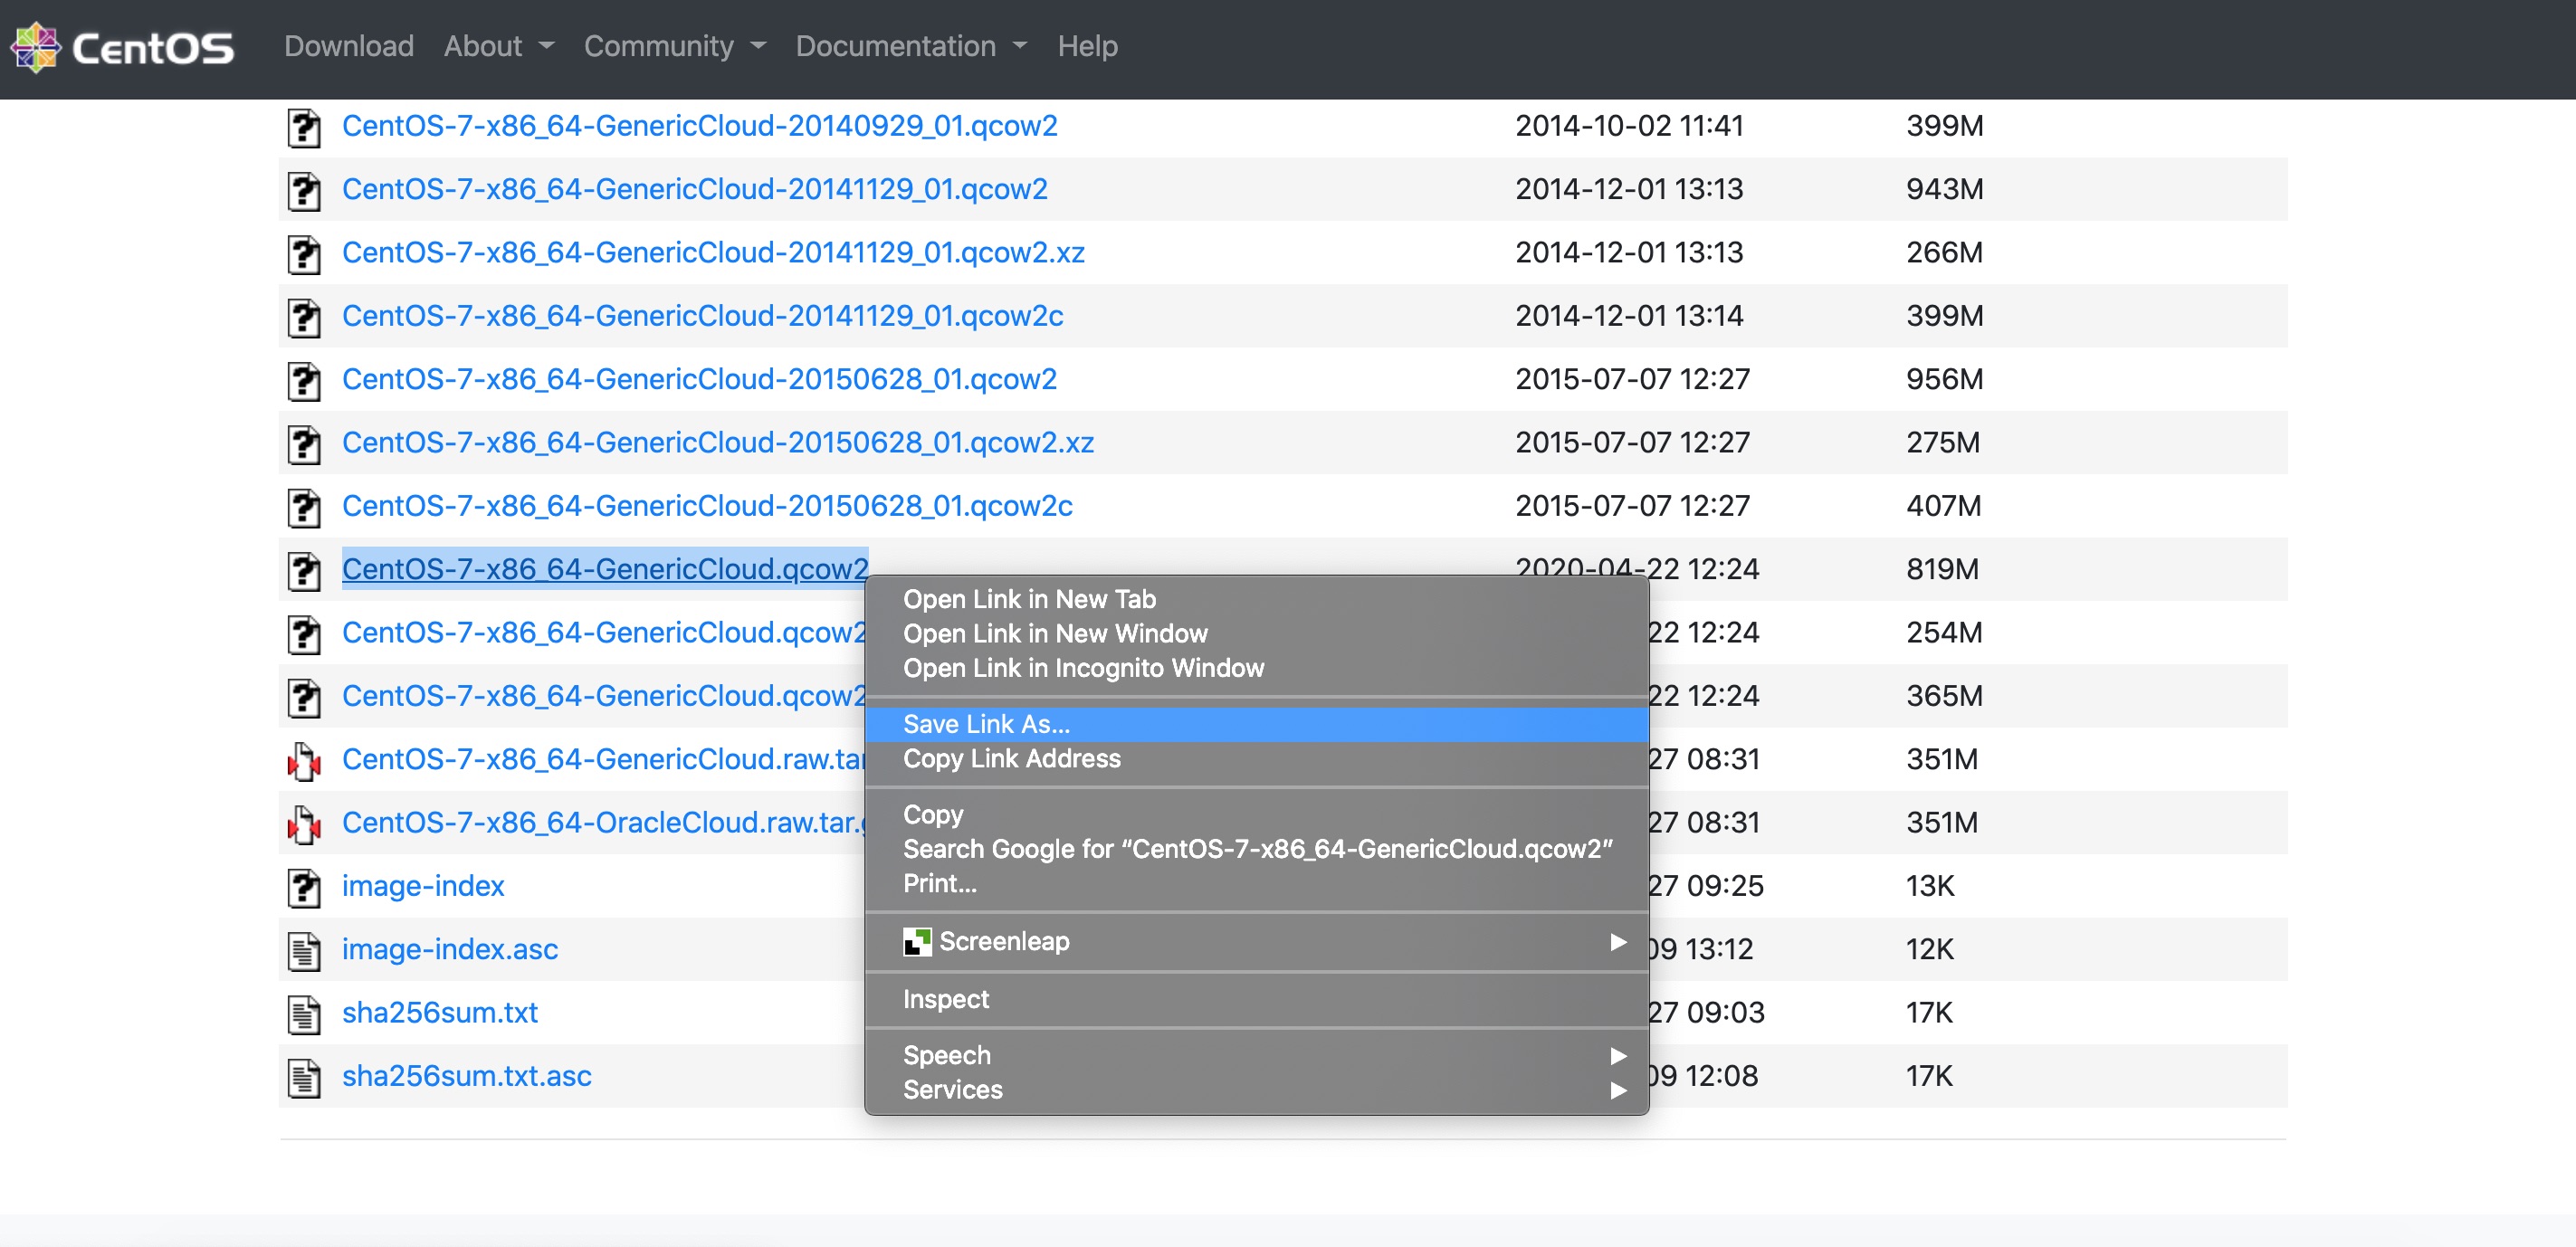
- You have download a sample CentOS 7 QCOW2 image. You can download CentOS-7-x86_64-GenericCloud.qcow2, for example.
In this demo, I use Fedora as my primary working environment. For the virtual machine QCOW2 image, I use the Centos 7 QCOW2 image, as mentioned above. However, feel free to use other images. For Red Hat Linux (RHEL), you might get stuck during the Tomcat installation step with virt-customize since RHEL requires additional package management configuration.
Step 1: Install libguestfs
Okay. Let's go ahead and install the libguestfs tools using a package manager. Make sure to run this as a sudo user. If you are in a Fedora/Centos/RHEL environment, the command to install libguestfs is:
$ sudo yum install libguestfs-toolsOr, if you are using a Debian/Ubuntu environment, the command to install libguestfs is:
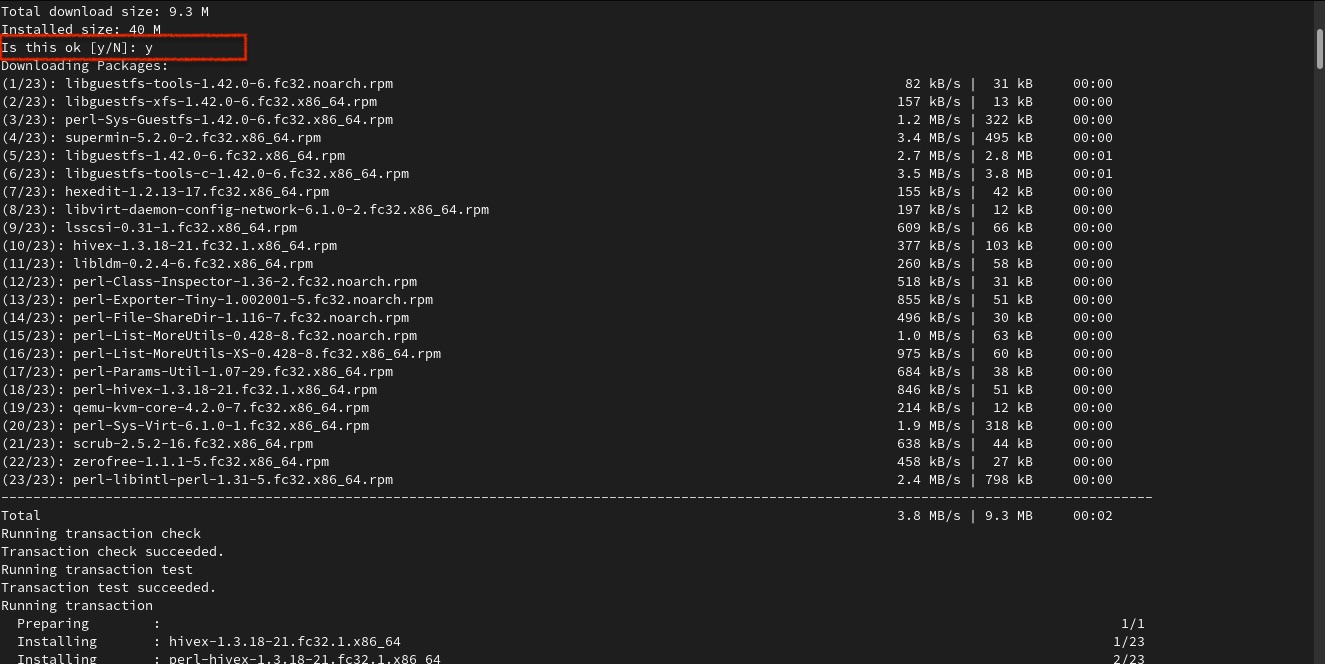
$ sudo apt-get install libguestfs-toolsSince I am using Fedora, I use the yum install command to install libguestfs, as shown below. libguestfs is a collection of many utilities, so many tools are listed.

If the screen prompts you with: Is this okay [y/N], type y to proceed with the installation.
Note: You can add -y option after yum install to skip the prompt.
Hopefully, everything installs without an issue. If not, make sure to check your package management repos, dependencies, etc. to troubleshoot.
Step 2: Modify the QEMU configuration file
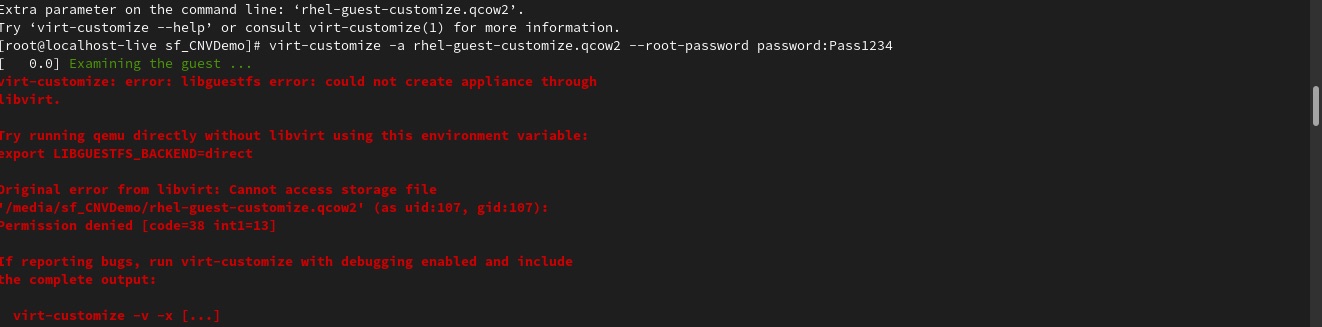
Before trying out our first libguestfs command, there is one thing to modify. Some commands, like virt-customize, require the command to be run through virtualization with QEMU, which requires a different privilege. Otherwise, you encounter an error like this.
The easiest way I found that works for now is to change two properties in /etc/libvirt/qemu.conf. Let's display the content of the file with the following command:
# cat /etc/libvirt/qemu.conf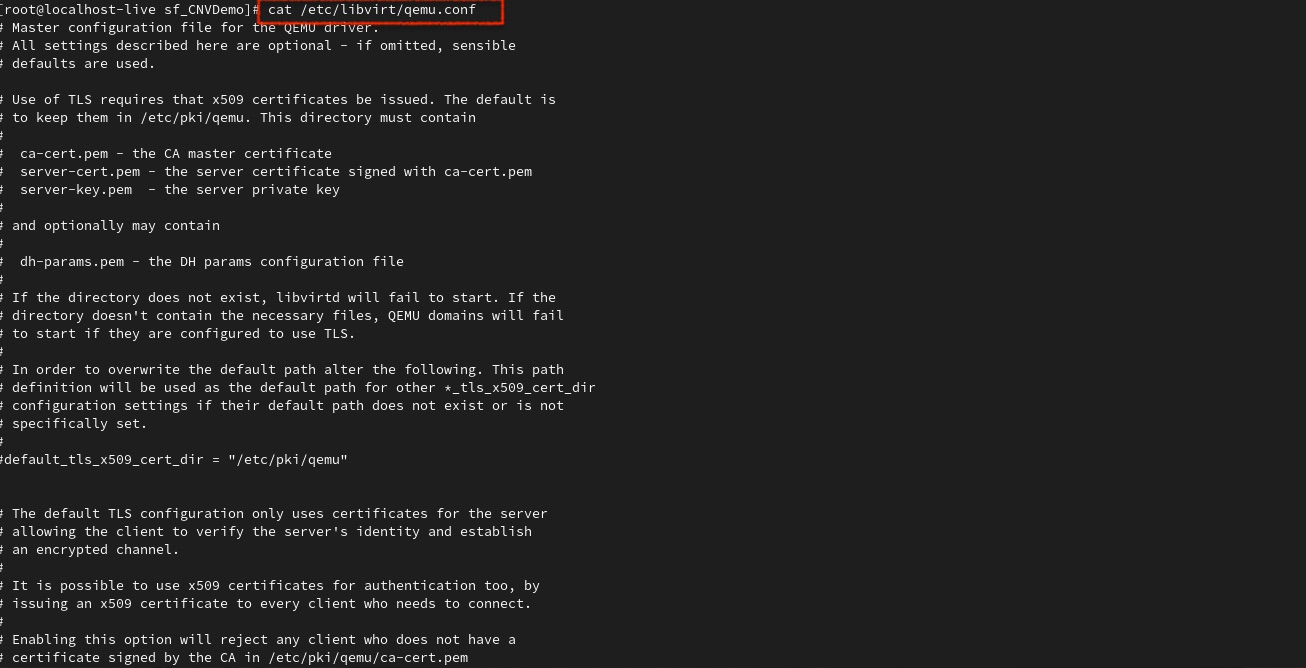
When you scroll down, you see that two fields user and group (around line 448 and line 452) are commented out. Uncomment these values, so they are enabled.
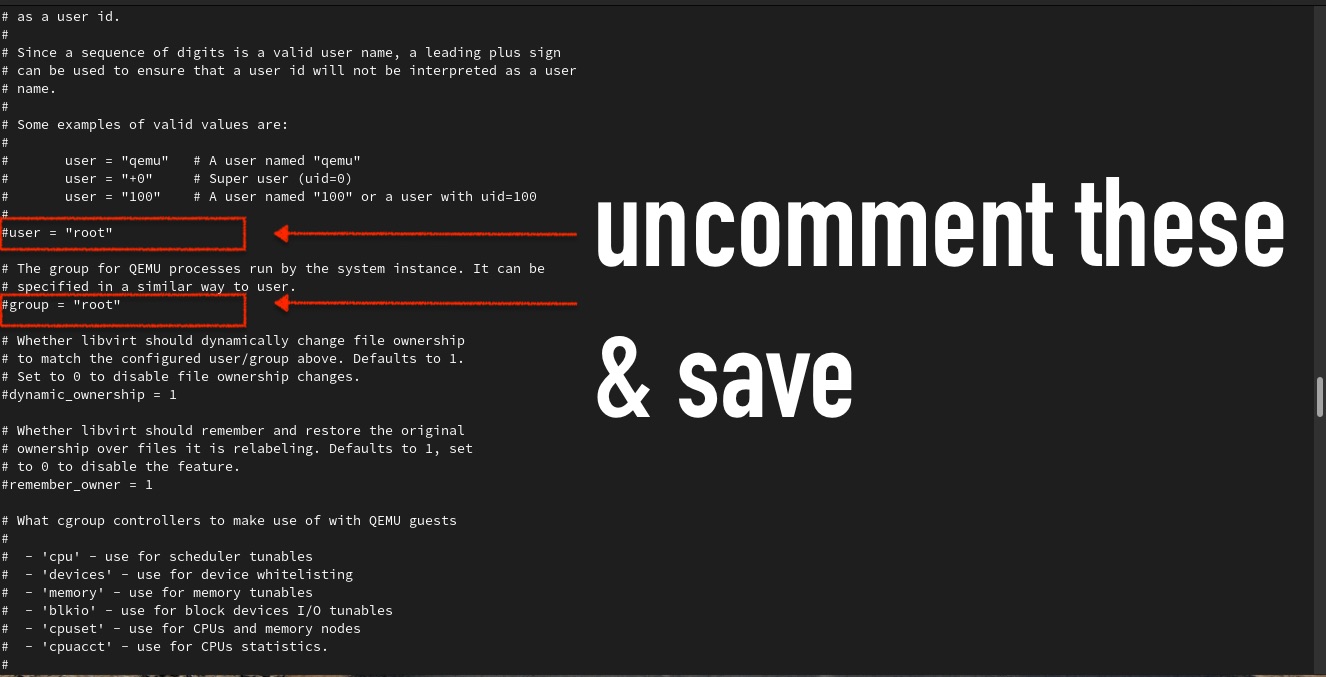
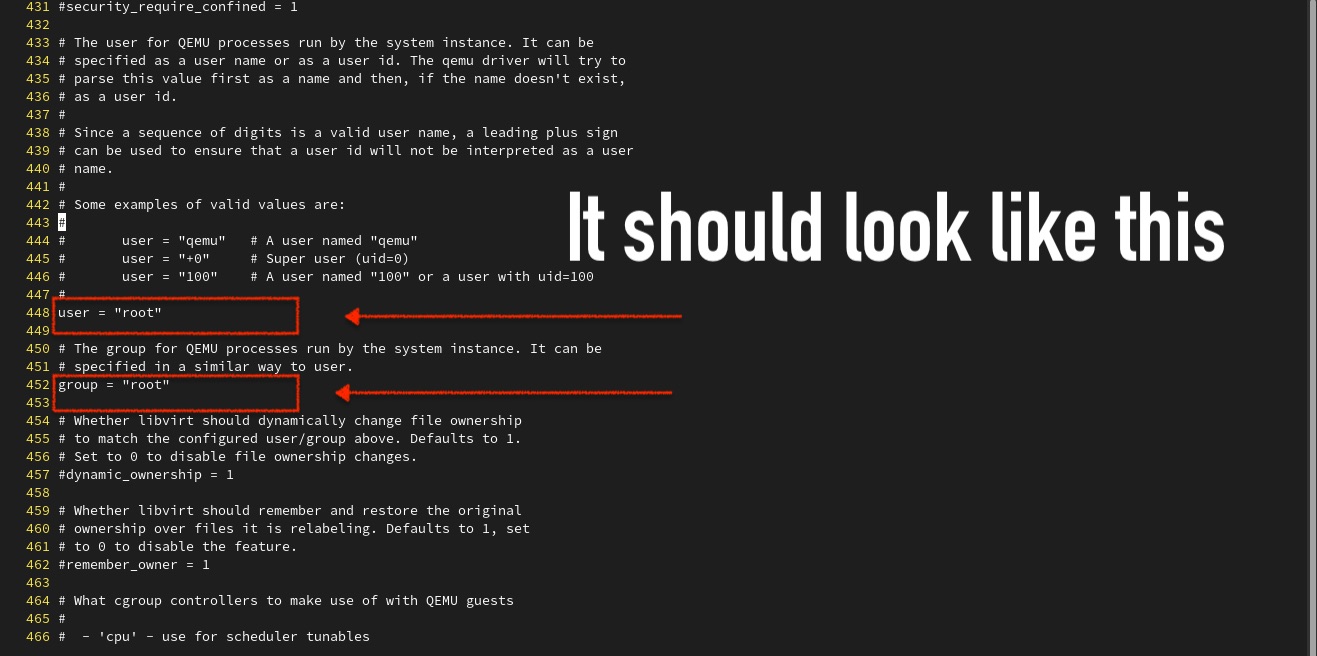
Open up the file with a text editor like Vi and uncomment these values. Save the file. Your final result should look like the following:
Now, we are good to go. Let's test our first libguestfs utility.
Step 3: Inspect the virtual machine image
libguestfs offers a number of powerful utilities to inspect and get information about any virtual machine image. We will use just three of these utilities: qemu-img, virt-filesystems, and virt-inspector.
Note: Whenever you need to understand a specific command, add --help to get the basic usage information (e.g., virt-filesystems --help).
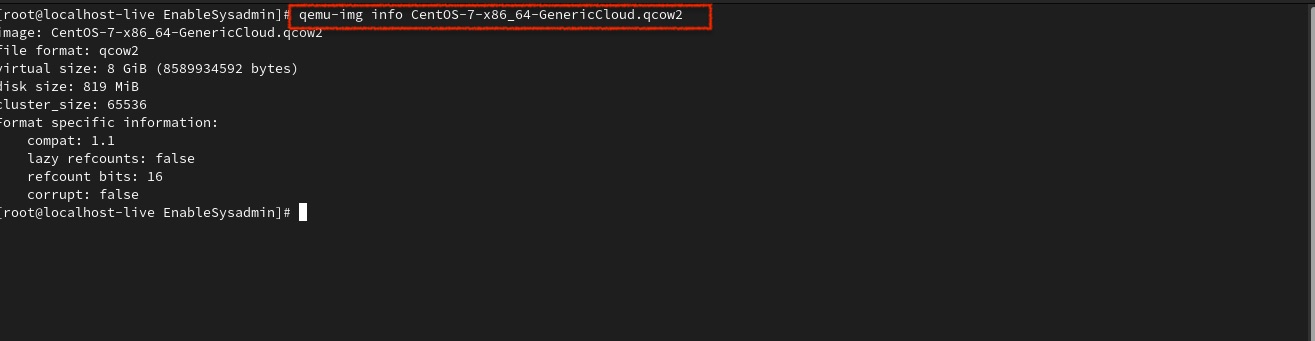
First, use qemu-img to get a general overview of the virtual machine image. qemu-img is not really a part of libguestfs, but it is a dependency that gets installed when you install libguestfs.
# qemu-img info OS-IMAGE-FILEWhere OS-IMAGE-FILE is the virtual machine image.
We can get more insight into the file's file system with virt-filesystems. For example, running the command below shows the file mount information of the OS image:
# virt-filesystems --long -h --all -a OS-IMAGE-FILE
virt-inspector examines a virtual machine or disk image and tries to determine the version of the operating system and other virtual machine information. virt-inspector produces XML output for feeding into other programs. This command is a powerful way to get detailed insight into the OS image. Here is the command:
# virt-inspector OS-IMAGE-FILE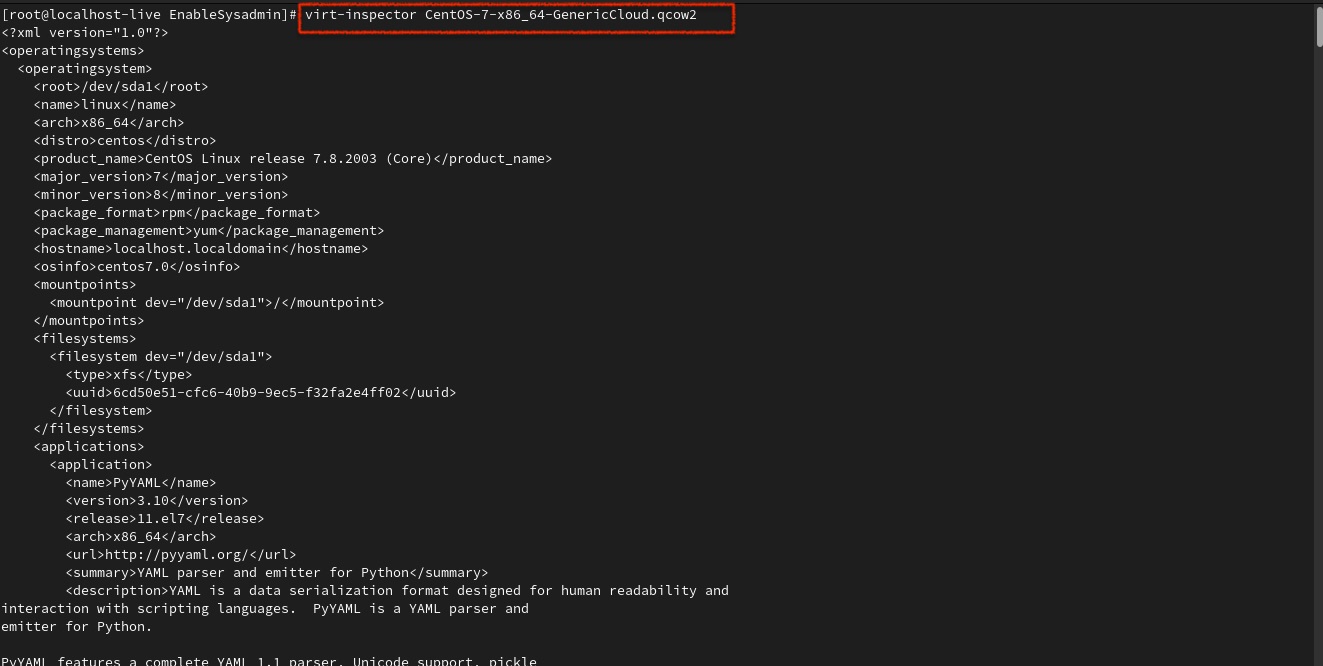
That is it for our three commands to gather OS image information. Now, let's move on to a powerful command that allows us to modify the image.
Step 4: Modify the virtual machine image with virt-customize
Besides utilities to get insight into the OS image, libguestfs also offers many powerful tools to modify the image itself. One of them is virt-builder, which helps to build a new image quickly. Another example is virt-format, which erases all the data. However, the tool we are going to explore next is virt-customize.
virt-customize customizes a virtual machine (disk image) by installing packages, editing configuration files, etc. virt-customize modifies the guest or disk image in place. The guest must be shut down. If you want to preserve the guest's existing contents, you must snapshot, copy, or clone the disk first.
Let's see two examples. We can modify the root password of the OS image with the following command:
# virt-customize -a OS-IMAGE-FILE --root-password password:YOUR-ROOT-PASSWORDWhere OS-IMAGE-FILE is the virtual machine image, and YOUR-ROOT-PASSWORD is the root password that you want to set.

This is extremely useful, as changing and modifying root passwords for some OS versions is quite challenging. For example, the root password for RHEL is set randomly, so leveraging this command comes in handy.
Another very useful thing you can do with virt-customize is to install a package from a package manager (e.g., YUM). The command looks like this:
# virt-customize -a OS-IMAGE-FILE --install PACKAGE-NAMEWhere OS-IMAGE-FILE is the virtual machine image, and PACKAGE-NAME is the name of the package you want to install.
For example, the screen shot below displays the command to install Tomcat.

Tomcat, by the way, requires a few more packages and configurations to run in a Linux environment. If you need to set up Tomcat in Linux, you can read this personal blog I wrote earlier.
As noted above, a few Linux distributions, such as RHEL, require some pre-setup with package management before installing anything. Thus, running the install command fails without the extra configuration.
Wrap up
That is it. libguestfs, as you can see, is an extremely useful collection of powerful utilities to manage any operating system or virtual machine image. This blog covers just a few examples of what you can do with libguestfs. Be sure to further explore what you can unlock with the tool. Don't forget to watch my libguestfs video on YouTube. Also, check out other articles on Enable Sysadmin to become a better sysadmin.
[ A free course for you: Virtualization and Infrastructure Migration Technical Overview. ]
About the author
Bryant Jimin Son is a Consultant at Red Hat, a technology company known for its Linux server and opensource contributions. At work, he is working on building the technology for clients leveraging the Red Hat technology stacks like BPM, PAM, Openshift, Ansible, and full stack development using Java, Spring Framework, AngularJS, Material design. Prior to joining Red Hat, Bryant was at Citi Group's Citi Cloud team, building the private Infrastructure as a Service (IaaS) cloud platform serving 8,000+ teams across Citi departments. He also worked at American Airlines, IBM, and Home Depot Austin Technology Center. Bryant graduated with Bachelor of Sciences in Computer Science and Aerospace Engineering with minor concentration in Business at University of Texas at Austin.
He is also the President and Founder of Korean American IT Association group, known as KAITA (www.kaita.org). He is an avid coder spending extra time on building side projects at cafes, and he travels every week on business. He also loves to work out daily and to grow KAITA.
Browse by channel

Automation
The latest on IT automation for tech, teams, and environments

Artificial intelligence
Updates on the platforms that free customers to run AI workloads anywhere

Open hybrid cloud
Explore how we build a more flexible future with hybrid cloud

Security
The latest on how we reduce risks across environments and technologies

Edge computing
Updates on the platforms that simplify operations at the edge

Infrastructure
The latest on the world’s leading enterprise Linux platform

Applications
Inside our solutions to the toughest application challenges
Virtualization
The future of enterprise virtualization for your workloads on-premise or across clouds